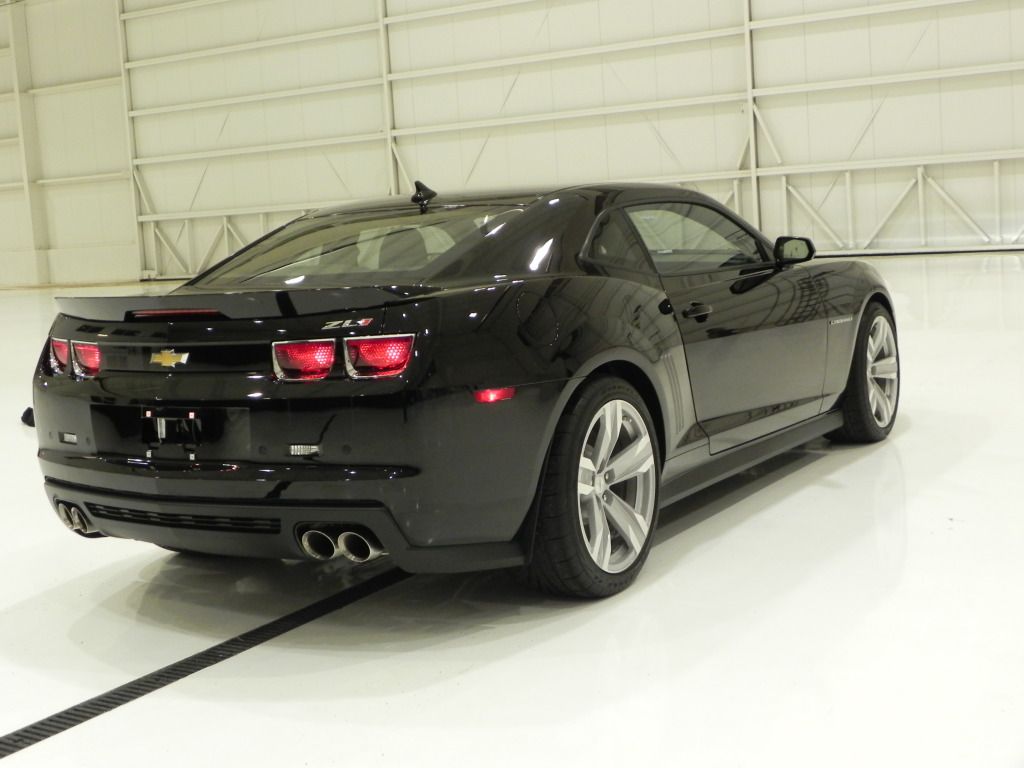
This is definitely the newest black car I have detailed before. I've gotten them after a couple weeks or even a few days, but this car has as many miles on it as it took to drive it home from the dealership and then over to the hangar where I detailed it. It hadn't been washed or touched in any way other than to take the supports out of the suspension which were there for shipping and to take a couple stickers off the window. 59 miles is all it has and it is killing the owner to have to wait to really get on it while he is breaking it in.
The car has been sitting in Canada for two months waiting for some kind of replacement part they had to do on all the ZL1s. The owner had been sent pictures of it sitting under snow and ice completely uncovered. The only covering they put on these cars was right along the front of the bumper and some on the spoiler. No other plastic was on the car. So it had quite the build up of some cloudy looking scum which was really apparent after the plastic came off. There were a couple fairly significant scratches on it, but considering it hasn't been washed since it rolled out of the factory, the only damage to the paint was just in what the snow had done to it and possibly some dust storm swirls from the ride on the truck to Utah. There was quite a bit of dirt accumulated in the engine bay and some other places, but that was pretty simple.
The owner wants this car to remain looking as good as possible for as long as possible. He hadn't even touched the paint with his hand anywhere other than on the door handle before I got to it. He is very aware that anything that makes contact with the paint can cause swirls and scratches. I thought about what would be best to use and searched around on the Autogeek website for any ideas. That is when I found CQUARTZ. It says that it provides significant protection from washing induced swirl marks. Since that is the only kind of swirls this car is really going to be at risk of, I thought it might be a good option to try. So I called my buddy Nick at Autogeek for some of his thoughts and recommendations and put in my order.  (Thanks again for your help, Nick!) As always, Autogeek got my order packed and sent off and it arrived to me within a week. Just in time too. The car was delivered on Monday evening and the box arrived on Tuesday afternoon. I headed off to the hanger as soon as UPS dropped it off.
The first thing the car got was a good wash with Wolfgang Auto Bath. I gave the owner my Foam Gun as well and bought him a bottle of soap for it. Since he is worried about creating swirls, I felt this was a good present for his new car celebration. (He is an awesome client and I definitely want to keep him happy.) Then it got clayed with Pinnacle PolyClay using XMT Clay Lube. That stuff is my absolute favorite combination. Especially for a car in good shape. Fortunately there wasn't much contamination on this paint. 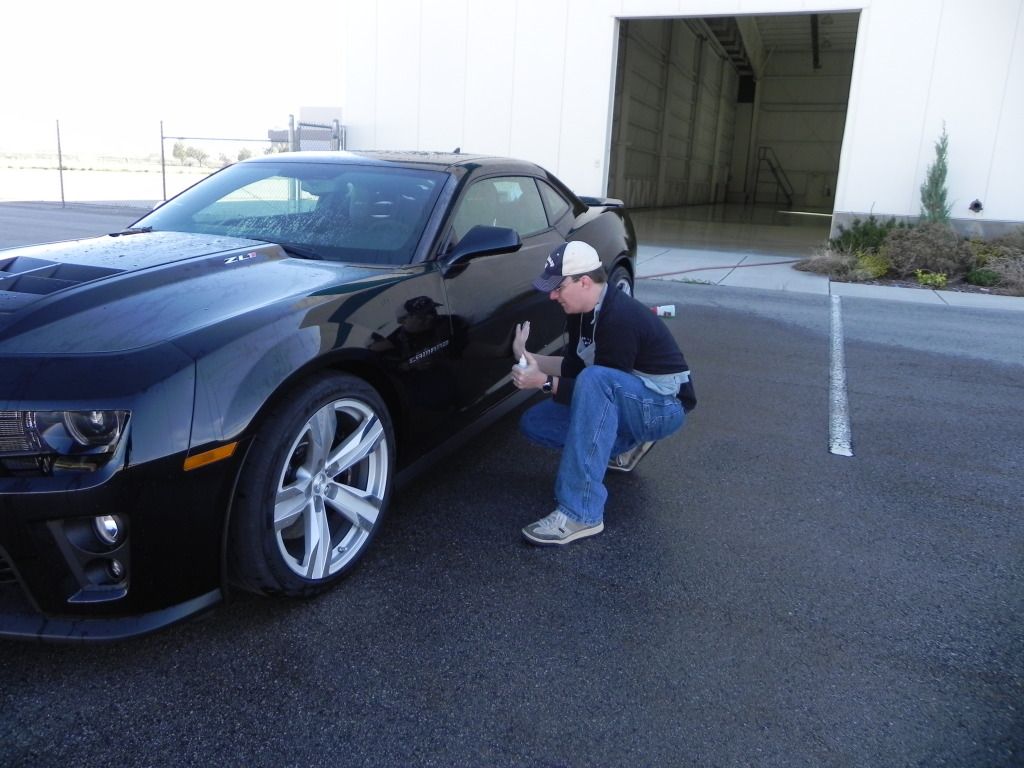
After the clay and final rinse, I dried it with my trusty green waffle weave microfiber towel. (another favorite tool) I did the job at their private hangar, but I wanted to get all the wet work done outside so not to have a slippery floor to contend with while I did the rest.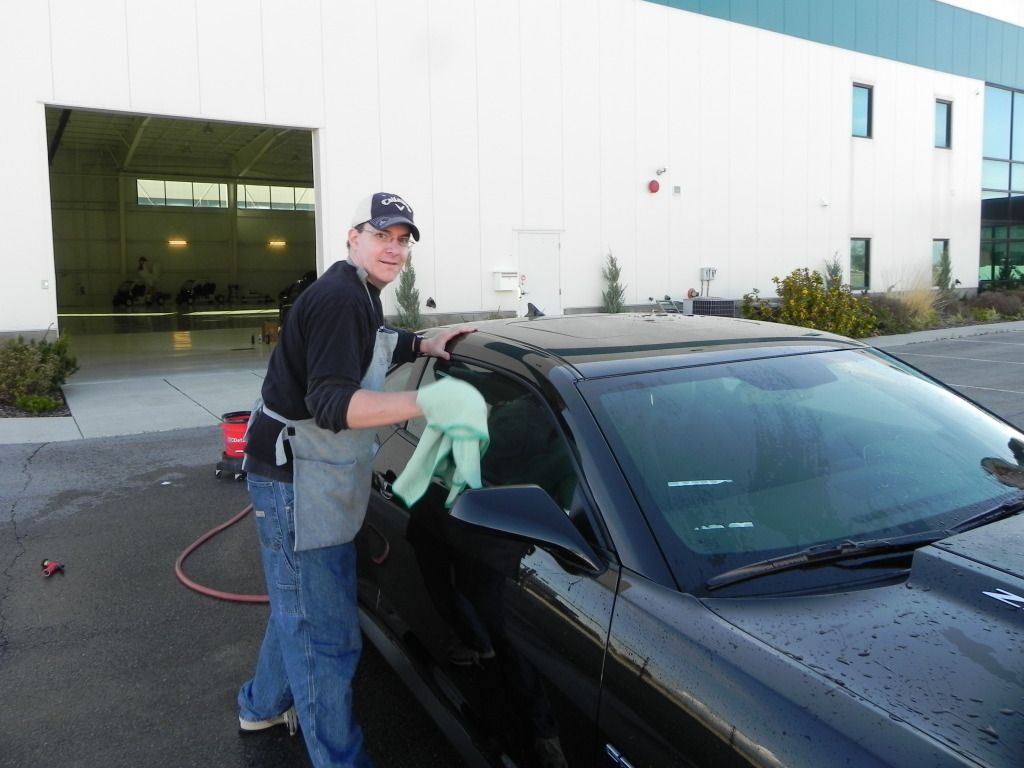
I also gave the engine bay a little bit of a wash since there was quite a bit of dirt in there and waterspots under the hood and on the strut towers. Nothing a little soapy water couldn't handle. I dressed it with CD2 Engine Detailer later, but for now it was ready to go inside the hangar.
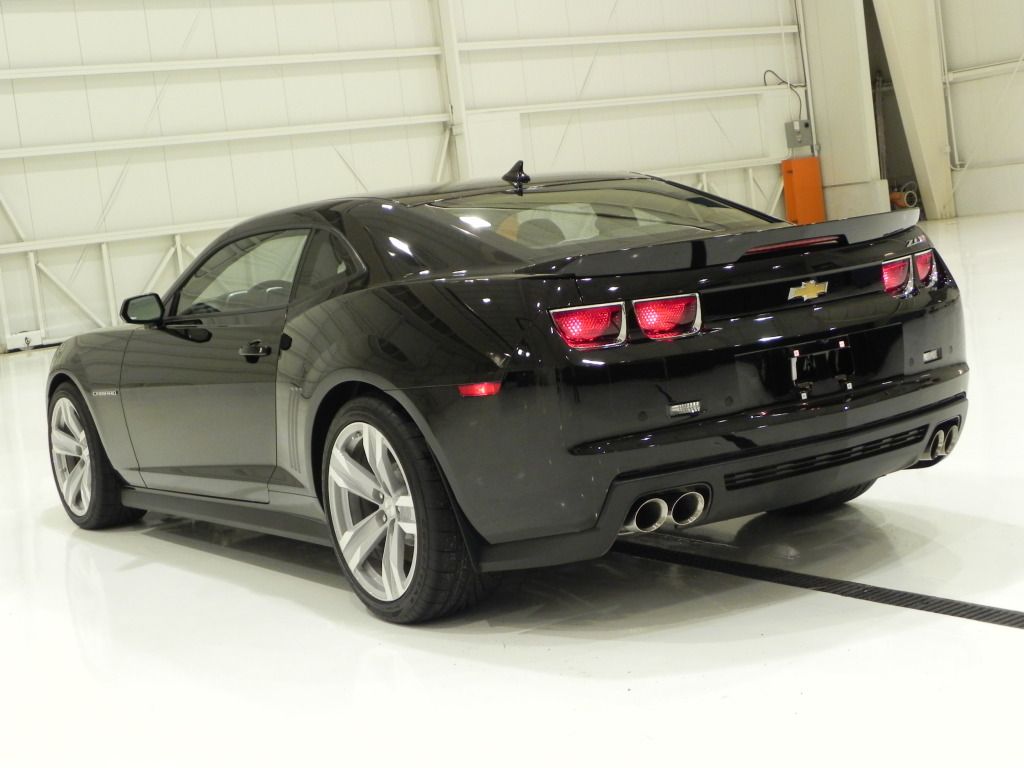
This is what I call the perfect environment for this kind of work! Talk about bright lights and just perfect everything!!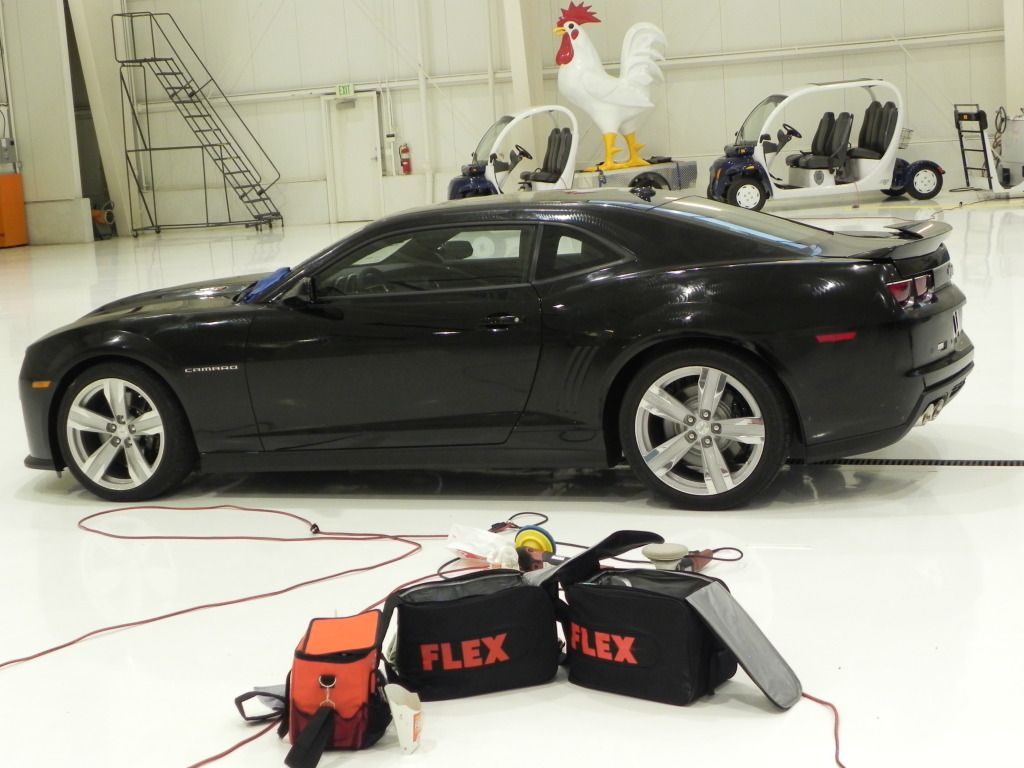
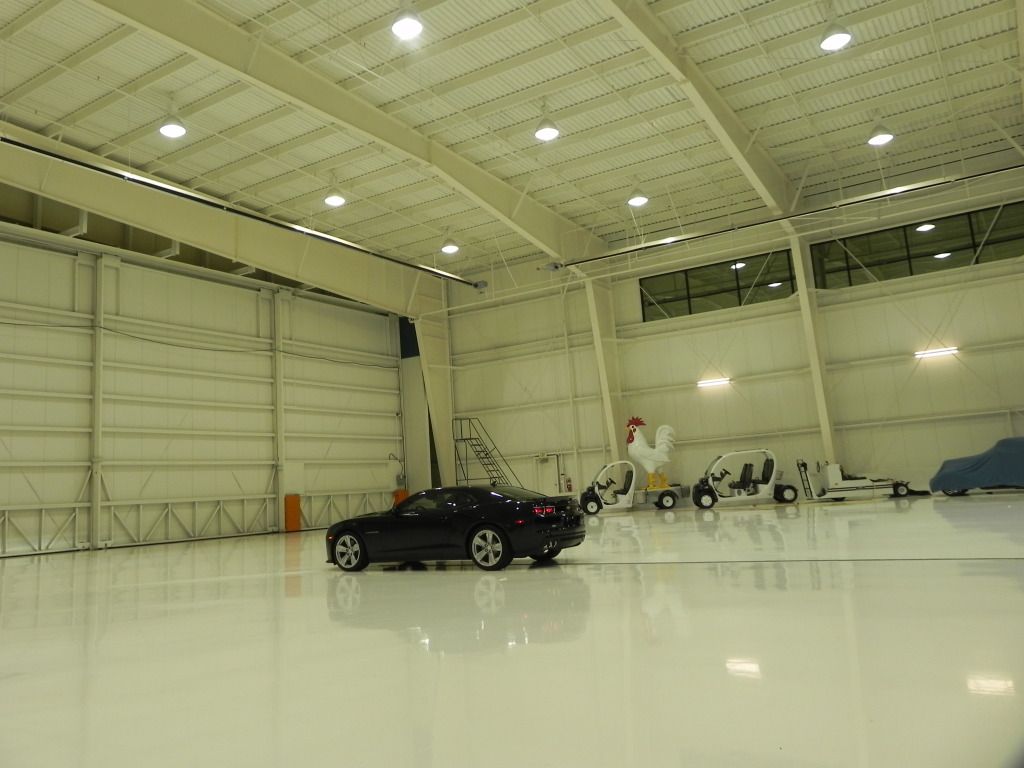
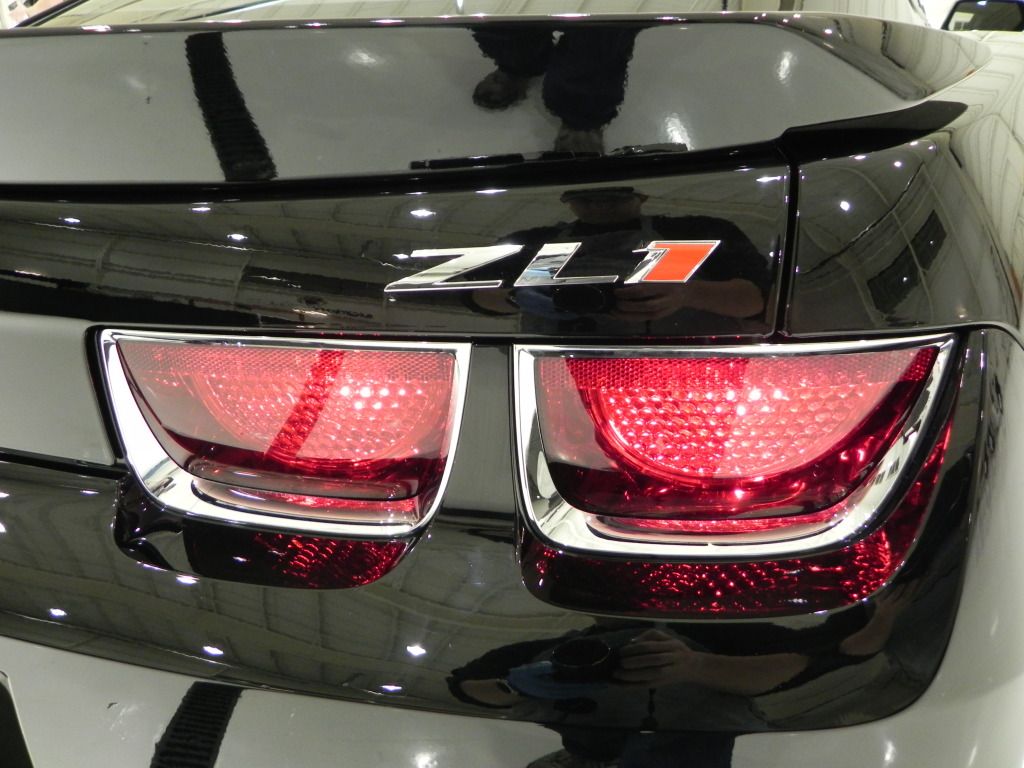
With the white walls, floor, and ceiling, I had no excuse not to be able to see every single mark on the paint. The owner wanted perfectness, so I went to work trying out different combinations of pads, product, and even machines. What turned out to work the best was a white CCS pad and my trusty Flex 3401 using Pinnacle Advanced Finishing Polish. I tried XMT 2 and XMT 1 with different pads and they both left too much haze behind. After switching to the PAFP and the white pad I was left with absolutely zero marks. 
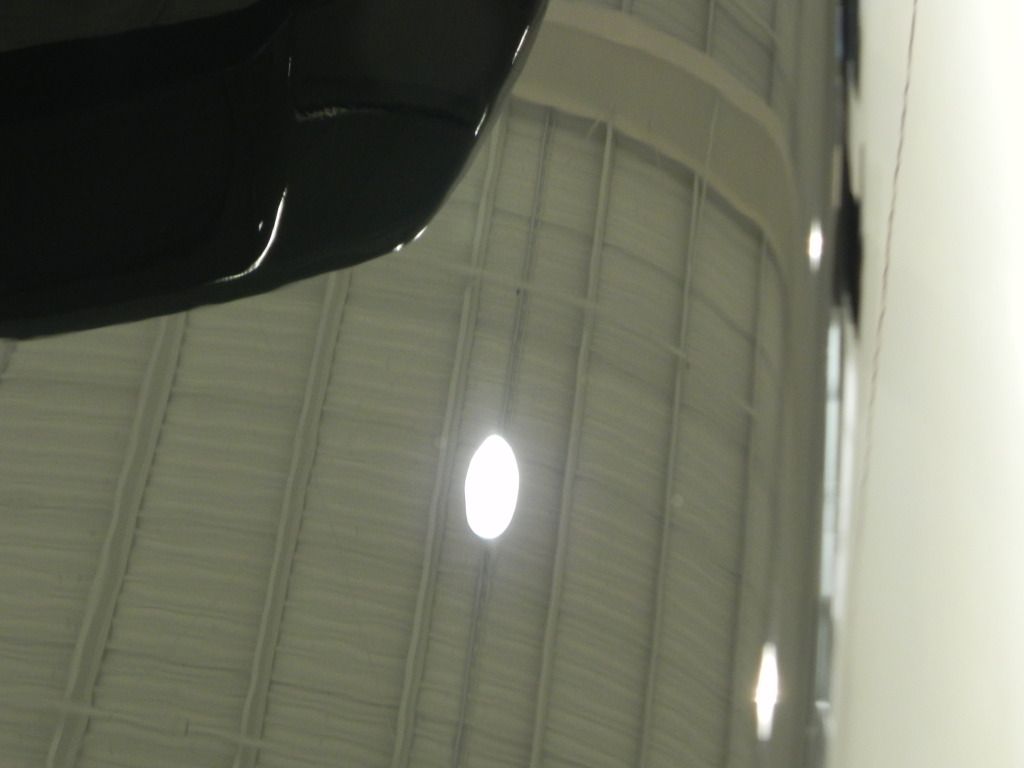
You can't hide swirls with that kind of lighting! These are the same kind of lights they put in convention centers. We have this kind of lighting at the SEMA show and it was great to be able to demo this exact same product there on black paint to show how effective it is.
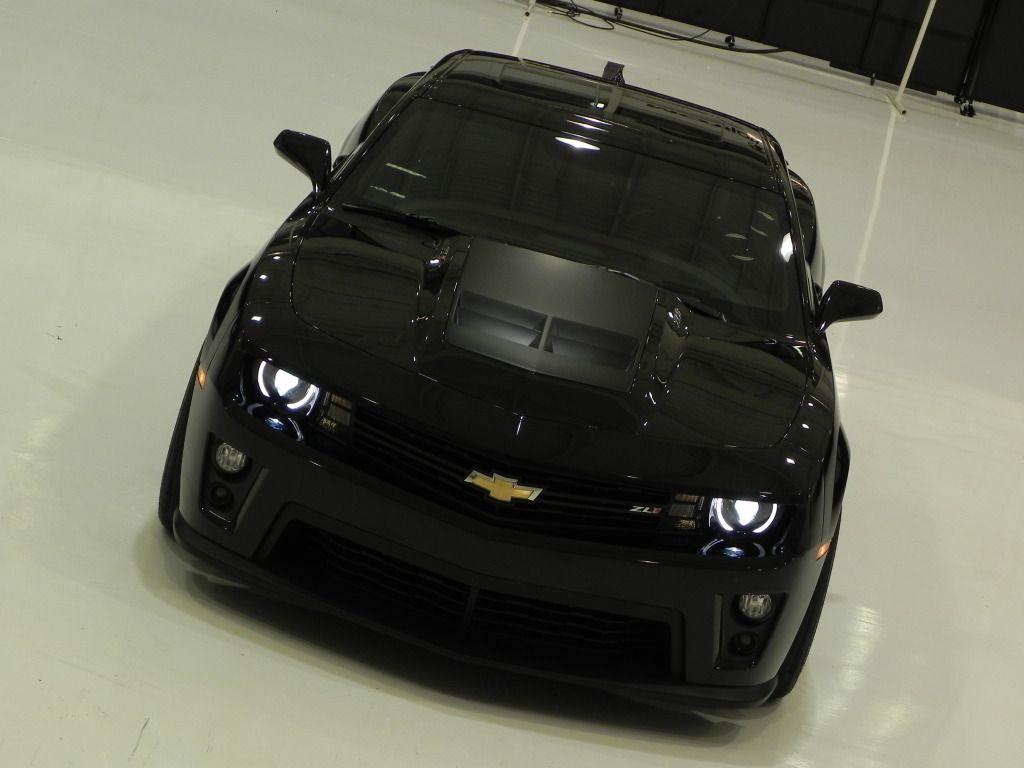
The whole front clip from the doors forward is getting a clear bra on it as we speak. So the idea was to polish the entire car to perfection and then apply the protection to everything not being clear bra'd. So I got everything all shiny and went to work with the product.
I have to say this first. CQUARTZ smells HORRIBLE!! Can I say that louder? H O R R I B L E ! ! It reminds me of the smell in the dentist office when they are gluing on a crown or something. It will burn your eyes and probably cause brain tumors if you sniff too much of it. If you are at all sensitive to smells then I would strongly recommend wearing a medical mask while applying it. My head hurt after this process. I've been spoiled by my wonderful smelling Pinnacle products too long I guess....
Anyway, the product itself applies very similarly to Klasse Sealant Glaze. This is a ceramic sealant apparently and not an acrylic or polymer, but the principles are the same. It should go on in very thin coats. I was absolutely amazed at how little product was needed to do this car. I seriously probably only used an amount equal to the size of half the height of the font on the label. We are talking a barely perceptible difference in quantity lost after I was done. It may be spendy, but that little 30ml bottle is sure to last forever. It will probably harden and crystallize in the bottle before I ever get around to using it all.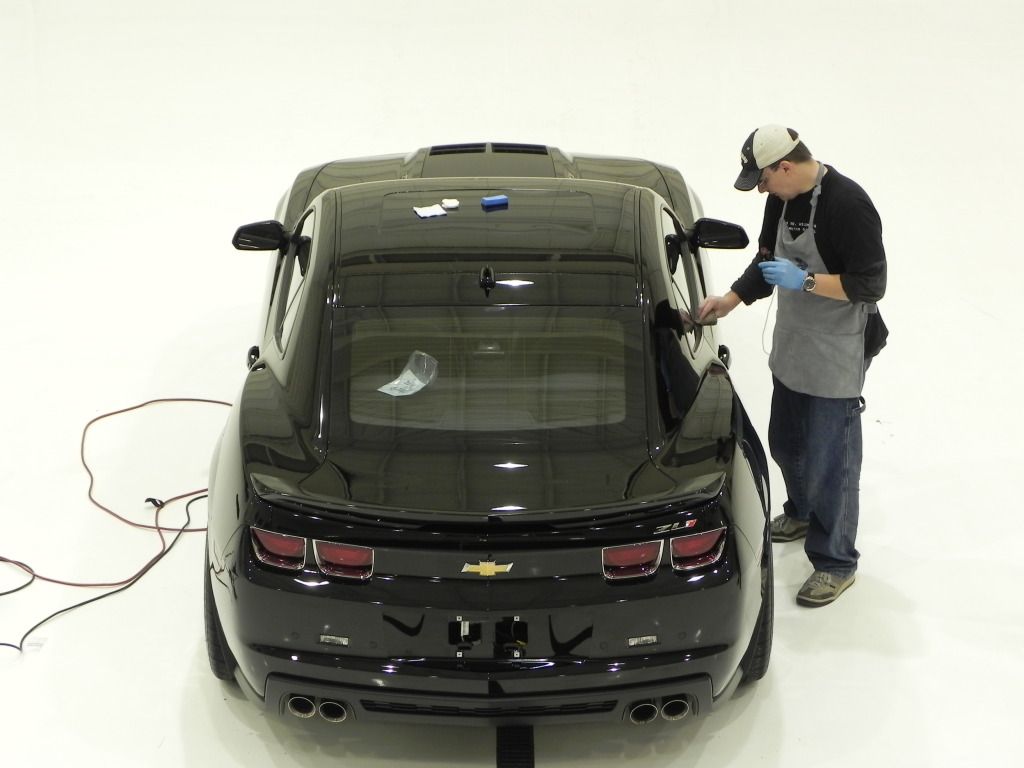
You apply it to the applicator and just wipe it on in straight lines. It dries pretty quickly, so you have to spread it around fast or else you are left with something akin to concrete to try and buff off later. I've learned that the hard way with KSG, so I moved rapidly on this. I applied it all the way around the car and then set to work cleaning the wheels and tires while it dried. It suggests 20 or 30 minutes to dry, and although the first panel had already had that amount of time, I like doing the wheels next so I can wipe off any product overspray on the paint when I buff the sealant off.
I was showing him some local products he should use on the car to maintain it, so I picked up some Eagle One A2Z for the wheels and tires that was used prior to the wash. I used Eagle One Wet for the tires at this point. Then for the wheels themselves I just spritzed them with Wolfgang Instant Detail Spritz and then used Detailer's Wheel Glaze to protect them from the brake dust. I want to see how bad the brake dust gets on these. If this doesn't do the trick on helping to keep them clean and easy to maintain, then I'll go over them again with something a little more durable. I've had good results with this in the past though, so I'm not worried.
I popped the hood and applied the CD2 engine detailer to the plastics and rubber under there. I also used the Instant Detailer Spritz to clear up the waterspots under the hood and on the painted surfaces. Then I used Wolfgang Deep Gloss Spray Sealant under the hood and on the painted surfaces to make it really shine. What a beast of an engine bay...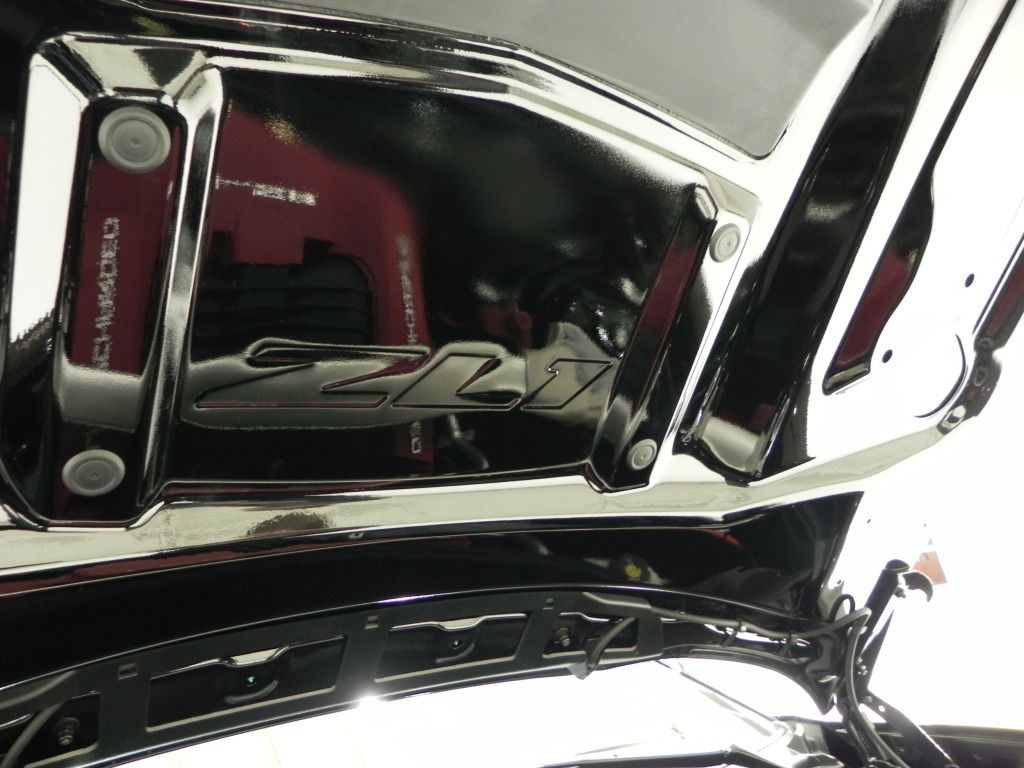
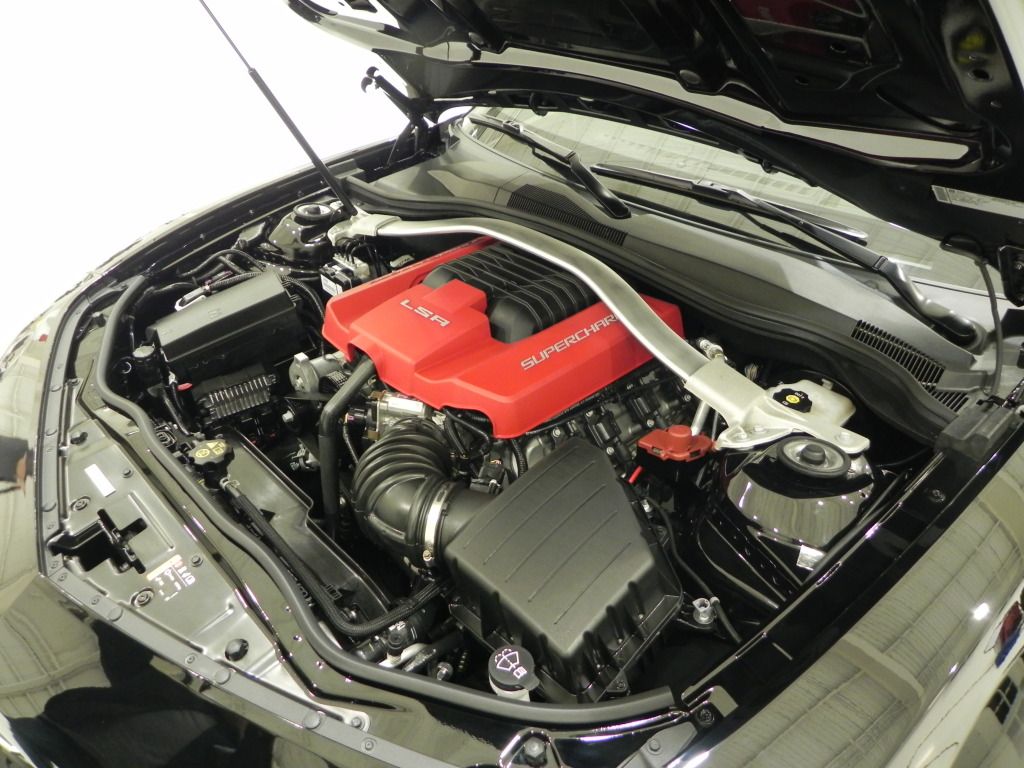
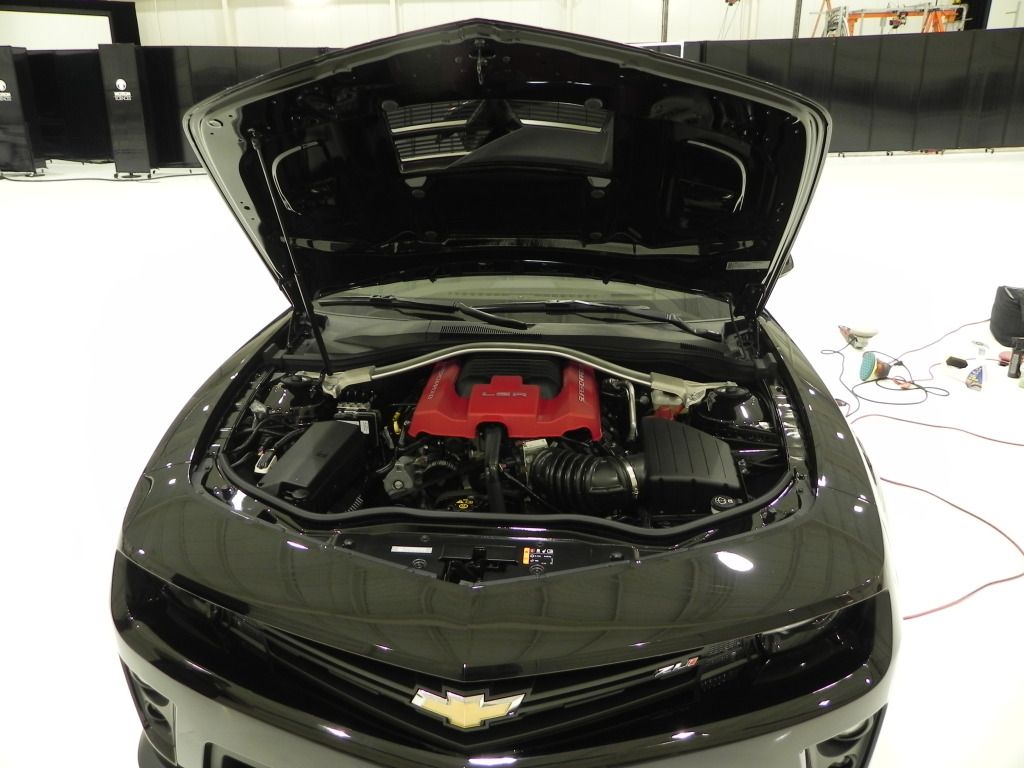
I dressed the wiper cowl, running boards, front splitter, and rear part of the bumper with Wolfgang Exterior Trim Sealant. I also went over the door seals and anything else I could find to use this stuff on. I love how well it protects and shines plastic.
Then came the part where I had to work my muscles to buff the CQUARTZ off. It didn't come off like what I'm used to, but it wasn't the hardest thing to buff off either. Again, fortunately I had the advantage of knowing to put this stuff on thin beforehand because that definitely made it easier. The spots I put it on a little to thick were much tougher to buff off.
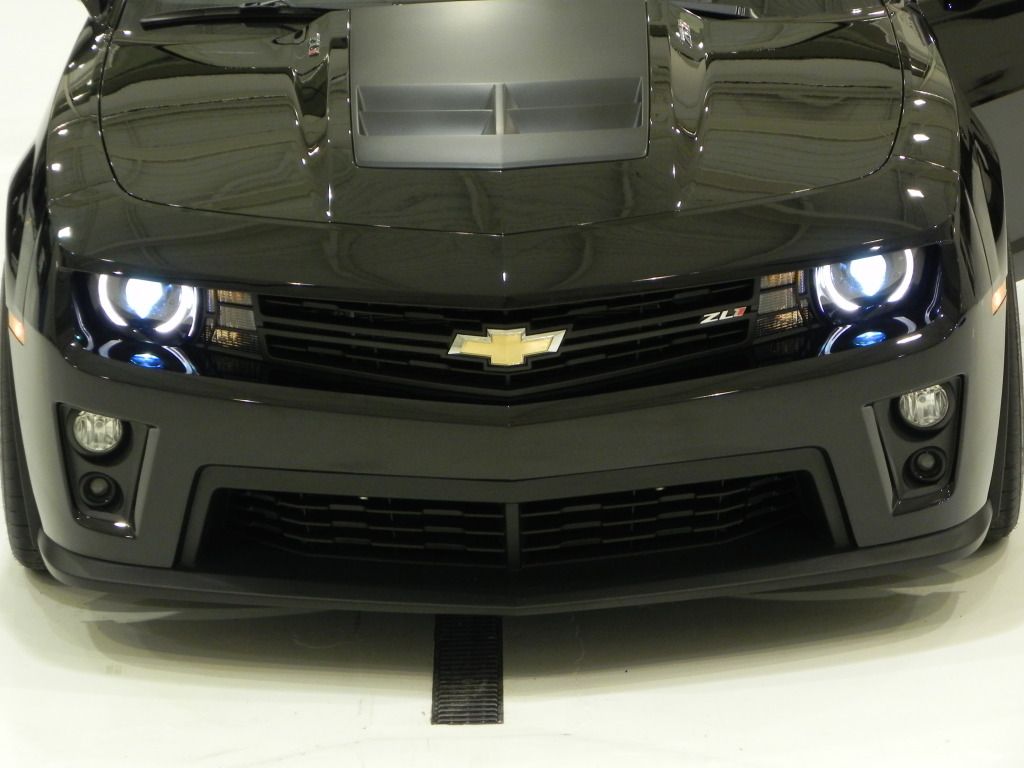
After it was all said and done, I think the car came out looking awesome! I'm going to take another look at it this weekend when the sun is out and maybe go over it with Deep Gloss Spray Sealant just to give it a little more pop. Still... For a black car I don't think it can look a whole lot better than it does right now. The thing is incredible looking.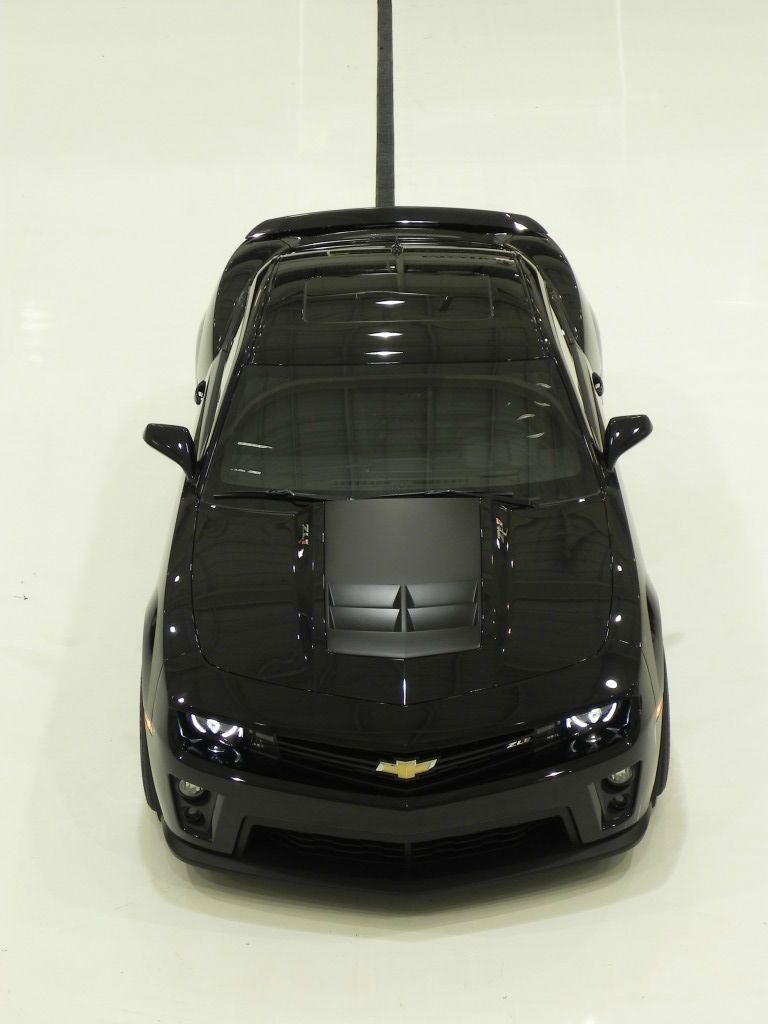
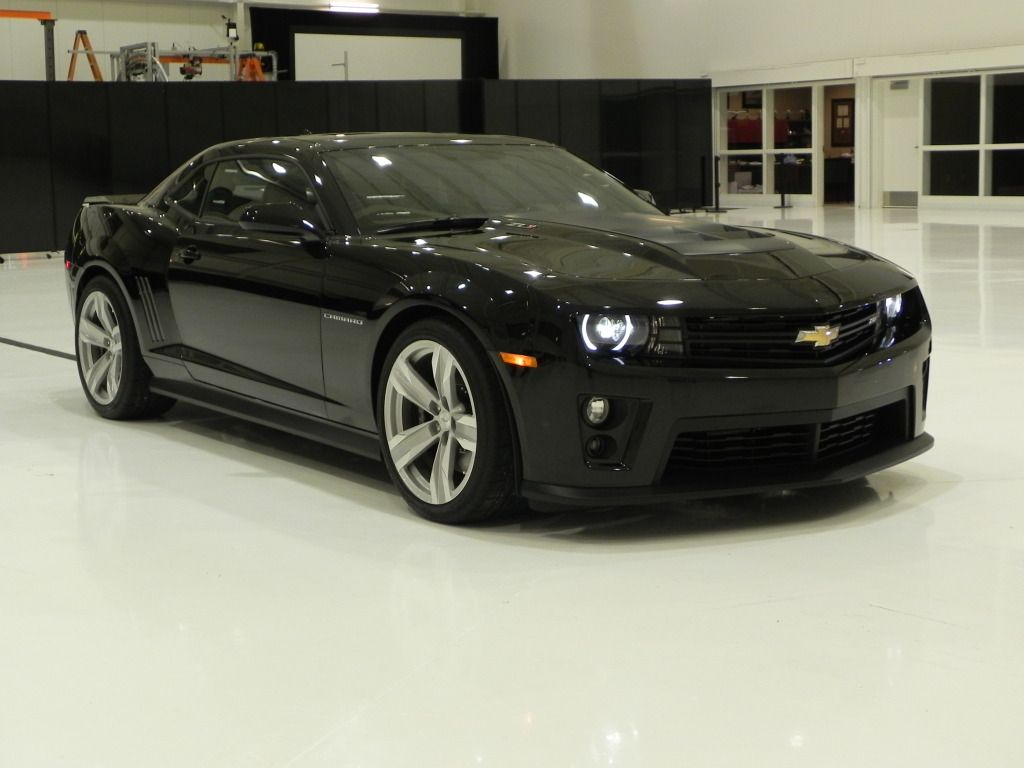
I did give the interior a once over with Pinnacle Vinyl & Rubber protectant as well as Wolfgang Leather Conditioner. I didn't get a chance to take any interior pictures because they had to rush it over to the tint shop so they could start working on the projects they had for it. I'll get some more of those later.


5 comments:
I am so glad to see this post.
rv detailing san diego
car detailing rancho bernardo
Can I just say do did a phenomenal job with an amazing car. I'll have to take a look at some of the polishes you used since you don't see much better results than you got. I'm a little envious that you were able to get so hands on with a ZL1.
Richard | http://www.exclusiveglasstinting.com
Thanks for the post. I know a car should be treated properly on a regular basis. I am looking forward to detailing my car. http://www.tlcautodetail.com/
Looking forward to getting interrior pics
Great work dude. A common misconception is that a vehicle's "clear coat" protects the exterior finish, so that regular maintenance is not required. In reality, a wax coat should be applied at least twice a year to the painted surfaces to protect the finish from contaminates and oxidation. Car detailing
Post a Comment