10:24 AM

Headlight Polishing

Posted by Anthony

A buddy of mine gave me his headlights after helping him replace them. He had gotten in a little fender bender and the insurance bought him a new set. So instead of polishing out the old ones, he just got new ones. Sweet deal! Anyway, this was three or four years ago and I had put the headlights up in the loft in my shed and forgotten about them. I was poking around up there on Saturday and found them and decided to see what kind of difference a little polishing up would do. They were pretty crusty and yellow, so this just seemed like a really good test.

These are from a 2001 Integra. I have no idea how we let them get this bad, but sometimes you just don't realize how nasty lenses get as they slowly oxidize and yellow.

Posted Image

I taped off half of the lenses so you could see a good before/after type effect. Sometimes you really need to see them side by side to tell the difference and I wasn't sure how much difference I was going to be able to make.

Posted Image

I hit them with my big guns. I had my rotary with a blue polishing pad on it already plugged in and on the work bench from another project I had worked on, so I decided to use that. I also had some XMT4 sitting there, so I decided to use my most aggressive machine with my most aggressive polish and see what kind of repair I could do. The blue pad isn't the most aggressive, but with that polish it doesn't matter. It could take the white off your teeth it is so gritty. lol

Here it is right after polishing. I was shocked that it only took like 45 seconds to get results. With that combo the yellow crust just melted off.

Posted Image

See what I mean about it being hard to tell the difference unless you see it side by side? You can see the brown polish on the tape and that is how I know this is the 'after' picture. Check out what it looks like when I pull the tape off though!

Posted Image

Posted Image

Posted Image

Here they are out in the sun.

Posted Image

Posted Image

The point is that I turned something my buddy was just going to toss into something worth money. Nobody would have bought those in the condition they were in. Once they were cleaned up I had to beat buyers off with a stick. The process of cleaning them up was ridiculously simple too. It just took a little car polish and a machine. They actually make smaller attachments and pads that you can use with a drill specifically for headlight repair like this. Don't go paying someone $50 or $75 bucks to polish your headlights when you can do it yourself for much less.

Plastic lenses are often clear coated to protect the plastic from UV damage, but over time and after a few years of neglect the clear coat will start to peel off and look terrible. It may be that you need to sand the rest of the clear off before you can polish and it also may be that the plastic has been UV damaged so badly that replacement is the only option. You won't know until you try though. Crusty yellow headlights really detract from the car's overall appearance. Polish them up and put a coat of wax or sealant on them when you do the rest of your car to keep them somewhat protected. It is better than spending big bugs on OEM replacements. I know you can buy aftermarket lights for about $150 shipped, but do you really want to have to do that if you can just polish yours out? And what about the resale value of your lights? I sold my OEM lights after I put projector housings in and it covered the cost of my replacements. Your yellowed lenses won't do that for you, so polishing them up is a good investment.

10:14 AM

Sorry for any broken images

Posted by Anthony

I typically renew my Photobucket Pro account every year using TrialPay.  This year they seem to have eliminated that as an option.  I guess I'll have to bite the bullet and pay the $25 bucks to have unlimited bandwidth on my pictures.  The pictures you see on the blog are usually just cut and pasted from a forum post somewhere.  I would upload the pictures directly here, but that takes so much more work...  Anyway, I'll get the problem fixed and I appreciate you not teasing me for being cheap.  ;)

-Anthony

9:29 AM

2012 Camaro ZL1

Posted by Anthony

This is definitely the newest black car I have detailed before. I've gotten them after a couple weeks or even a few days, but this car has as many miles on it as it took to drive it home from the dealership and then over to the hangar where I detailed it. It hadn't been washed or touched in any way other than to take the supports out of the suspension which were there for shipping and to take a couple stickers off the window. 59 miles is all it has and it is killing the owner to have to wait to really get on it while he is breaking it in.

The car has been sitting in Canada for two months waiting for some kind of replacement part they had to do on all the ZL1s. The owner had been sent pictures of it sitting under snow and ice completely uncovered. The only covering they put on these cars was right along the front of the bumper and some on the spoiler. No other plastic was on the car. So it had quite the build up of some cloudy looking scum which was really apparent after the plastic came off. There were a couple fairly significant scratches on it, but considering it hasn't been washed since it rolled out of the factory, the only damage to the paint was just in what the snow had done to it and possibly some dust storm swirls from the ride on the truck to Utah. There was quite a bit of dirt accumulated in the engine bay and some other places, but that was pretty simple.

The owner wants this car to remain looking as good as possible for as long as possible. He hadn't even touched the paint with his hand anywhere other than on the door handle before I got to it. He is very aware that anything that makes contact with the paint can cause swirls and scratches. I thought about what would be best to use and searched around on the Autogeek website for any ideas. That is when I found CQUARTZ. It says that it provides significant protection from washing induced swirl marks. Since that is the only kind of swirls this car is really going to be at risk of, I thought it might be a good option to try. So I called my buddy Nick at Autogeek for some of his thoughts and recommendations and put in my order. 
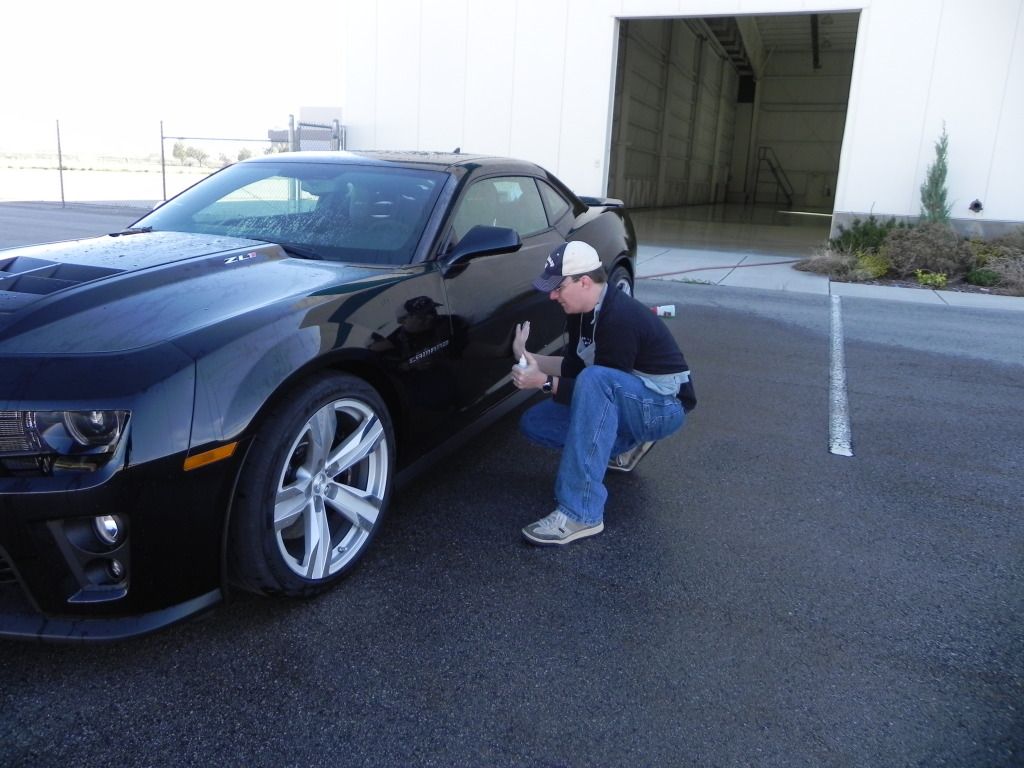
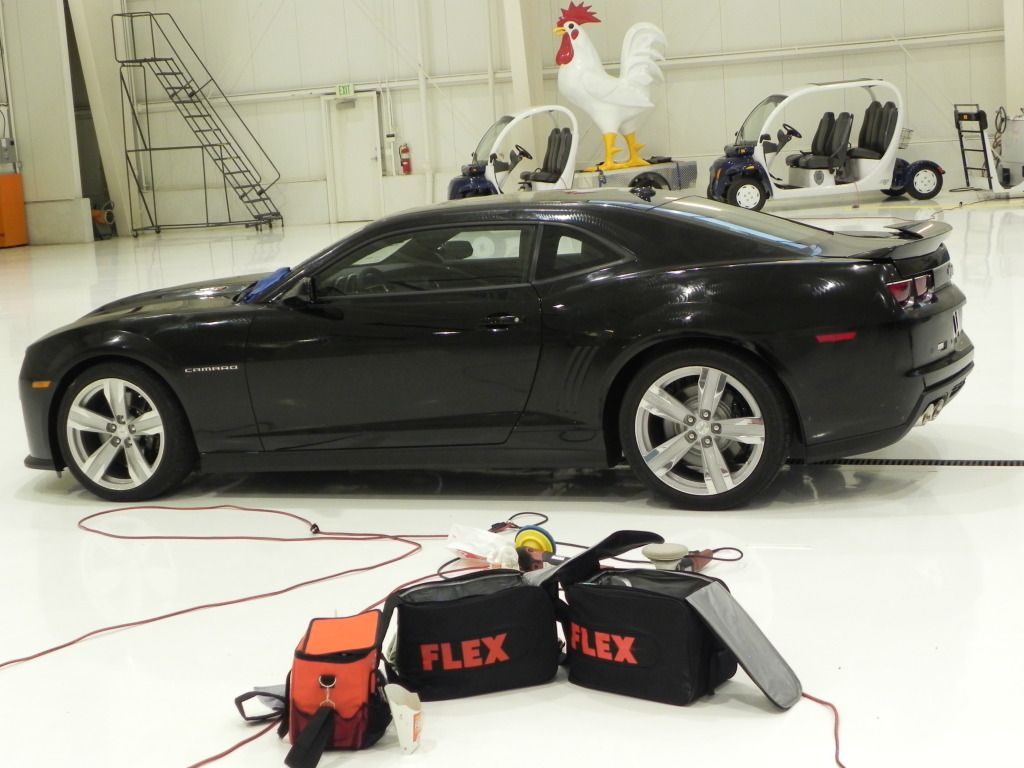
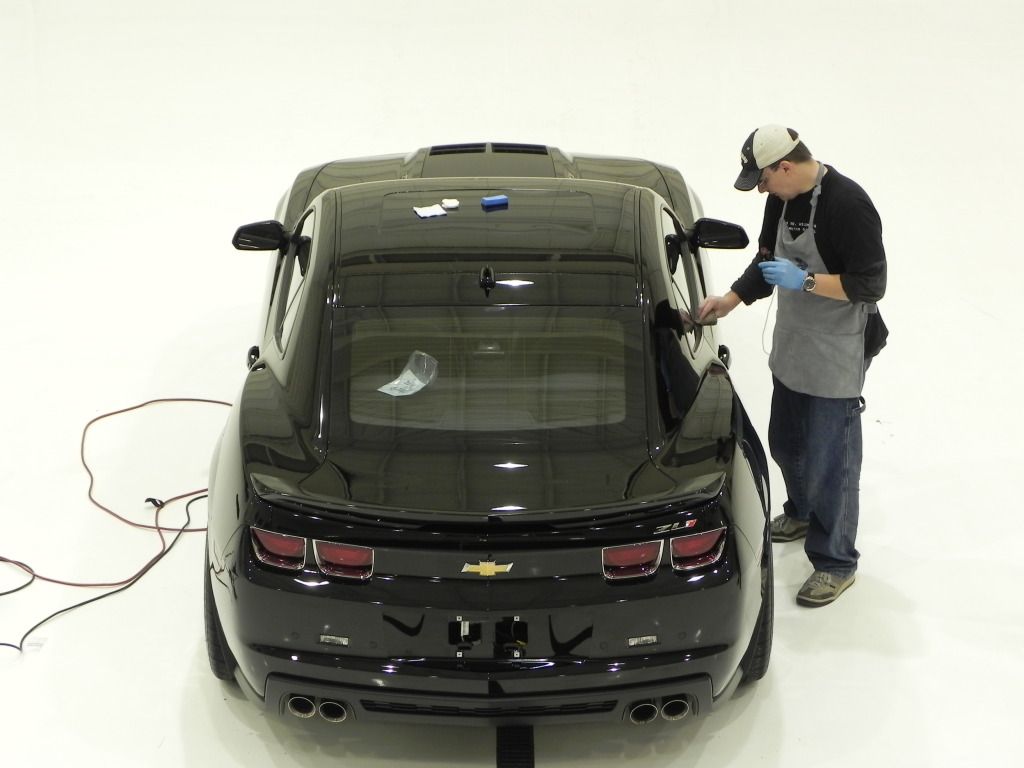
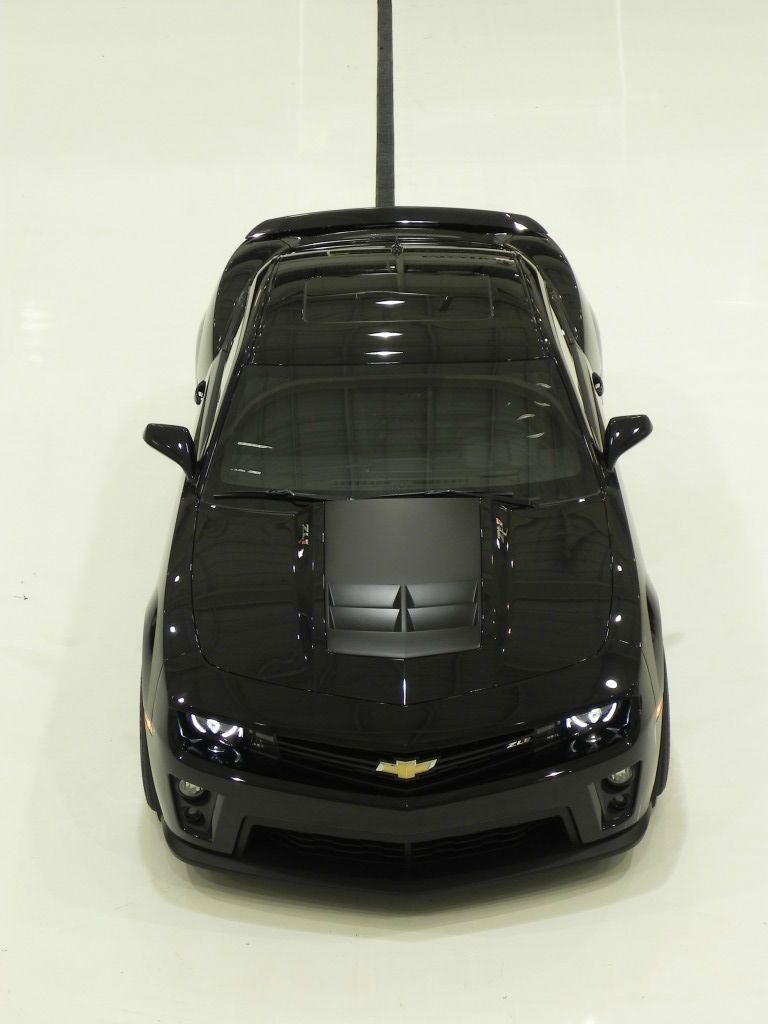
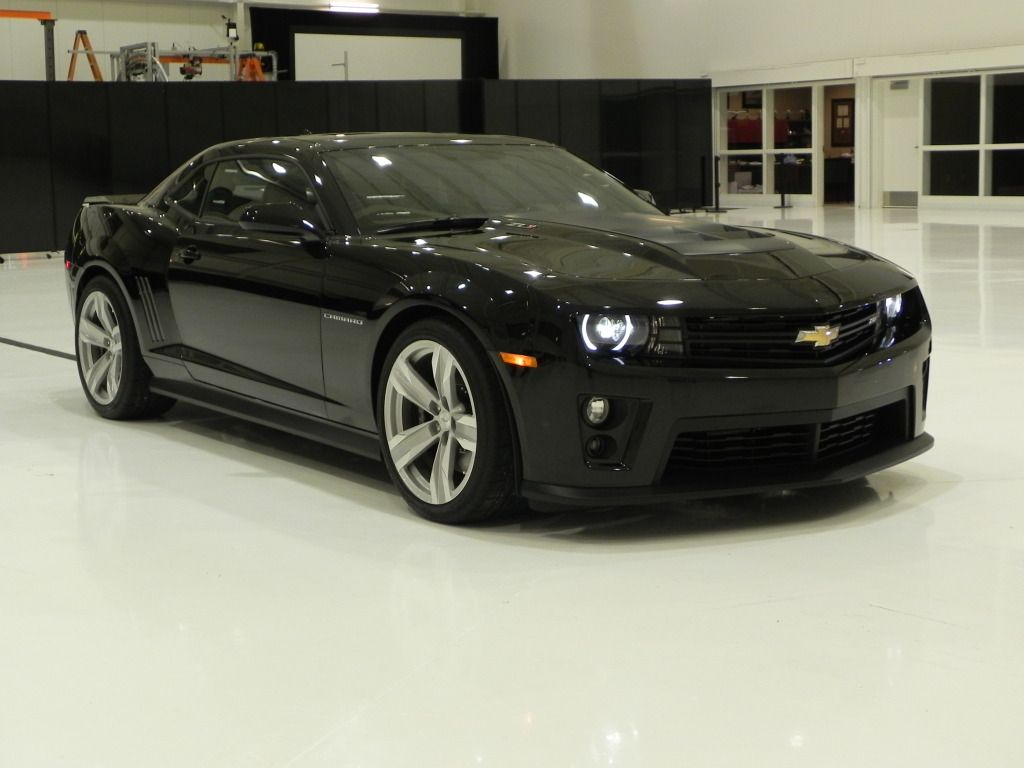
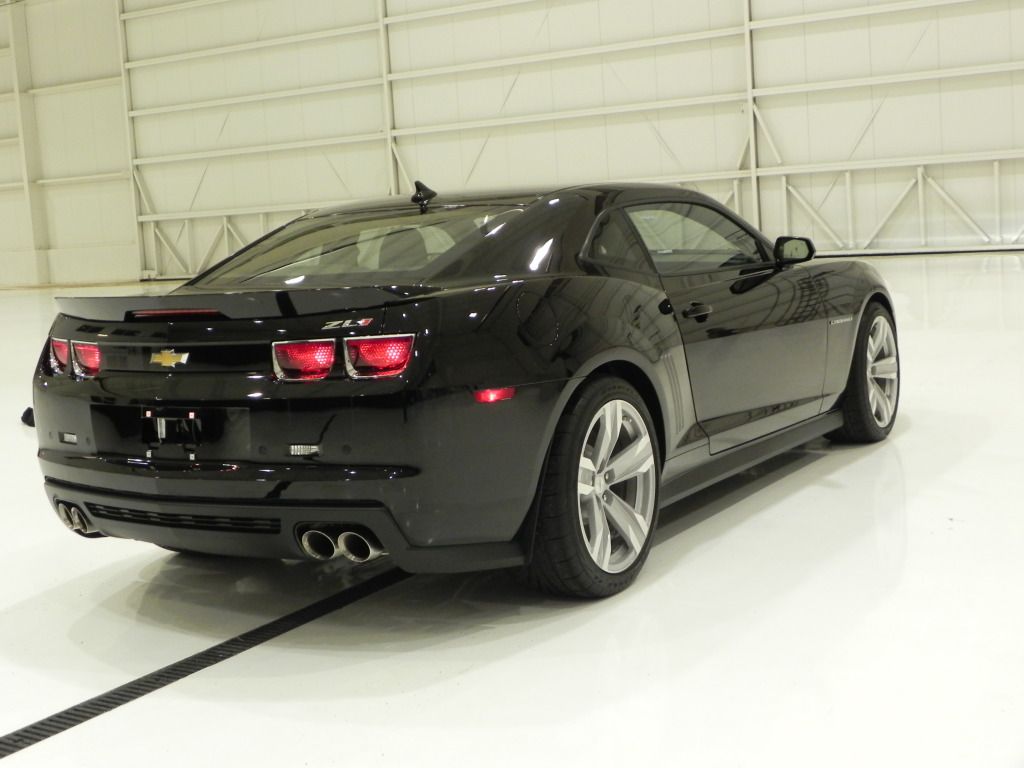
(Thanks again for your help, Nick!) As always, Autogeek got my order packed and sent off and it arrived to me within a week. Just in time too. The car was delivered on Monday evening and the box arrived on Tuesday afternoon. I headed off to the hanger as soon as UPS dropped it off.

The first thing the car got was a good wash with Wolfgang Auto Bath. I gave the owner my Foam Gun as well and bought him a bottle of soap for it. Since he is worried about creating swirls, I felt this was a good present for his new car celebration. (He is an awesome client and I definitely want to keep him happy.) Then it got clayed with Pinnacle PolyClay using XMT Clay Lube. That stuff is my absolute favorite combination. Especially for a car in good shape. Fortunately there wasn't much contamination on this paint.


After the clay and final rinse, I dried it with my trusty green waffle weave microfiber towel. (another favorite tool) I did the job at their private hangar, but I wanted to get all the wet work done outside so not to have a slippery floor to contend with while I did the rest.


I also gave the engine bay a little bit of a wash since there was quite a bit of dirt in there and waterspots under the hood and on the strut towers. Nothing a little soapy water couldn't handle. I dressed it with CD2 Engine Detailer later, but for now it was ready to go inside the hangar.

This is what I call the perfect environment for this kind of work! Talk about bright lights and just perfect everything!!


With the white walls, floor, and ceiling, I had no excuse not to be able to see every single mark on the paint. The owner wanted perfectness, so I went to work trying out different combinations of pads, product, and even machines. What turned out to work the best was a white CCS pad and my trusty Flex 3401 using Pinnacle Advanced Finishing Polish. I tried XMT 2 and XMT 1 with different pads and they both left too much haze behind. After switching to the PAFP and the white pad I was left with absolutely zero marks.


You can't hide swirls with that kind of lighting! These are the same kind of lights they put in convention centers. We have this kind of lighting at the SEMA show and it was great to be able to demo this exact same product there on black paint to show how effective it is.

The whole front clip from the doors forward is getting a clear bra on it as we speak. So the idea was to polish the entire car to perfection and then apply the protection to everything not being clear bra'd. So I got everything all shiny and went to work with the product.

I have to say this first. CQUARTZ smells HORRIBLE!! Can I say that louder? H O R R I B L E ! ! It reminds me of the smell in the dentist office when they are gluing on a crown or something. It will burn your eyes and probably cause brain tumors if you sniff too much of it. If you are at all sensitive to smells then I would strongly recommend wearing a medical mask while applying it. My head hurt after this process. I've been spoiled by my wonderful smelling Pinnacle products too long I guess....

Anyway, the product itself applies very similarly to Klasse Sealant Glaze. This is a ceramic sealant apparently and not an acrylic or polymer, but the principles are the same. It should go on in very thin coats. I was absolutely amazed at how little product was needed to do this car. I seriously probably only used an amount equal to the size of half the height of the font on the label. We are talking a barely perceptible difference in quantity lost after I was done. It may be spendy, but that little 30ml bottle is sure to last forever. It will probably harden and crystallize in the bottle before I ever get around to using it all.


You apply it to the applicator and just wipe it on in straight lines. It dries pretty quickly, so you have to spread it around fast or else you are left with something akin to concrete to try and buff off later. I've learned that the hard way with KSG, so I moved rapidly on this. I applied it all the way around the car and then set to work cleaning the wheels and tires while it dried. It suggests 20 or 30 minutes to dry, and although the first panel had already had that amount of time, I like doing the wheels next so I can wipe off any product overspray on the paint when I buff the sealant off.

I was showing him some local products he should use on the car to maintain it, so I picked up some Eagle One A2Z for the wheels and tires that was used prior to the wash. I used Eagle One Wet for the tires at this point. Then for the wheels themselves I just spritzed them with Wolfgang Instant Detail Spritz and then used Detailer's Wheel Glaze to protect them from the brake dust. I want to see how bad the brake dust gets on these. If this doesn't do the trick on helping to keep them clean and easy to maintain, then I'll go over them again with something a little more durable. I've had good results with this in the past though, so I'm not worried.

I popped the hood and applied the CD2 engine detailer to the plastics and rubber under there. I also used the Instant Detailer Spritz to clear up the waterspots under the hood and on the painted surfaces. Then I used Wolfgang Deep Gloss Spray Sealant under the hood and on the painted surfaces to make it really shine. What a beast of an engine bay...


I dressed the wiper cowl, running boards, front splitter, and rear part of the bumper with Wolfgang Exterior Trim Sealant. I also went over the door seals and anything else I could find to use this stuff on. I love how well it protects and shines plastic.

Then came the part where I had to work my muscles to buff the CQUARTZ off. It didn't come off like what I'm used to, but it wasn't the hardest thing to buff off either. Again, fortunately I had the advantage of knowing to put this stuff on thin beforehand because that definitely made it easier. The spots I put it on a little to thick were much tougher to buff off.

After it was all said and done, I think the car came out looking awesome! I'm going to take another look at it this weekend when the sun is out and maybe go over it with Deep Gloss Spray Sealant just to give it a little more pop. Still... For a black car I don't think it can look a whole lot better than it does right now. The thing is incredible looking.


I did give the interior a once over with Pinnacle Vinyl & Rubber protectant as well as Wolfgang Leather Conditioner. I didn't get a chance to take any interior pictures because they had to rush it over to the tint shop so they could start working on the projects they had for it. I'll get some more of those later.

2:27 PM

Headlight Polishing

Posted by Anthony

These headlights wouldn't even need to be polished if someone hadn't decided to use a wire brush to remove the tint he had installed on them. Yes... he had tinted the headlights yellow to match the car. And yes, he used a wire brush to remove the tint. I'm not going to try and justify either of his actions. lol

He did the damage two years ago and decided it was finally time to see if they could be cleared up a little. When he told me what he did, I really didn't see how there would be much hope, but in seeing them I could tell that it wouldn't be too terrible. They probably wouldn't come out perfect, but they would be good enough. Considering the car is only used as a track car and rarely even needs to have the headlights on, 'good enough' is probably fine.

So here are the before pictures.


I hit them with a Chemical Guys level 3 polish. It is really thick stuff. Thick like Diamond Cut is thick. I don't know where it fits on the abrasive level chart, but it is only something I've ever used for things like paint swap and heavy stuff like that. I applied it with an orange Edge 2000 pad on my FLEX 3401. I was actually pretty surprised of the results. I didn't really have to polish that long before the job was done.

There was a little haze that needed to be cleared up.


That was easily sorted with a level 2 polish and the yellow Edge 2000 pad. Then I used a Blue Edge 2000 pad and XMT 360 to do a final polish and put some protection on. I don't know why I used 360. It was handy I guess. lol


Not too shabby, eh? Definitely a whole lot better that it was before. I wasn't trying to get them perfect simply because of how abused these things tend to get. The car has over 600 HP at the wheels and it does a couple dozen track days per year and probably less than 1000 miles on the streets outside of that, so having them show car perfect really wasn't the goal. I just wanted to do a favor for a friend and see what kind of difference I could make in a short amount of time. I was pleased with the results.

I'll tell you the really funny part though. Under the hood he has an LOL hose. :P


That must me the hose attached to the nitrous or something. lol

10:43 AM

Semantics...

Posted by Anthony

Do you know the difference between schematics and semantics? I don't think a lot of people have the vocabulary or reason to use either one of those words very often. A SCHEMATIC is like a blueprint type drawing. If you are looking at how to install a supercharger then they are going to provide a schematic drawing of the process. SEMANTICS on the other hand, is when people use the wrong word to describe a situation even though they know what they are talking about. If you call every tissue a Kleenex even though it is actually not a Kleenex brand tissue, you are dealing with semantics. A lot of arguments happen this way. My wife will tell me that it is taking forever to download pictures to her blog. She means upload, but she just messes up the words. I could argue with her, but I know what she means.

Semantics get in the way of car care all the time. I want to give you some really clear definitions of what certian words mean which might help us communicate better. This just the accepted meaning of these words in the industry, so you may say this word and mean something totally different, but semantics are going to get in the way of you getting the help you need.


Wash: This is pretty simple. When I say 'wash' I am talking about whatever process is necessary to remove dirt and crap from the surface of whatever is being washed. It does not include clay baring the paint, but it may include doing tar removal or something like that. When I say "wash the car" it typically includes the wheels and tires as well. It just makes more sense to include everything into one statement rather than saying "Wash the car, the the wheels, the tires, the trim, and remove the tar from the fenders and side skirts", don't you think?


Detail: This is the trickier one. Detailing is much more than washing. In fact, when I say I'm going to wash the car this weekend, that pretty much just means I'm doing what I mentioned above. It does not usually mean I'm going to clean the interior. If I'm going to wash the car and clean the interior then I would use the term 'DETAIL'. There are different levels of this, obviously. A 'QUICK DETAIL' might mean just washing the car, using a spray wax of some sort, and doing a once over on the interior. A 'FULL DETAIL' would be much more intensive and include busting out the machines and cutting compounds. I always tell people that I'm a 'detailer' and not a 'car washer' because there is definitely a difference between the outcomes of the two. You yourself probably know the difference too. You know when you have detailed your car as opposed to just washing it.


Clay: This deserves a post all its own, but the short story is that clay is a product meant to pull contamination OUT OF and OFF OF your paint. This is an essential part of 'detailing' your car. It doesn't really improve the look of your car at all, but you will be amazed at how much better your car will FEEL after you use a clay bar. Again, this won't remove swirls, scratches, or anything like that. It is going to pull stuff like tree sap, residue from bird sh!t, road tar, some types of paint overspray, and that the invisible kind of stuff that falls on your car from the atmosphere and makes it feel not smooth. Trust me... if you haven't clayed your car in the last 6 months then your paint is not as smooth as you think it is. If you've never clayed your car and you think it is pretty smooth, then make sure you have a towel handy when you do clay for the first time because you will bust a nut when you feel the difference.


IFO: This sort of goes under the clay category, but it is an acronym that warrants explaining. IFO stands for Industrial Fallout. It comes from pollution in the atmosphere that lands on your car if you park your car within ten miles of any refinery or industrial factory. It also comes from the freeway if you do a lot of driving that way. IFO is also known as 'rail dust' because new cars would pick it up when being transported by train and the metal dust off the tracks would burn into the paint. Take a look at the back of your car and see if you can spot the brown rust dots or little black specs. That is what IFO looks like. It is easily removed with clay and then the brown rust stains it leaves behind can be cleaned up with a simple paint cleaner if the clay bar doesn't get them all.


Paint Cleaner: A paint cleaner is something that will remove paint contamination like oxidation and paint swapping by using only chemical abrasives. It won't remove swirls or scratches unless it can reduce the appearance by getting the dirt out of the scratch. In most cases a chemical cleaner is all a white or silver car really needs since it is so hard to see the swirls anyway. This is a product that can be applied by hand, but is faster and more efficient if applied by machine. Klasse All In One and Pinnacle XMT 360 are good examples of paint cleaners. The exception is that XMT 360 will put down a sealant as well which adds to the protection and is more of a one-step product than KAIO is. KAIO still needs something to protect the paint afterwards, but I'm getting ahead of myself here.


Polish: This is where people get confused. Someone will say they are polishing their paint and it could mean anything. The way this word should be used is if you are using either a cutting compound to remove swirls and scratches OR if you are using a chemical abrasive to remove just oxidation. The bottom line is that you are working on correcting issues with the paint and not protecting it. Polishing does not mean you are using a wax or sealant if you are being literal about it. But a lot of people will say Polish when they mean Waxing just because they don't understand the difference. It's just semantics. As long as you know what you are doing then that is all that matters. But if you ask me to help you pick a product to polish your car, then you are going to get products suggestions that don't protect the paint, and that may not be what you are talking about.


Wax: This is another universal term. Even I use it somewhat universally. To 'WAX' your car is to put something on it that will protect the paint from UV damage, IFO, and just all around make it look better. This could be a glaze, a sealant, a carnauba, or any combination of the three. You can 'wax your car with a sealant', for example. That is acceptable. Just know that if I say to 'Wax your car with Wolfgang Paint Sealant' that I just mean the technique and purpose of the application of the product mentioned should be done in the traditional style of putting wax on your car. That means typically that you can just do it by hand and you should let it dry for a minute or two before buffing it off. That is probably grounds for another post as well.


Wax vs Sealant vs Glaze: Since I brought it up, let's look at these really quickly. A 'WAX' is typically referring to something based on a carnauba wax formula. The percentage of carnauba in the product is usually what separates them. A ‘SEALANT’, on the other hand, is entirely synthetic and is either going to be an acrylic or polymer based concoction that will far exceed the durability and appearance of 90% of the carnauba waxes out there. Some manufacturers call sealants ‘SYNTHETIC WAX’ or something like that. Meguiar’s Ultimate Liquid Wax is a sealant, for example. Then there are ‘GLAZES’. Personally, I hate glazes. As a product they suck because they are pretty much just greasy coatings that attract dust, hide swirls and buffer damage, and last only a couple weeks. Dealerships love to use glazes because they are impressive as hell when you pick the car up, but then three days later you see all sorts of things you didn’t notice when you bought it. However, just because a product has the word ‘glaze’ in it doesn’t mean it is a “glaze” as I defined it. There aren’t too many that you have to worry about out there. Meguiar’s #7 is really the only consumer grade glaze that you might run into, and it isn’t all bad. I still wouldn’t use it when there are so many better choices out there.


Compound vs Polish: Again we get to deal with semantics. I said before that a polish was something that was correcting the paint. Yes, that is true, but a “COMPOUND” is what you polish with, if that makes sense. I use those words interchangeably all the time, so you’ll have to forgive me if I confuse you with it, but sometimes it is just easier to be general and say ‘polish’ than ‘compound’. Usually I refer to certain products as compounds and ‘polish’ is more of the term I use to indicate the process used. Sort of like how we ‘wax our cars with sealants’. We also ‘polish our cars with compounds’.


See what a crazy mixed up world it is? Maybe this didn't help much, but hopefully it did open your eyes a little bit to the different terms used in the detailing world. It might make some things make more sense to you knowing which words are interchangable with another and which terms are new to you. I just hope it helps a little. If not, well... I tried. :)