11:31 AM

Wheel Cleaning

Posted by Anthony

I think some of you have seen the wheel brush I use and know my process. I just wanted to show off some of the results since wheel cleaning is kind of a chore that none of us like to do. However, it is also the first thing I look at when buying a used car. If the wheels are pitted and corroded, then I can be pretty sure that the rest of the car was neglected as well. There is no reason to believe they took the time to clay and polish their car if they were content with brake dust coating their rims and eating them up.

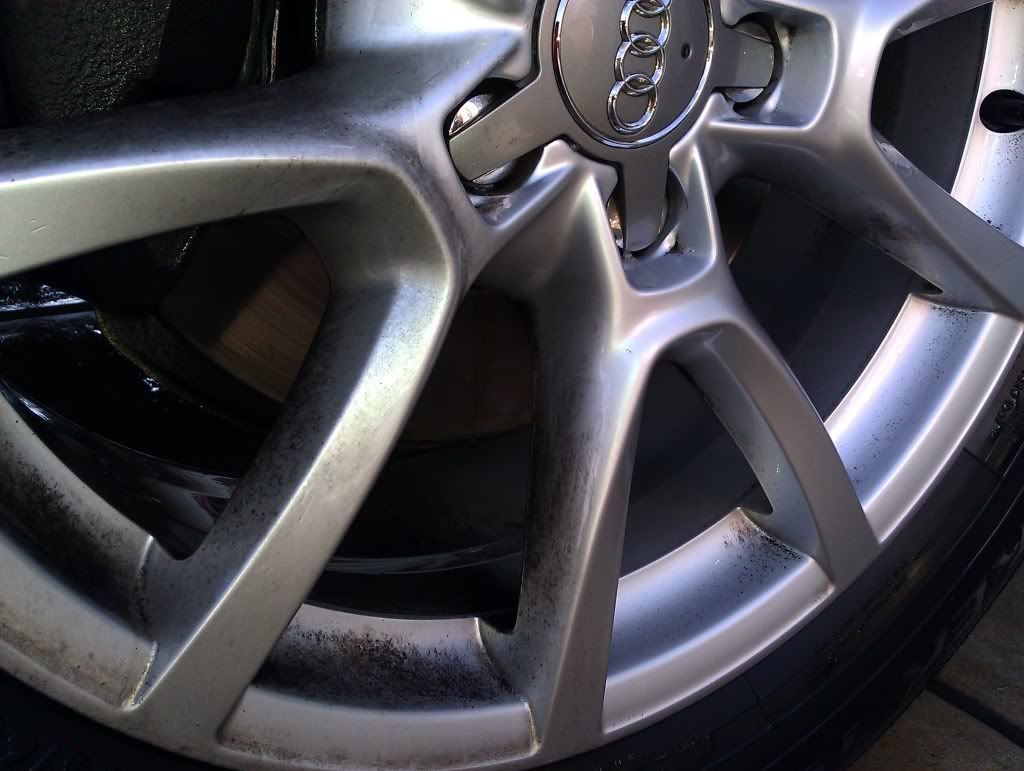
So this is a relatively new Audi Q5. Not a bad little vehicle really. The problem with nearly all German vehicles is the brake dust though, so I’d have to really have a good reason to buy an Audi, BMW, Mercedes, or Porsche. They are great cars and all, but if I have to scrape brake dust off every week, then I’m afraid that takes away from the sexiness for me. I’m not into high maintenance women and definitely not into high maintenance vehicles.

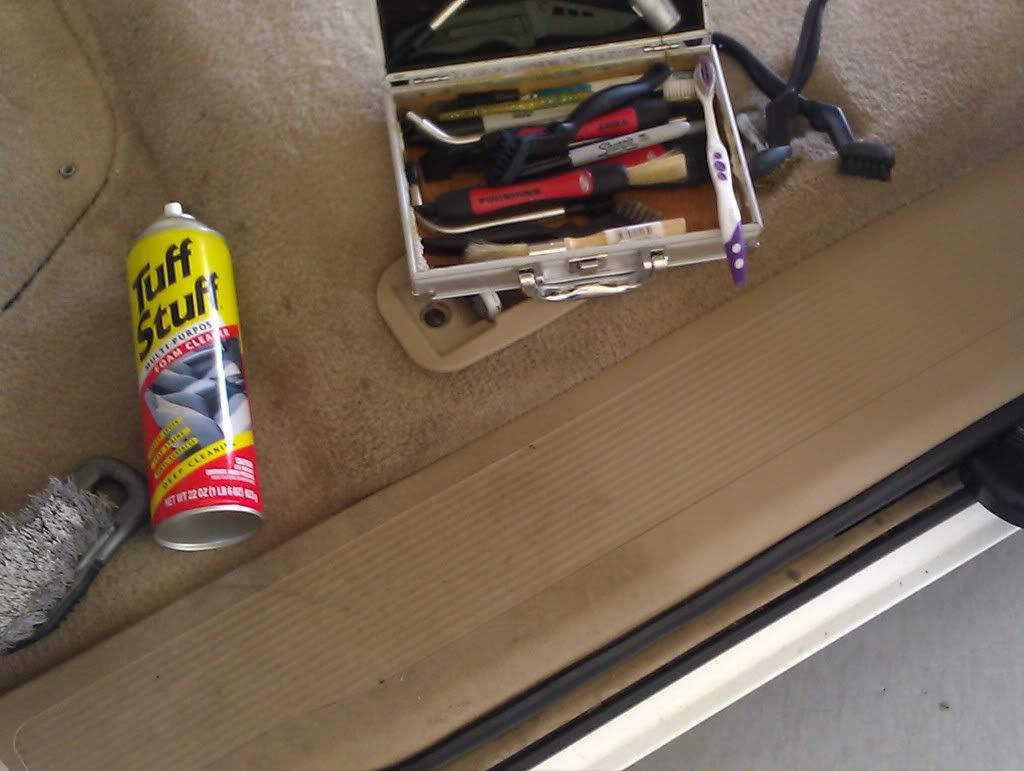
The first thing I did was spray them down with Eagle One A 2 Z. That is my favorite wheel cleaner. It does a great job of getting brake dust off tires and wheels. However, there is only so much that can do. What it did here was get the top layer off, but it still left a lot on it. I should have taken a before and after picture, but let’s just say not much came off. Mostly just the surface stuff from the past couple days and a lot of junk on the tires. The rest had to be scrubbed off.


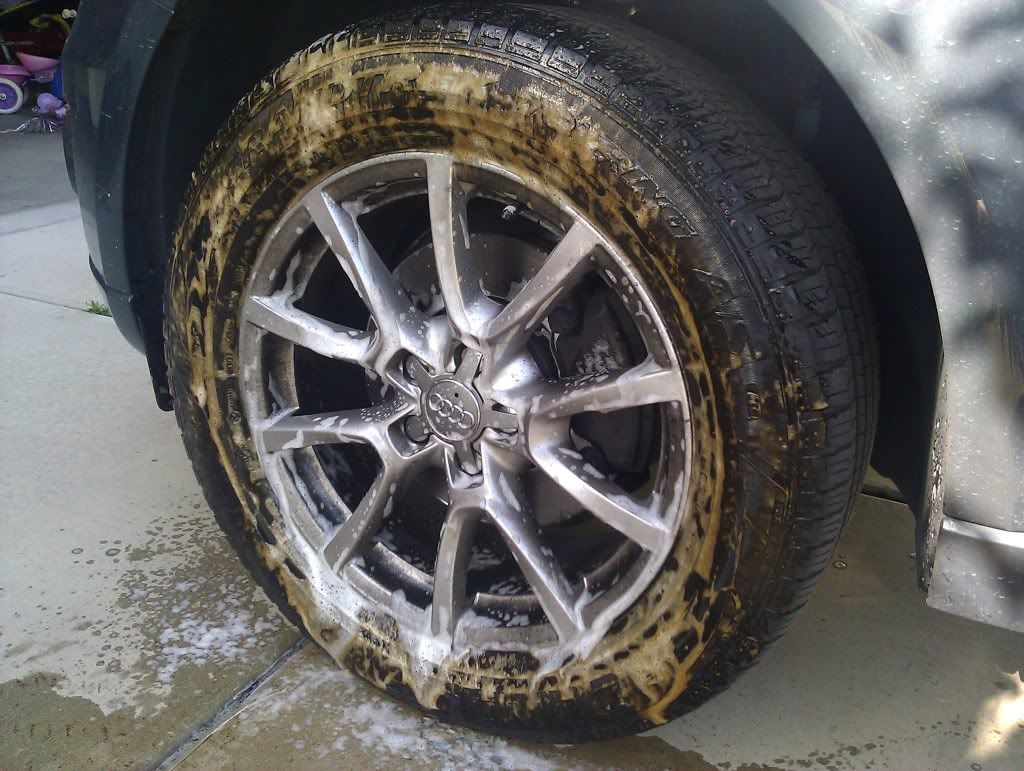
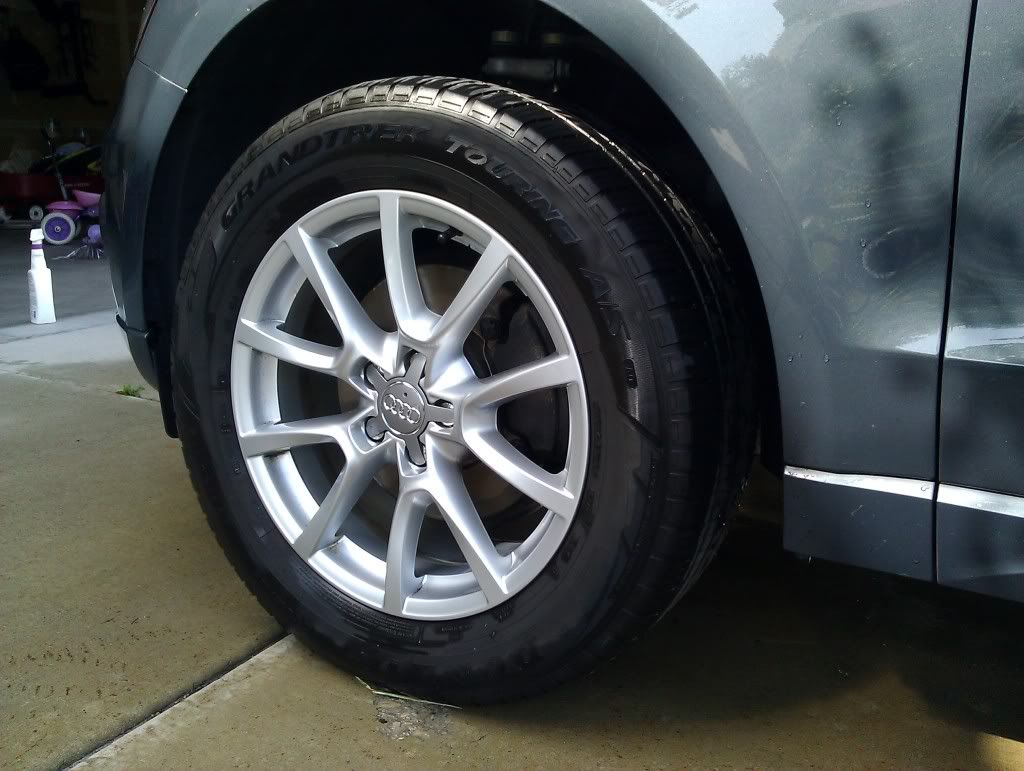
Look at how black the inside of that rim is. It is just nasty. The whole thing is nasty. This product will get a lot of it off the spokes, but the lip and that ledge inside of it before you get to the inner part of the wheel is where the brake dust does the most damage. There was crap on this wheel which I was not going to spend all day scrubbing at just so it could be neglected again, but with a little extra elbow grease and a nice wheel brush, I got it looking like this:


The magic there was not in relying on the wheel cleaner to do all my work for me. After I washed the rest of the car, I used the bucket of water to go to work on the wheels. Obviously you don’t want to do it before you wash the car or else you’d be doing it with black water. So I took my handy dandy wheel brush I got from Autogeek at SEMA a couple years ago and went to town scrubbing.

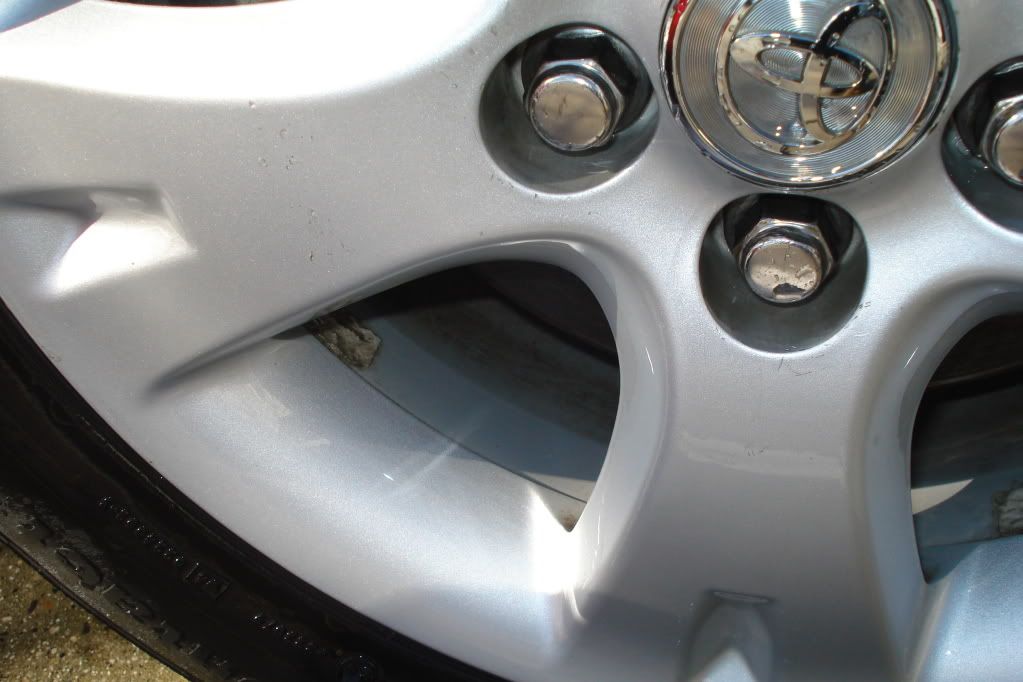
Since the brake dust on these wheels hadn’t really had time to do serious damage, most of it came off pretty quick. I just jammed the brush in between the spokes and scrubbed the inside of the wheel. I treated it just like I was brushing teeth when it came to the lip. Scrub scrub scrub… rinse… repeat…. I use a combination of a couple brushes for this kind of thing. One is a Meguiar’s brush, but it works better for large flat faced wheels like the ones on my Corolla.


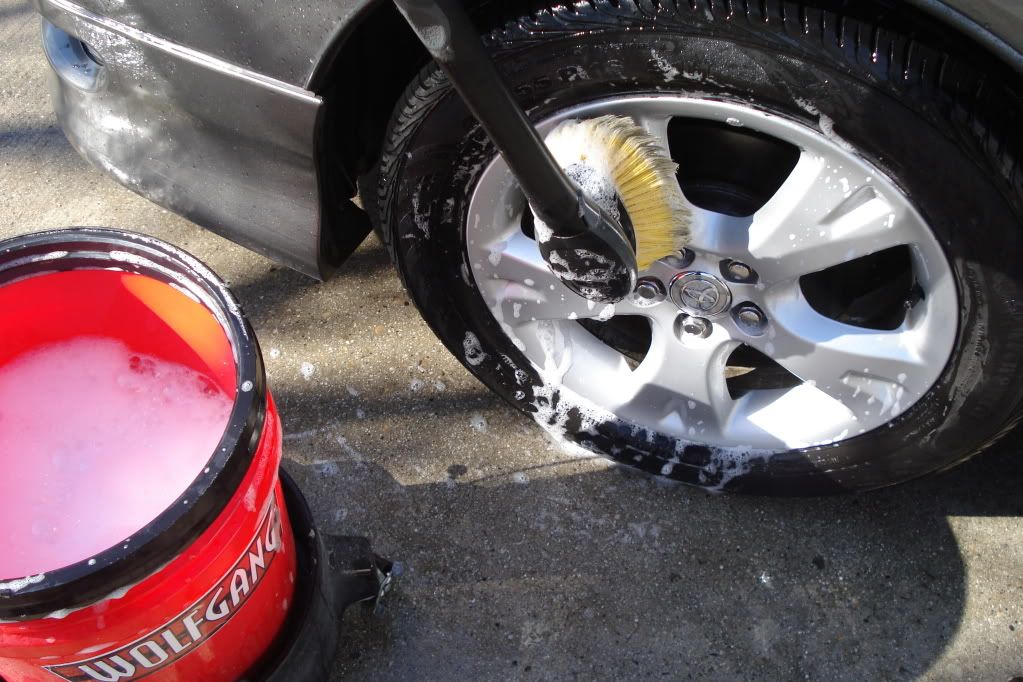
For this job I used the Daytona Speed Master Wheel Brush. To take a page out of my most recent detailing guide, here are some process pictures on my car.


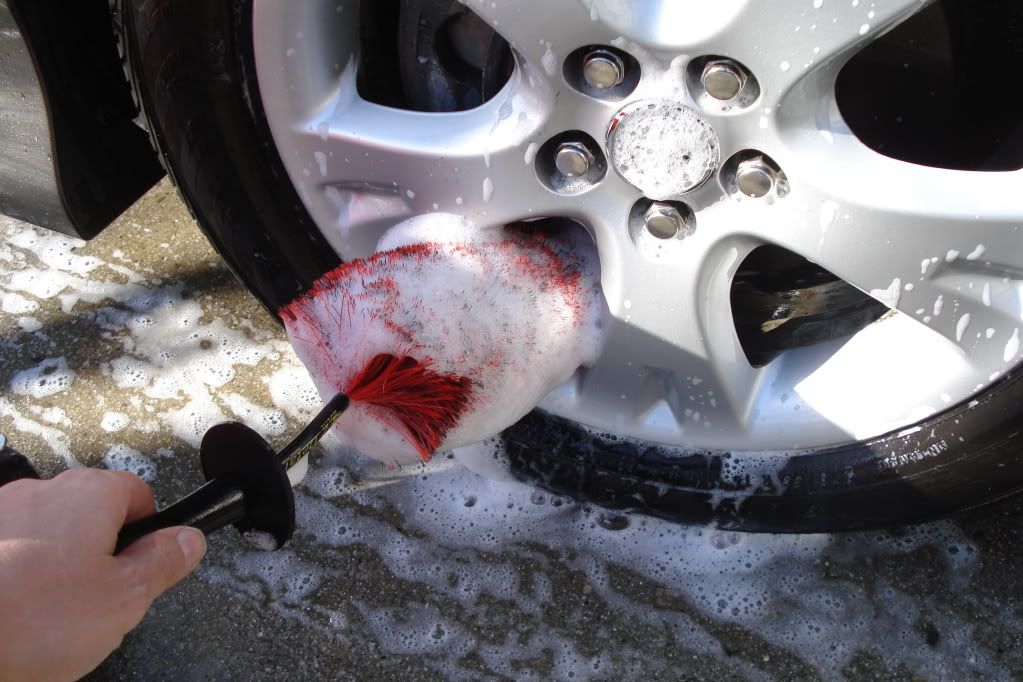
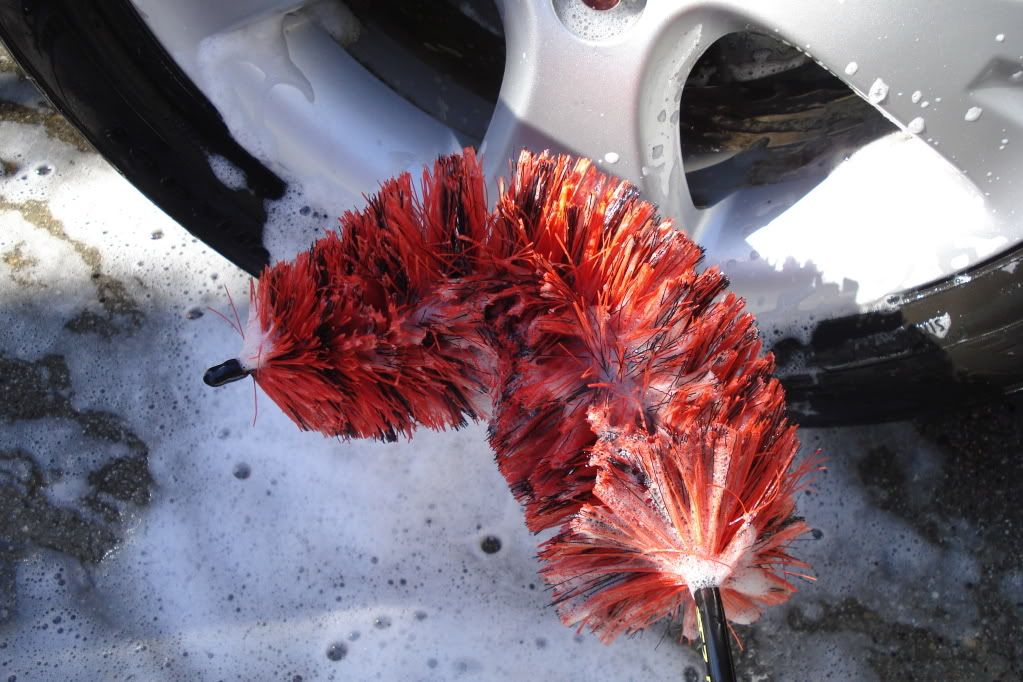
That brush does an awesome job and is totally safe on your wheels. The wire that the bristles attach to is wrapped in thick rubber and no metal touches your wheel. I’ve bent this thing back and forth so many times over the last two or three years that you’d think it would have broken by now, but it hasn’t. It is an awesome brush. There are a couple similar models out there on the shelves, but my problem with them has been that they don’t wrap the wire with rubber and they also break pretty easily. So just be picky when shopping for one.

On this particular Audi I want to show you what it looked like with just a quick scrubbing on the passenger side front wheel. The right side was just a quick scrubbing, but you can totally see how much better right side of the inner part of that wheel looks in comparison to the left side.


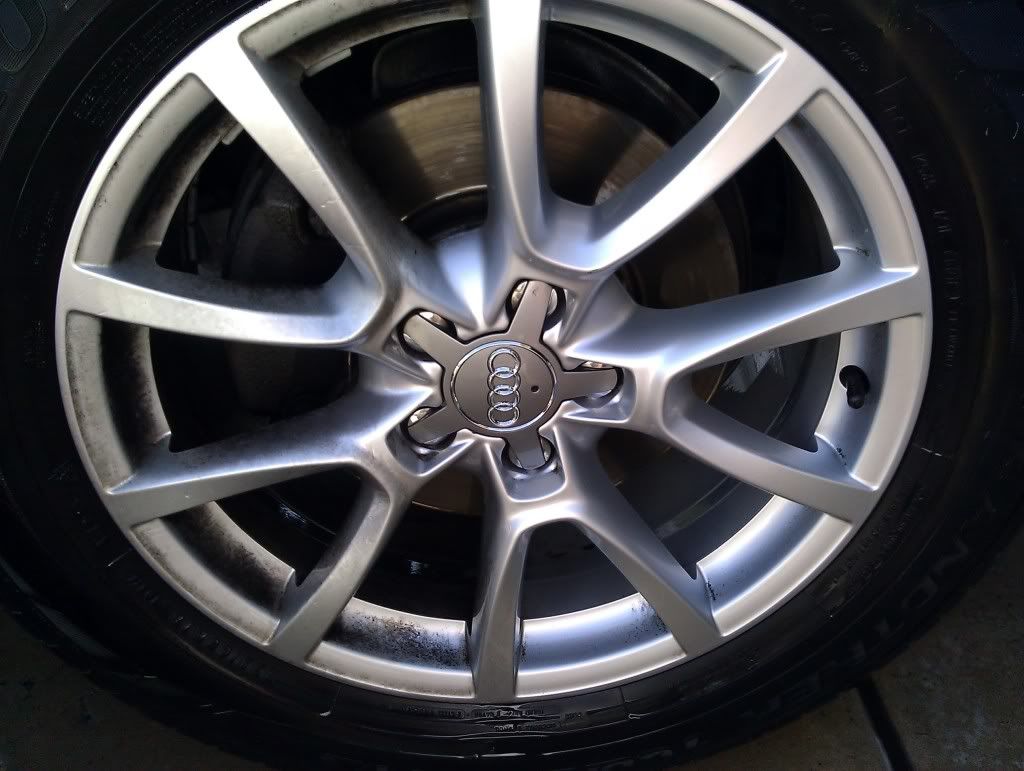
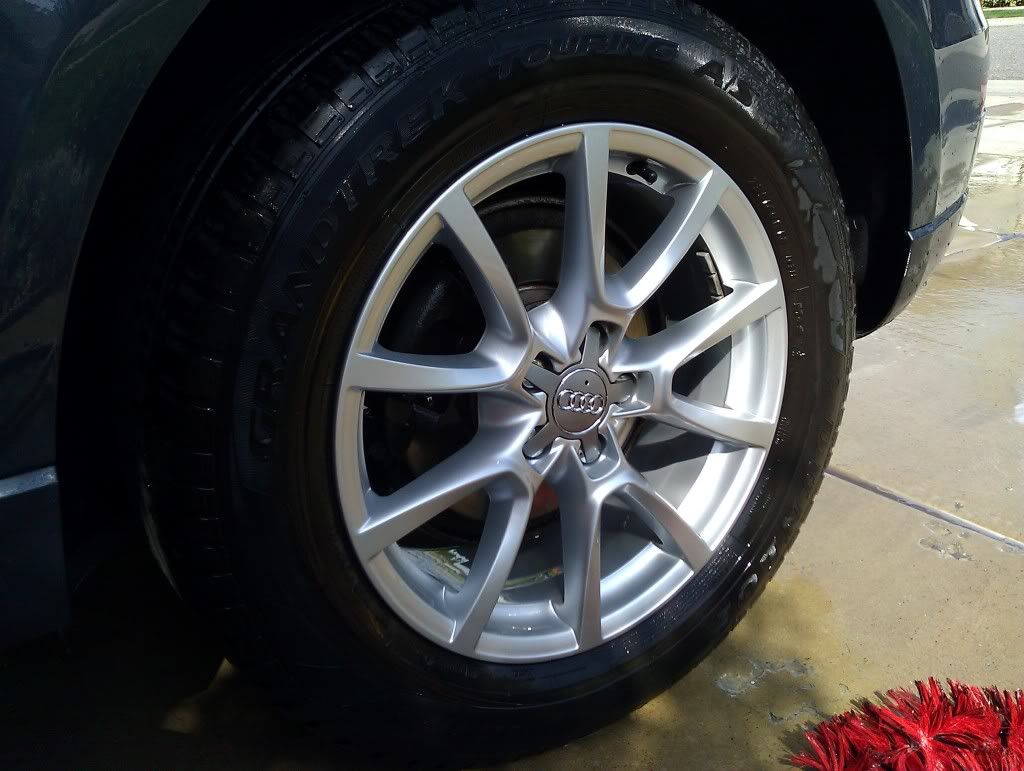
You can also see the parts which require a little more effort which are left, but that is what you get when you have a German car. Using the Meguiar’s brush worked out really well on those parts, so ultimately the wheels turned out pretty good. The back ones weren’t so bad, but here is the before and after one of the rear wheels on the Audi:

Before:


After:


So get yourself a good wheel brush and stay on top of them if you have a lot of brake dust. I’ve found NOTHING which really keeps it off, but I can tell you that putting a sealant on them does help make them easier to clean. Waxing doesn’t really help because it just gets too hot and it vaporizes in a couple days. Wheel Waxes don’t really help either. I’ve used sprays, jellies, waxes, sealants, voodoo, and everything else I can think of. The only thing that works is cleaning them regularly. Let me know if you find anything else that really works because I’ve been stumped. Fortunately I don’t buy cars with this problem, so I haven’t had to deal with it much. I do still maintain my rims though because I know if I make judgments about car care based on their condition, then it is likely that others do as well. I do intent on selling my vehicles at some point, so keeping them looking good is a high priority for me.

9:14 AM

Interior Cleaning on a Honda Odyssey

Posted by Anthony

I did some grizzly cleaning on a Honda Odyssey this weekend. The thing hadn’t been really cleaned beyond just vacuuming for something like 6 years. This is exactly the reason I won’t ever have tan, beige, white, brown, or any other color of leather in my car other than black, dark grey, charcoal, or something like that. Light colored interiors are just a nightmare to keep clean and they take forever when you do need to clean them. It wasn’t as hammered as some vans I’ve done have been. The kids going in and out of this did a good job of not spraying soda all over the ceiling or having the family zoo shed their fur in it every day, so the bulk of the cleaning was on the hard surfaces and the leather.

For the leather I used the Wolfgang Leather Cleaner and then ultimately the conditioner. I’ve found for really dirty seats it is best to use something which is dedicated to cleaning to get the best results, otherwise I would have used something like Poorboy’s Leather Stuff. That works really well too. This van was being repurposed to be used as a shuttle for clients to and from the hangar with their private plane, so I really wanted it to look its best.

The process as just a lot of elbow grease. I used a carpet brush with nylon bristles that really do a great job on getting in the grain of leather seats and getting the dirt out without damaging it. I wouldn’t suggest just any carpet brush for this kind of work though. You’ll see the one I’m talking about down there with the side rails. Anyway, spray the cleaner on the seats, let it soak just for a second, and then brush it out using circular movements. That is really the key. Scrubbing back and forth doesn’t get nearly the result that circles get you. It is the same advice your dentist will give you about brushing your teeth, actually.

I did wipe the seats down with Meguiar’s Interior Detailer real fast before applying the conditioner just to make sure I got all the streaks and the grain was really clean. The difference was night and day. If I had brought a good camera with a flash then I would have taken pictures of the interior before I took it all apart and cleaned it and then after I put it all back together. It didn’t even look like the same van. But the purpose of this is just to talk about cleaning a couple of the surfaces, so here are the seat pictures.


Taking the seats out is obviously the best way to clean them. Anytime that is an option for you I would highly recommend it. Especially in a van where getting them out it easy. For a van it is even more important because you’ll want to have access to the plastic covers over the anchor points for the seats anyway.


The side rails where you step in were also a mess. Typical for this color, actually. Cleaning them required using a little elbow grease as well. That and Tuff Stuff. I love that stuff…. It is ridiculously versatile.

Since I’m using the same brush for carpets, plastics, and the seats, it is important that I clean it out to avoid just driving more dirt into whatever I’m trying to clean. I keep some all purpose cleaner and water handy so I can wash it out after each project to keep it clean. Just a tip you might want to consider. Keep your tools clean and you will have less frustration down the road.


I’ve got a whole case full of interior cleaning tools. Retired tooth brushes, brass and steel brushes, nylon brushes, dusters for vents, all sorts of picks and wedges which are also handy for engine detailing, a couple blades, and a little multi tool with a screw driver and pliers and stuff on it. These tools are ridiculously handy to have around. I bought a really cheap dremel thing several years ago which came in that nifty little case. It has been the best case for interior tools I could have ever imagined. It slides perfectly under the Autogeek detailing bag I have too, so that makes it even better.

Vans and SUVs can take a ton of time if you do them right. I spent 5 hours on the interior and 2 hours on the exterior of this vehicle. Good thing it was white or it would have taken longer. Because of the color inside it just took extra time because every piece of dirt shows. On a darker interior you may not get it quite as clean because you just can’t see the dirt you are leaving behind. That saves you time, but it doesn’t mean the vehicle is clean. I have an Odyssey myself and it takes me just as long to detail it when I do my yearly full on cleaning. My rule is to clean it as if it was as dirty as you can imagine it is even if you can’t see the dirt. You know it is there, so clean it anyway. Find a process and stick to it regardless of whether or not you can see the dirt. If you haven’t cleaned your leather seats in a couple years and they just don’t look that dirty, clean them as if they were anyway. They probably are filthy, but you have just been too close to the forest to see the trees. Many people don’t realize their leather is getting this dirty because the change has been so gradual that they didn’t notice I’ll tell you that when the owner saw the difference on this van, he was absolutely shocked at how dirty it had been. He didn’t even realize it had gotten so bad. So get some good tools and clean em up!