


This is partly a product review and partly just some information about engine detailing. The Viper is a great car to show you on since you can really get in there and get just about all of it pretty easily. 
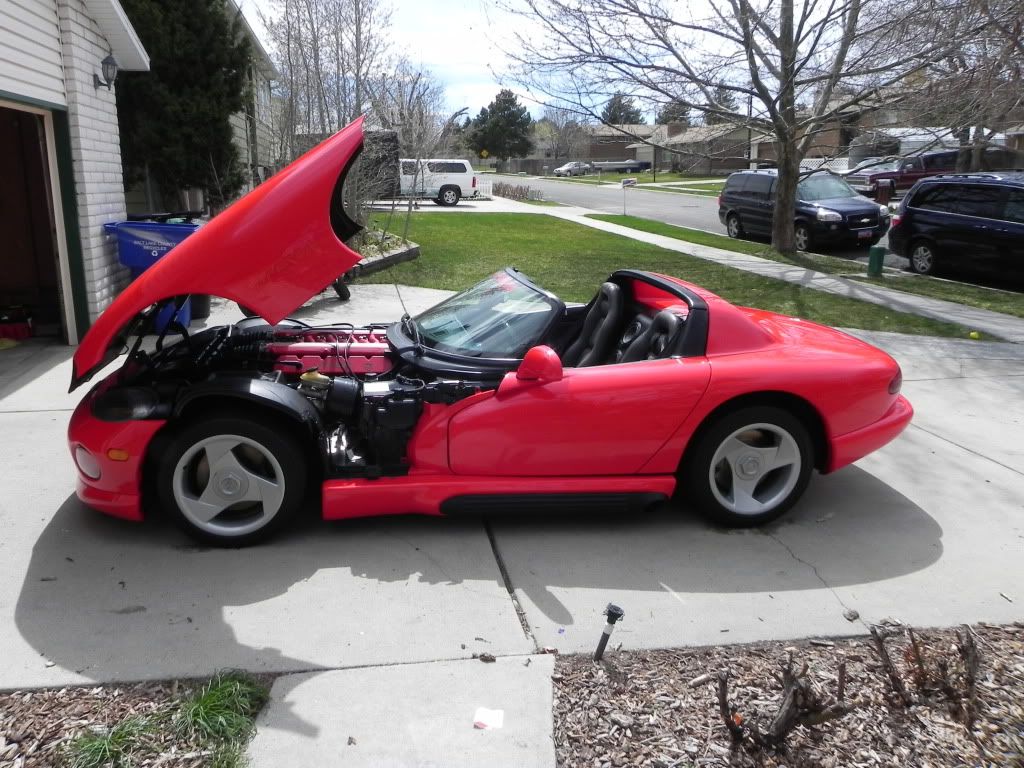
I love Vipers. I've been in love with them since 1992, in fact. Its not about the performance or anything like that. I just love the way they look. That car is the most beautiful thing I've ever seen. So any chance I have to detail one, I jump on it! This one has sat around for several months and needed a pretty good detailing a year ago when I first saw it. It belongs to an acquaintance who knows me through some car shows I've sponsored in the past, so I was really excited when he finally called last week to set something up. Saturday was overcast, but it was in the 60s and great weather for detailing. The sun even came out at the end so I could appreciate the car a bit. 
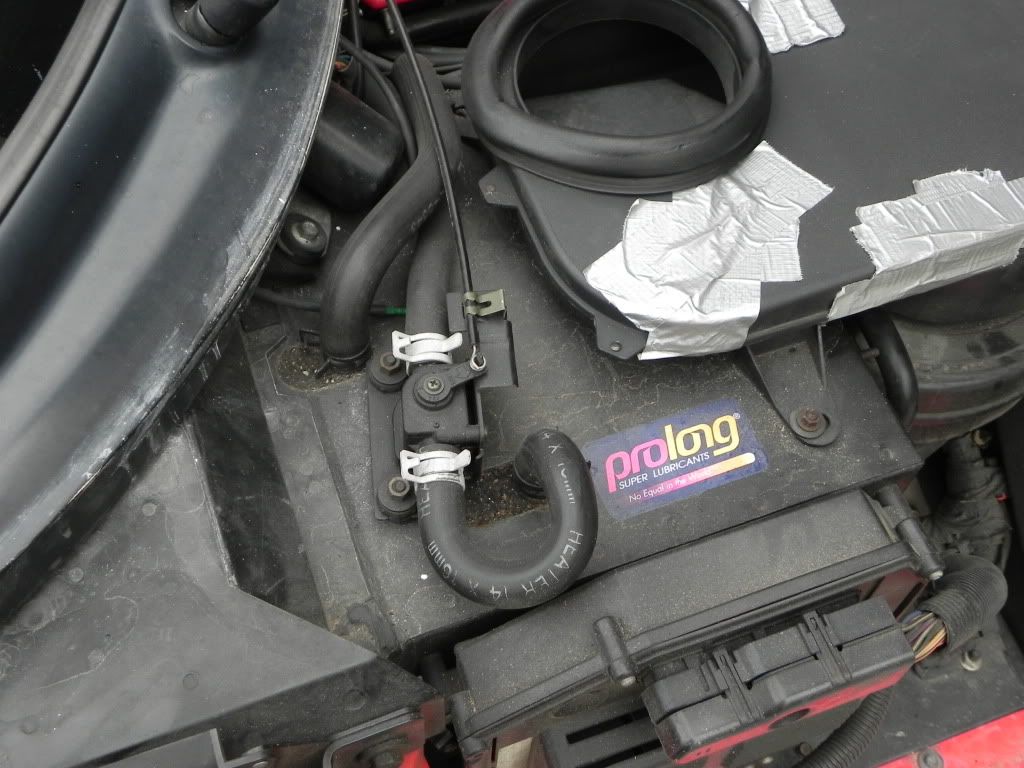
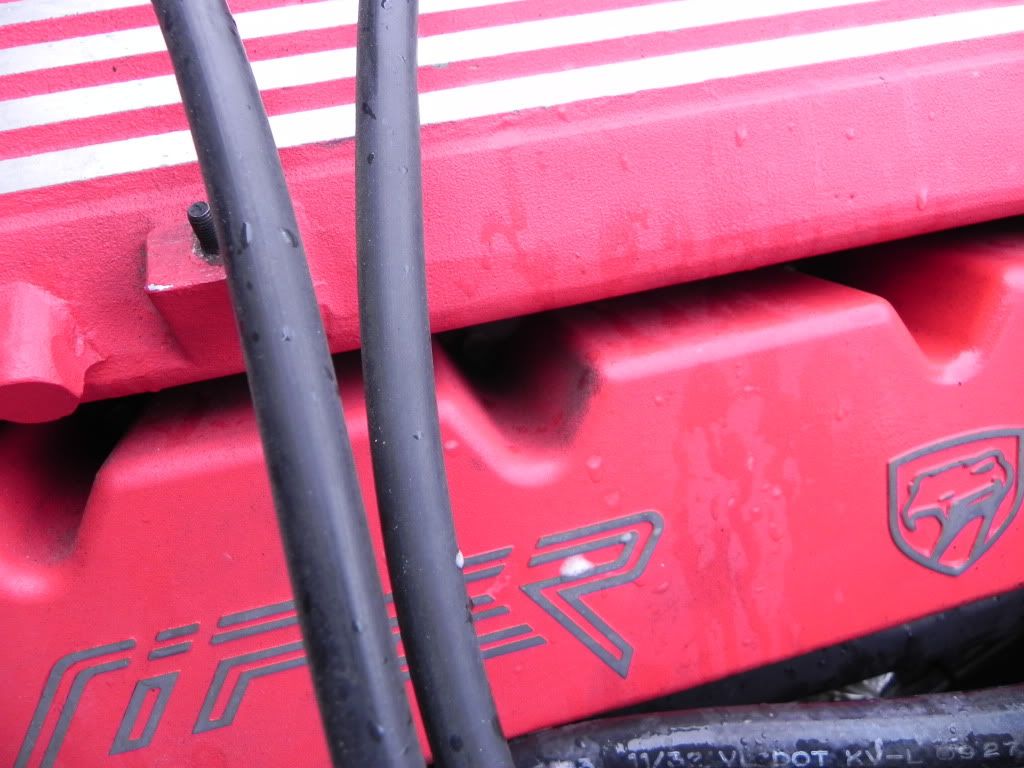
The engine is what I wanted to focus on for this post. It was pretty dirty and had some tough spots to reach. Here are some before pictures.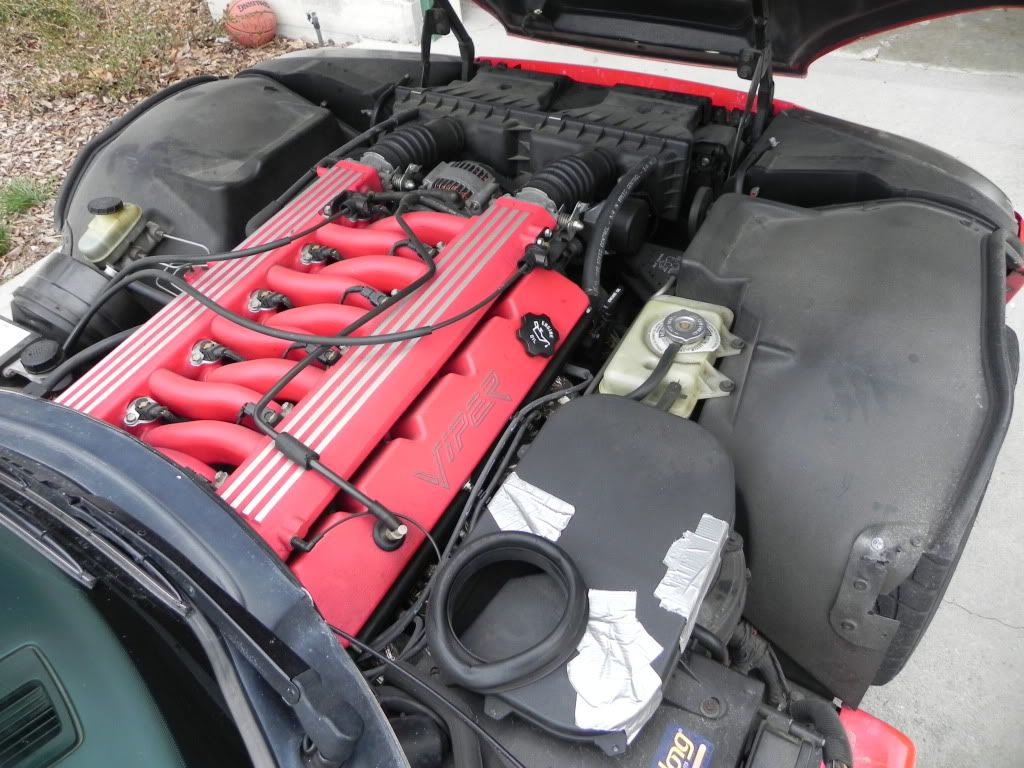
I sprayed it down with Gunk Foaming Engine Degreaser (my degreaser of choice) being careful to avoid the alternator and other electrical connections. Most of the really dirty areas were covered in plastic anyway, so that part was easy. Then I used my engine wash mitt (microfiber and doesn't snag on the engine leaving lint) to wash down the plastic parts and other areas.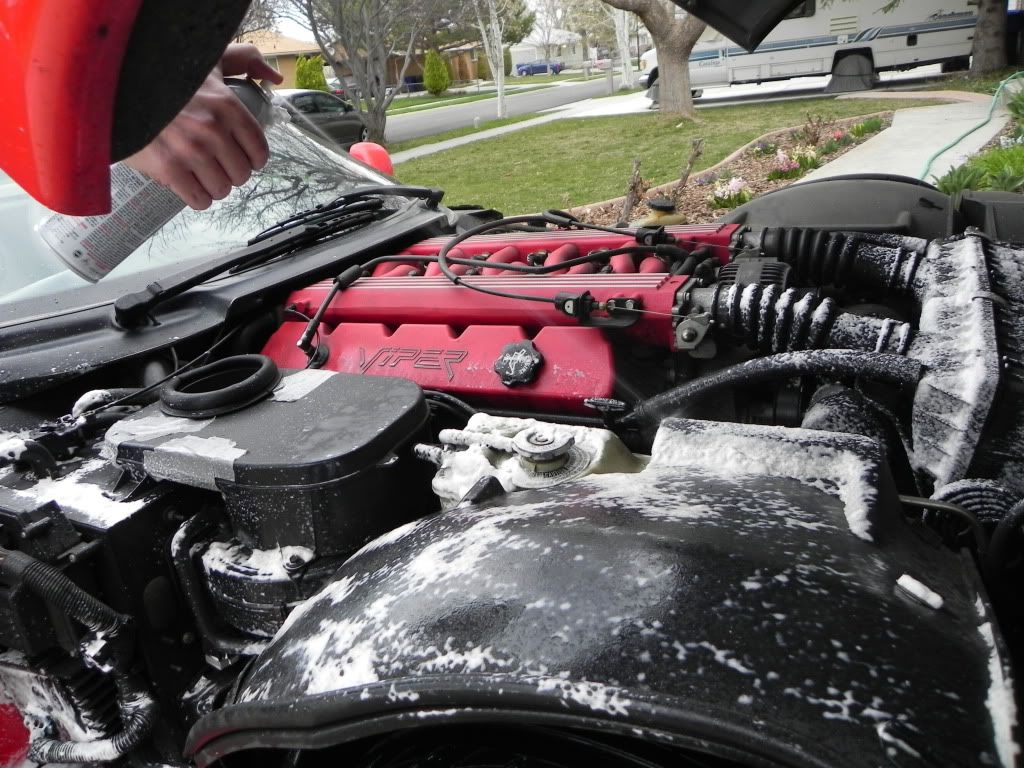
I've got a Meguiar's Waffle Weave microfiber towel I picked up at AutoZone a few years back. It isn't a soft as my Autogeek towels, so I use it for drying engines instead. 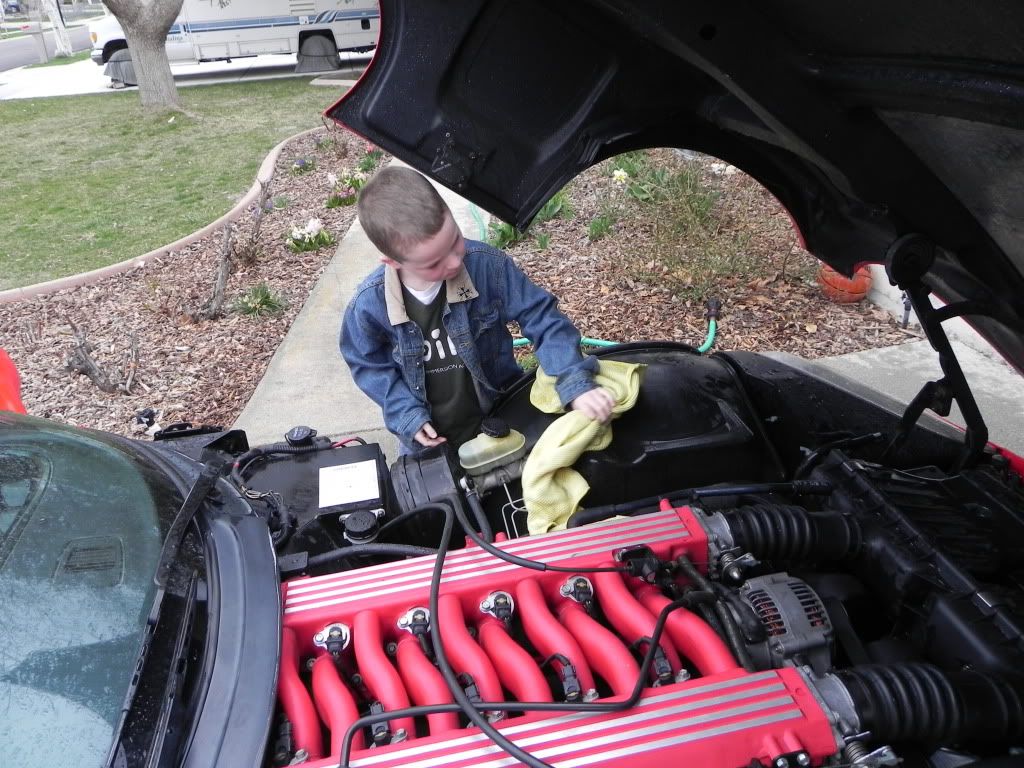
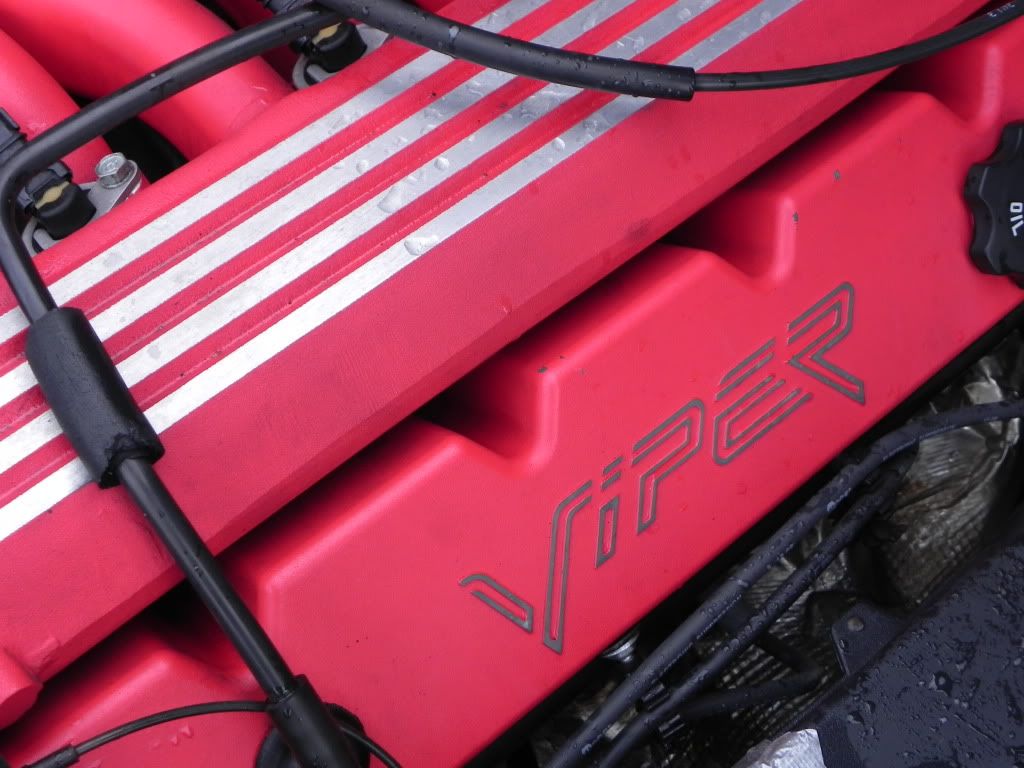
The valve covers were pretty dirty, but washing them down helped a lot. The problem was that a lot of the dirt was in the corners and areas the mitt couldn't reach. Not tons of dirt (fortunately) but enough that it was going to be a process which needed to be done by hand.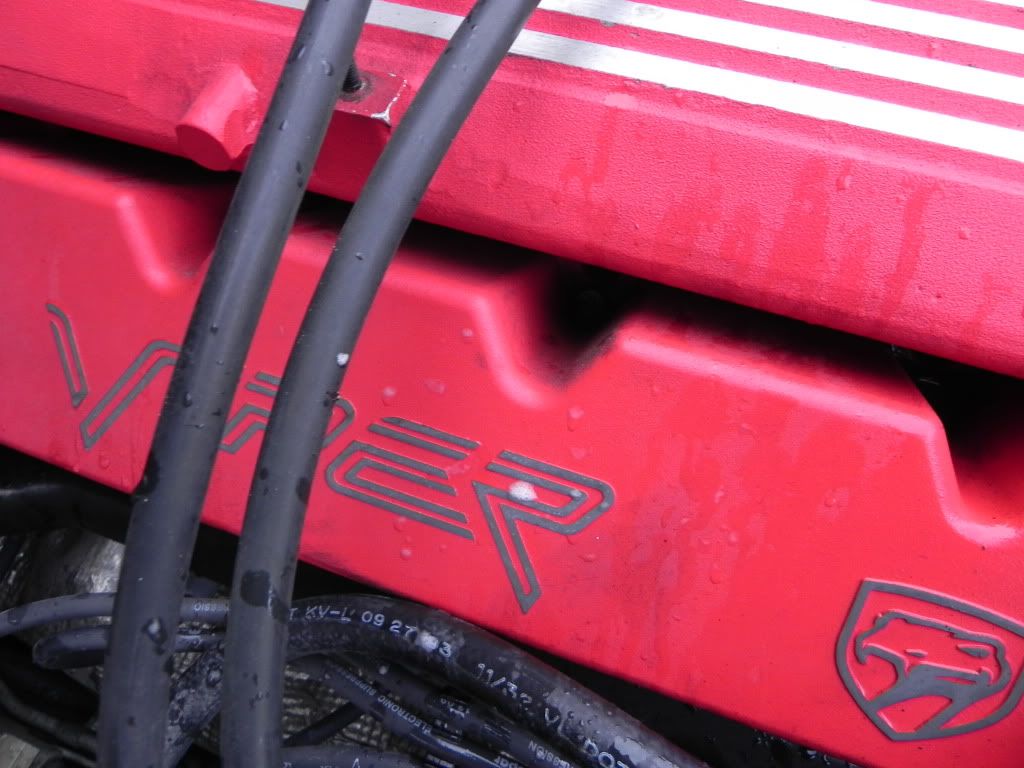
So out comes my favorite engine detailing tool!! The Daytona Speedmaster Wheel Brush! This thing works great in the engine bay.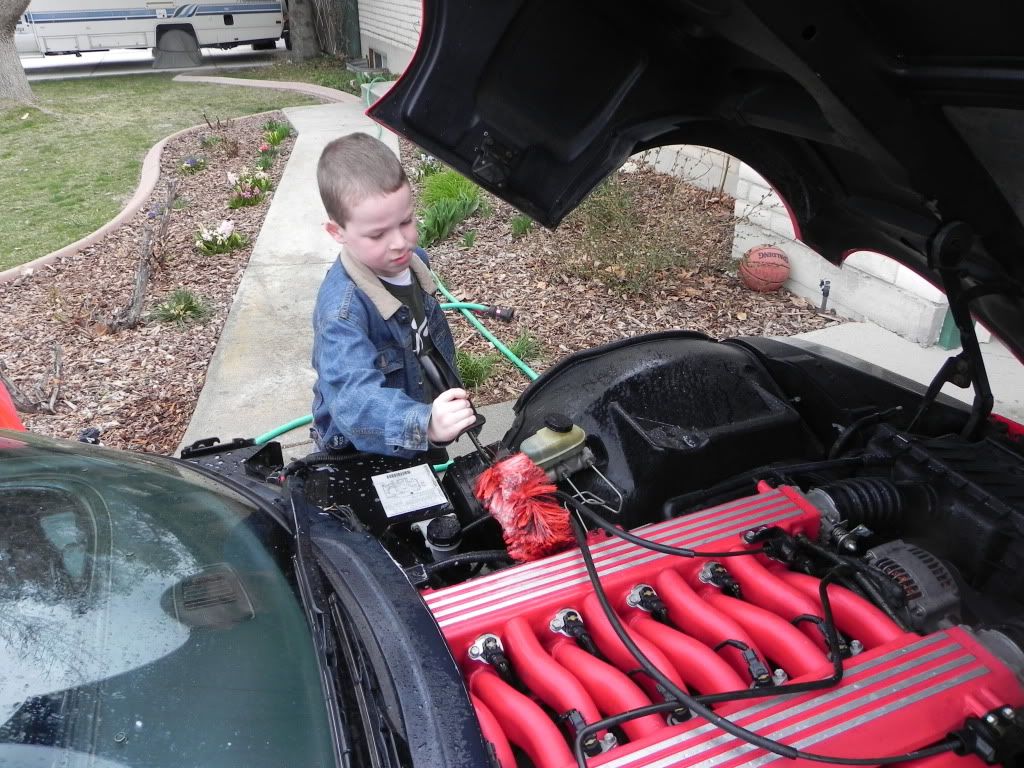
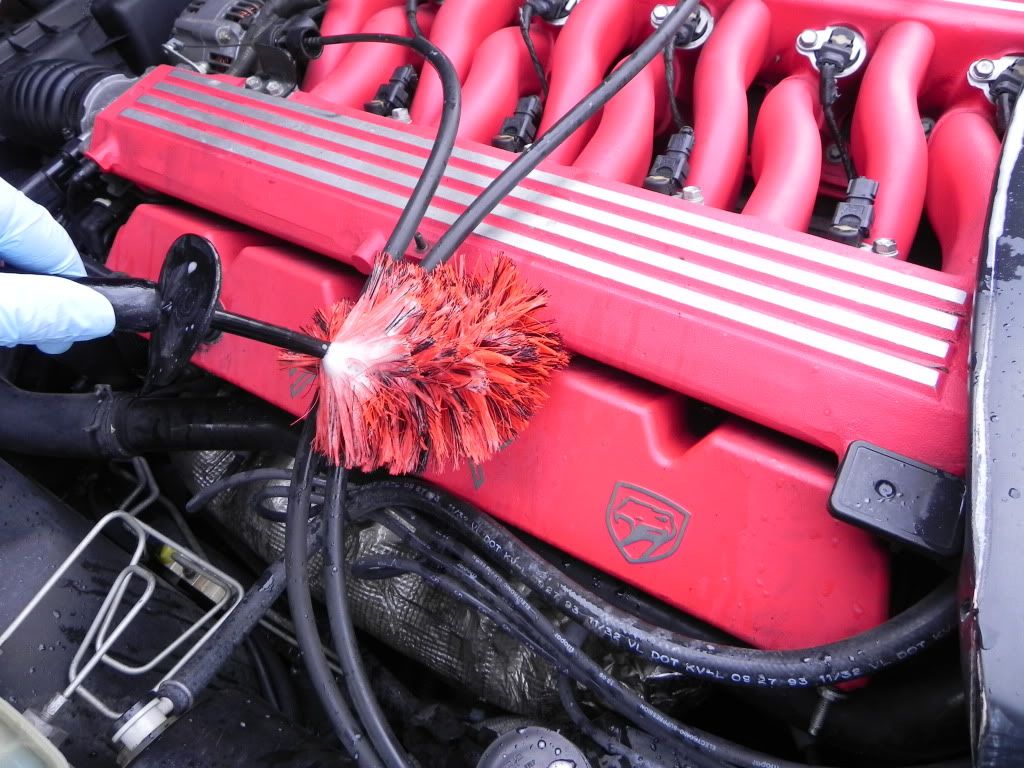
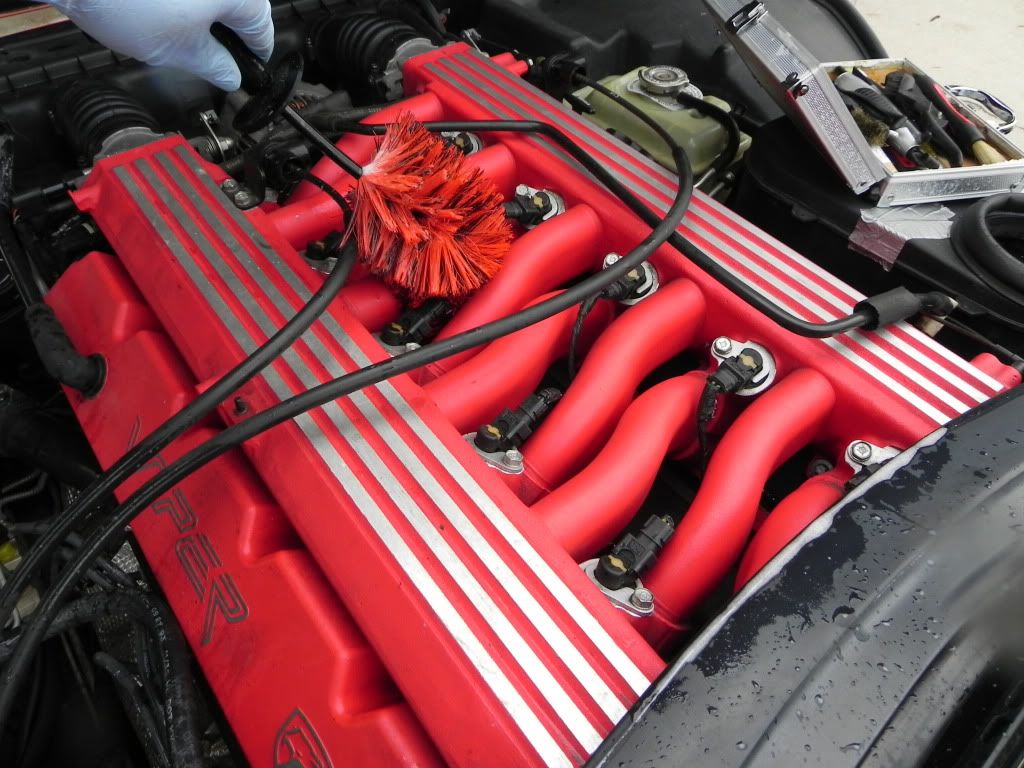
It was easy to brush out some really hard to reach spaces where my toothbrush wouldn't even fit well. It also got under hoses and above heat shields on the lower part of the engine where shoving my hand and a rag just wasn't possible. I love that tool for wheels for sure, but for engine detailing it can't be beat! I've got two of them, in fact. One for wheels and one for engines.
The final result is as you would expect. It is as clean as it can get. A little CD2 Engine Detailer and she is good for show.
The rest of the car wasn't too terribly rough. I used the Foam Gun to do a presoak and then washed it down. 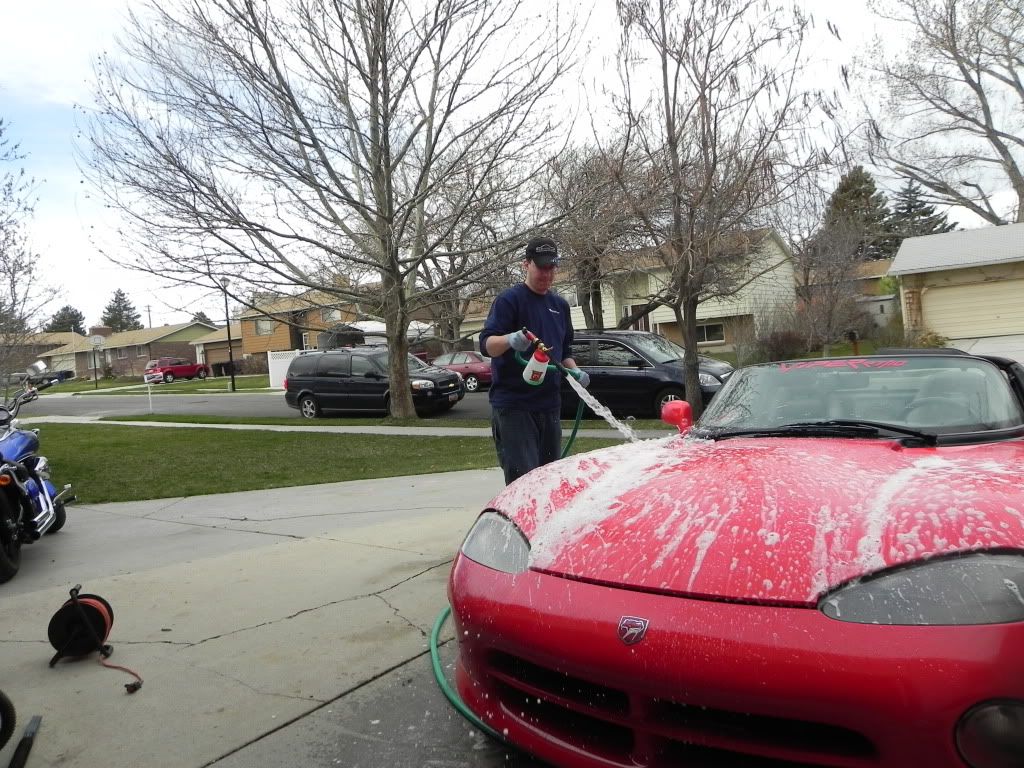
Then I taught Erik the fine art of rinsing a vehicle with no top on it. lol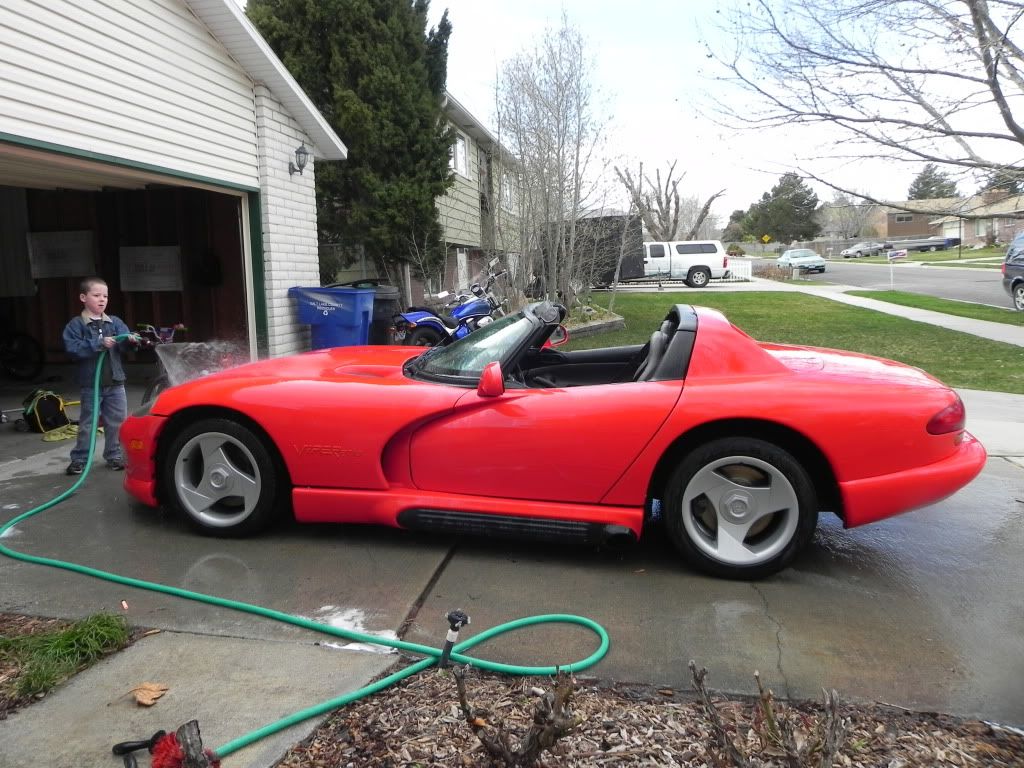
The paint just needed a little XMT love and some Wolfgang Sealant. It was the interior that really sucked. It has been stored without a top on it since last April and it was REALLY dirty inside. The Viper has a funny shape to it on the inside and you pretty much have to be a contortionist to get it really clean. lol I was really happy with the end results though. So was the owner. Hopefully this means more Viper time in my driveway in the future!
Engine Before: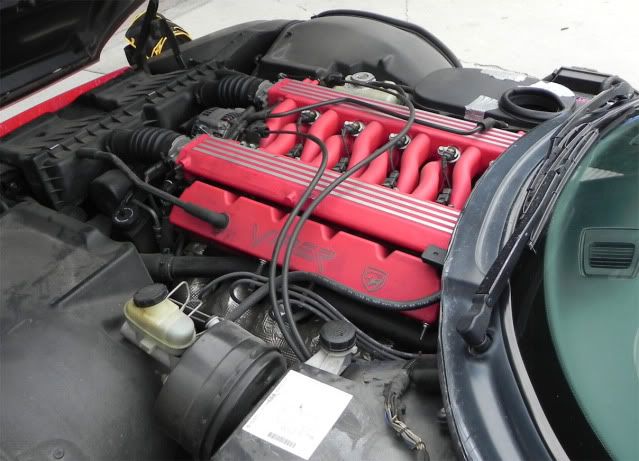
Engine After: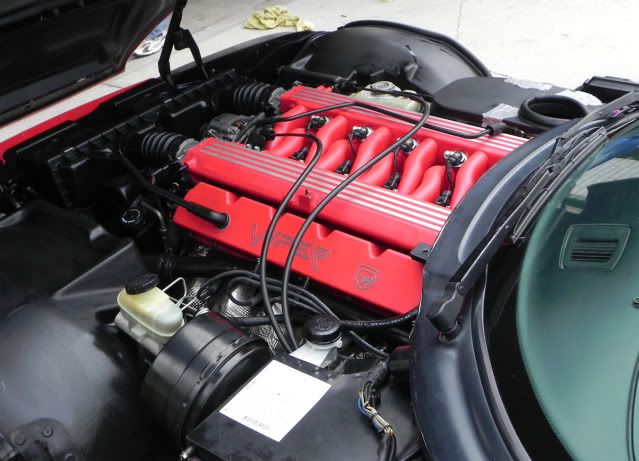

Elite Status
Subscribe To
Print or PDF
