I'm trying to get this car detailed, but the weather isn't cooperating with me. So I'll be doing it in stages it looks like. I'm still doing it in the order that I would recommend doing it. I'll combine all of these into one coherent post after it is all done and put it on my blog for now until I finish the new OCDetails.com site. The old one is really irritating me and the new one looks sooooo much better even without the pictures in it yet. Anyway, here we go. Part 1.
First thing I do is the Wheels and Tires. The reason for this is because the second area is the engine and that typically gets the tires wet. I've found that the products I use work best if the tires are dry, so I do them before I get anything else wet.
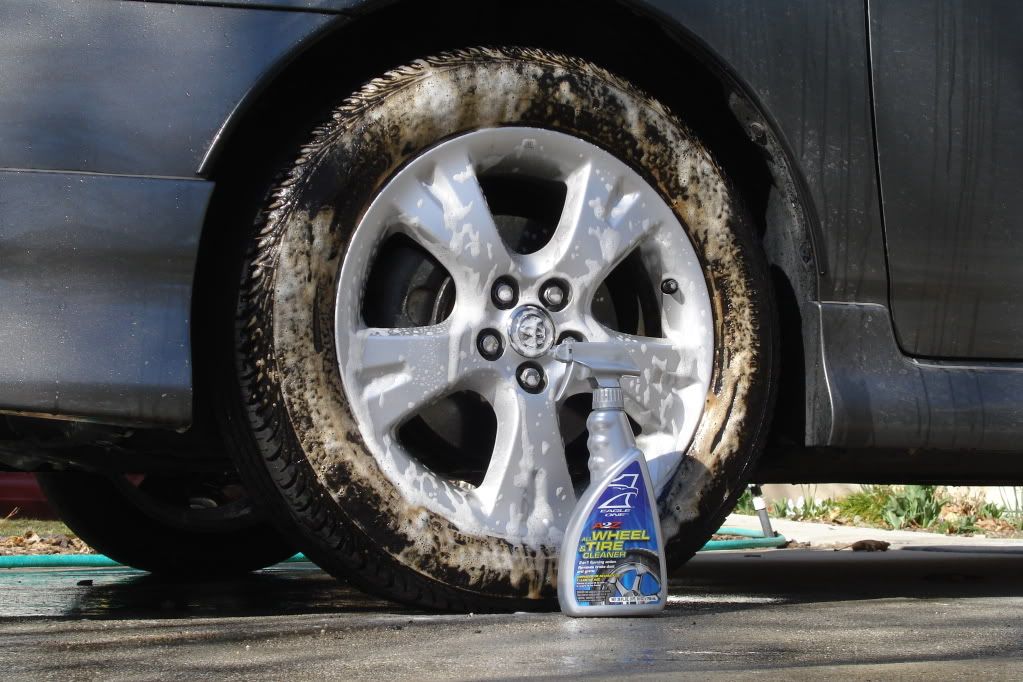
Eagle1 Wheel & Tire cleaner is one of my favorite products EVAR. I've heard that Mother's has a new one that I'm looking forward to trying, but for now Eagle 1 is it. This is a safe product for any type of wheel as long as it is factory coated or painted. If you rattle can sprayed your wheels, then you are using any cleaner at your own risk. I've used this product on $3000 wheels before and it is perfectly safe. Primarily on wheels like that I'll stick to the tires and clean the wheels by hand, but I'm not paranoid that I'll ruin them if some gets on them.
Spray the product around the tire first and then around the wheel. It is best to spray all four wheels/tires first and then go back around to the first one to spray it off. Do this fairly quickly. Especially if you have the sun on one side of your car and it is getting hot. You don't really want to deal with drip spots from this on your tires later. Spray it on and then grab a hose and spray it off. When you see the nasty orange foam dripping down the tires you'll know it is working.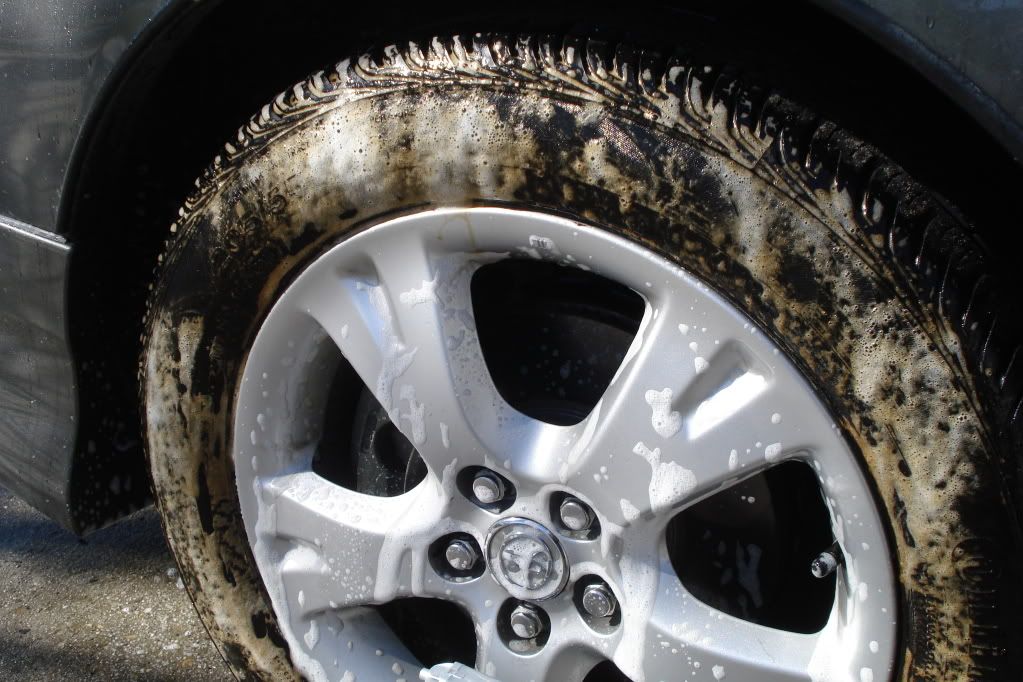
Use a good high pressure stream. I'm not talking 900 PSI or anything like that, but whatever you can produce with your thumb or sprayer attachment will work fine.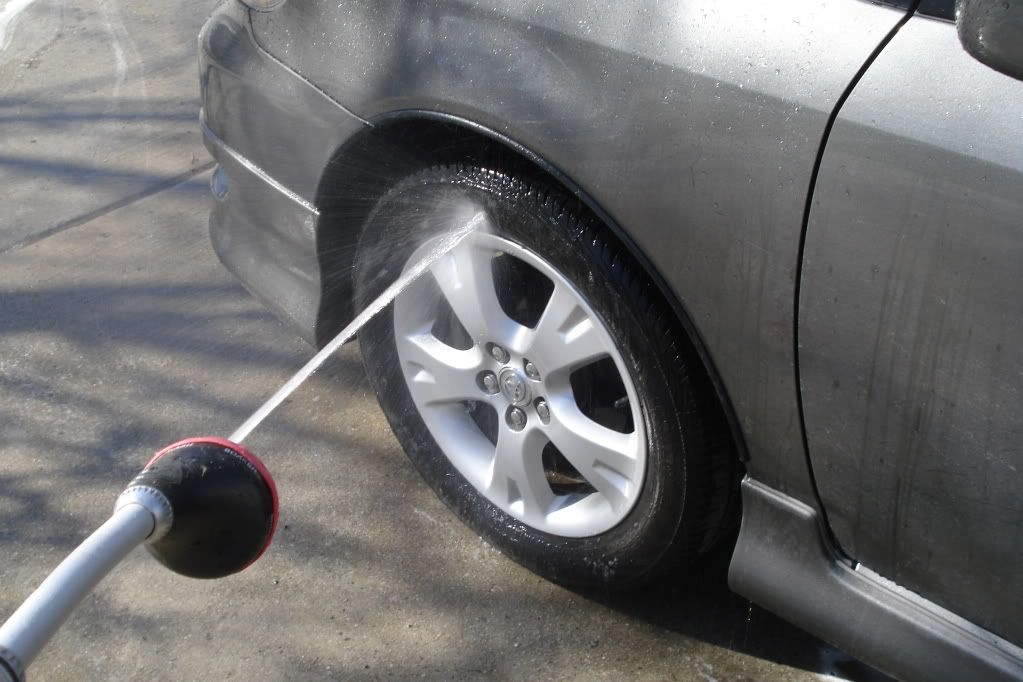
Don't expect the Eagle 1 product to do all the cleaning for you. You will still want to brush your wheels to get all of the brake dust off. The Eagle 1 product just got the surface stuff and made it easier to brush. Do this after you have washed the car and then you can use the same wash water without having to fill another bucket up. We'll just pretend I've washed the car and now I'm brushing the wheels.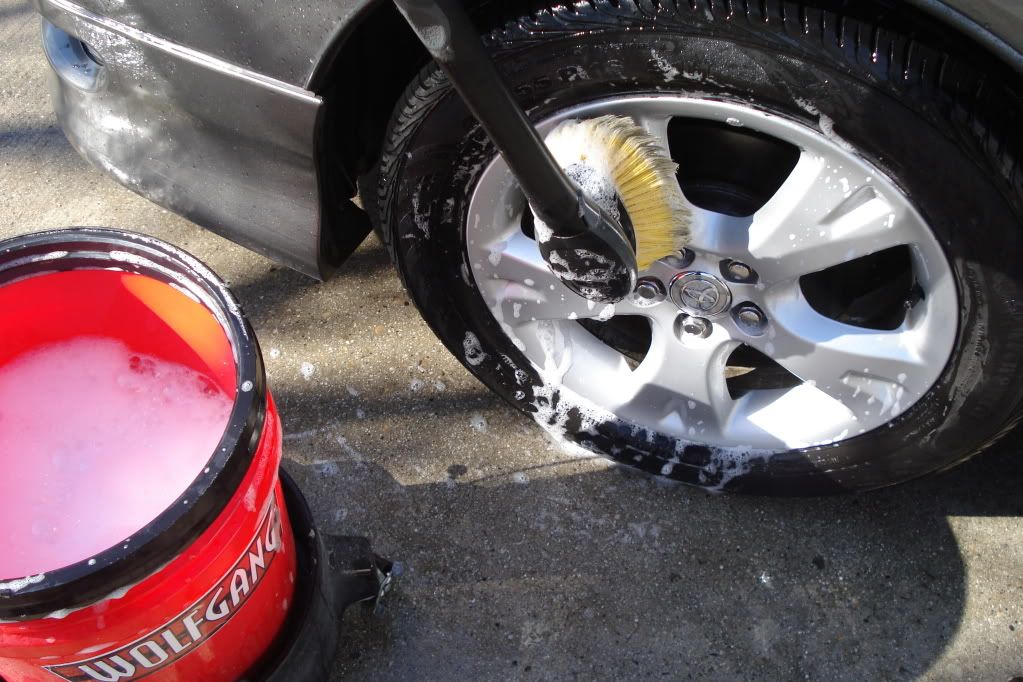
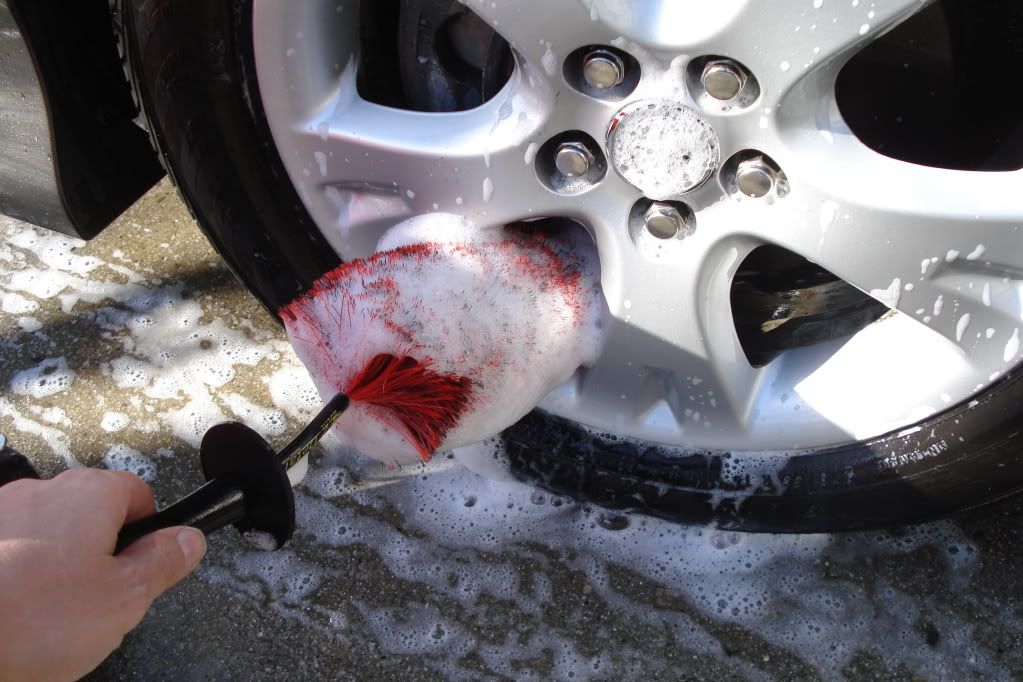
Next you may want to use a wheel brush to get in behind the spokes. I don't typically do this for my car every time, but if someone is paying me to clean their car, then I have to assume they want everything cleaned, so I do.
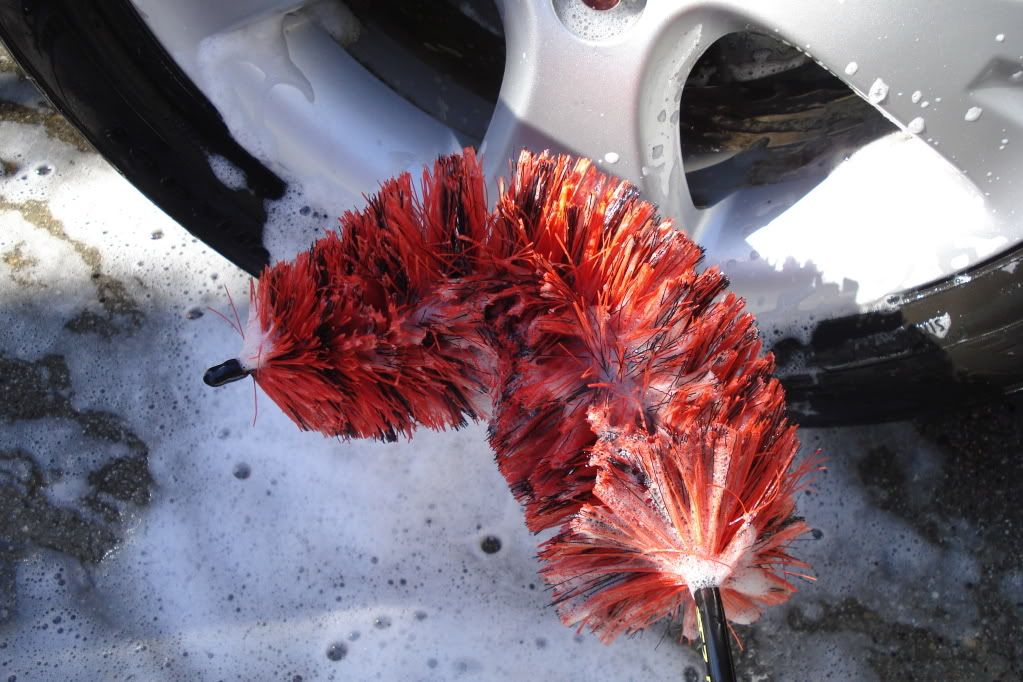
This is a tool I got from Autogeek. It is a brush they had made especially for them. I've used brushes like this in the past, but let me tell you why I use this one. Every bit of this is covered in rubber. Well, at least the bits that matter. The ones I've used in the past are just twisted wire and not covered at all. The bristles are similar to the ones found on automatic car washes. They are very safe on painted wheels, but they will scrub the dirt out. Being able to bend this in a number of ways makes getting wheels clean in a hurry without hurting your fingers or damaging the wheel. That is the most important part. Again, this is a good step to do after you wash the car so you can use the wash water. This could be done in place of using the other brush too if you wanted. It is an either/or/both type thing.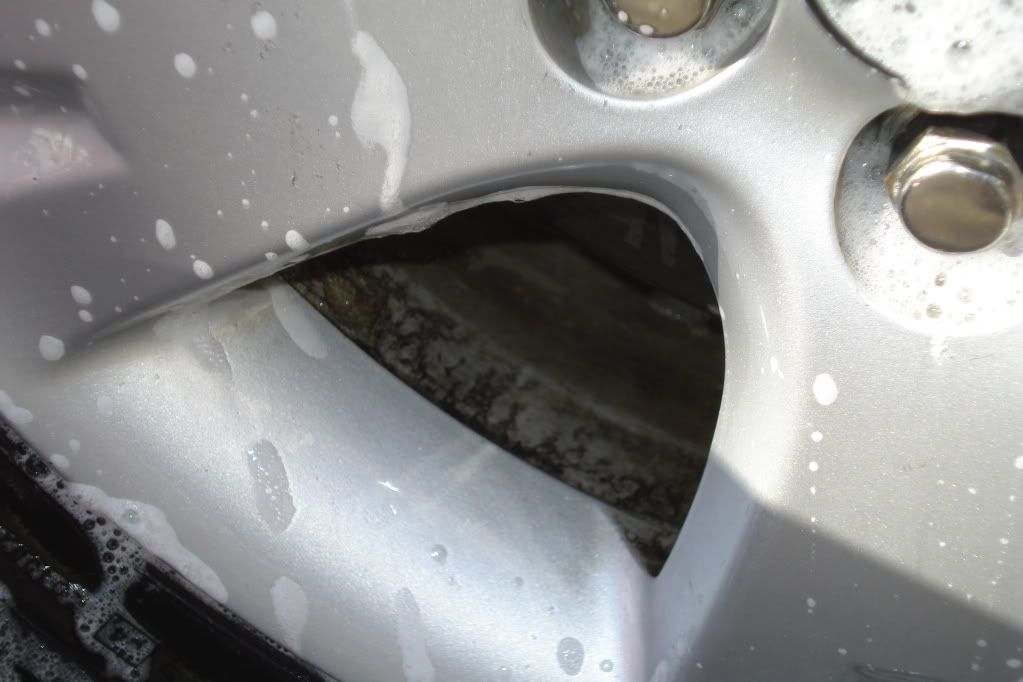
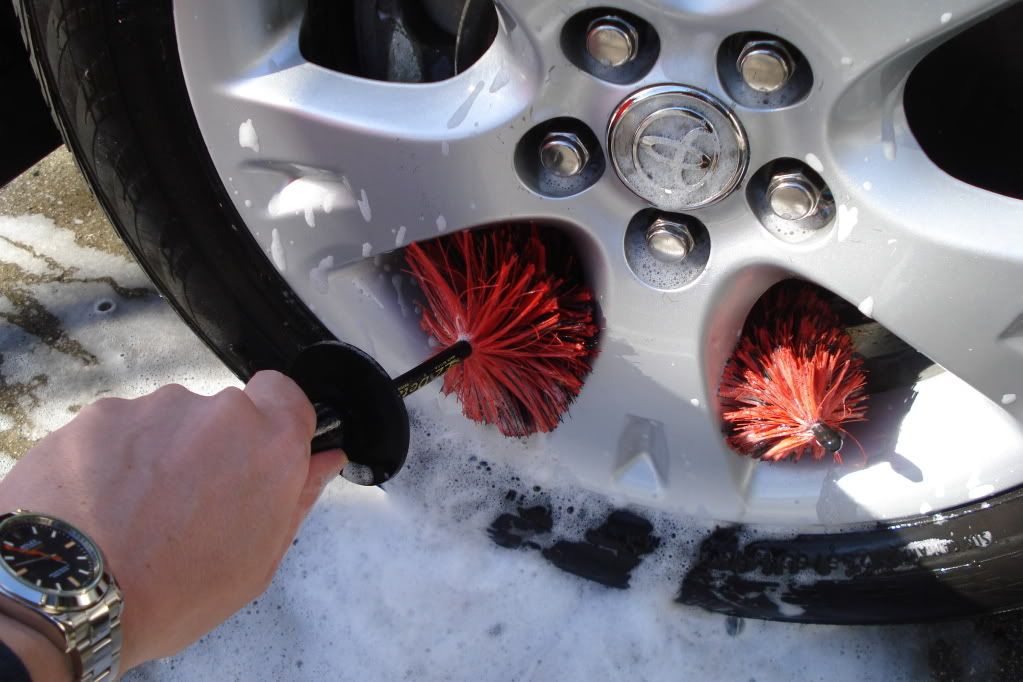
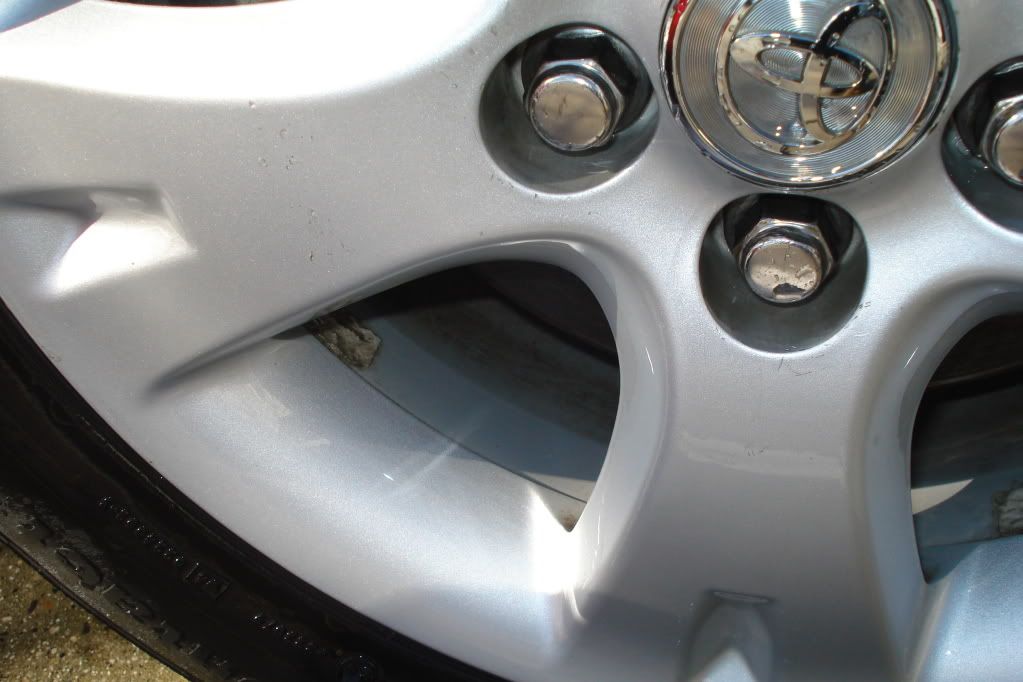
So that pretty much does it for the wheels for now. You will want to wait till the end of the detail to dress them. I like to use Eagle 1 Wet for my tire shine. I've found it is best if you apply this when the tires are dry. This causes the shine to stay there and not sling all over the fenders. However, for illustration purposes (and because I knew I wouldn't be driving my car again for three days) I dried off the tire and dressed them early.  I also used Meguiar's Quick Wheel Detailer to clean up any of the tire shine overspray that got on the wheel. I found this on the discount table at Checker a couple years ago and bought every bottle I could get my hands on. It is a well worth it product. If you don't have any of this, then really any quick detailer will work just fine. I just like using products that are designed for a particular task.
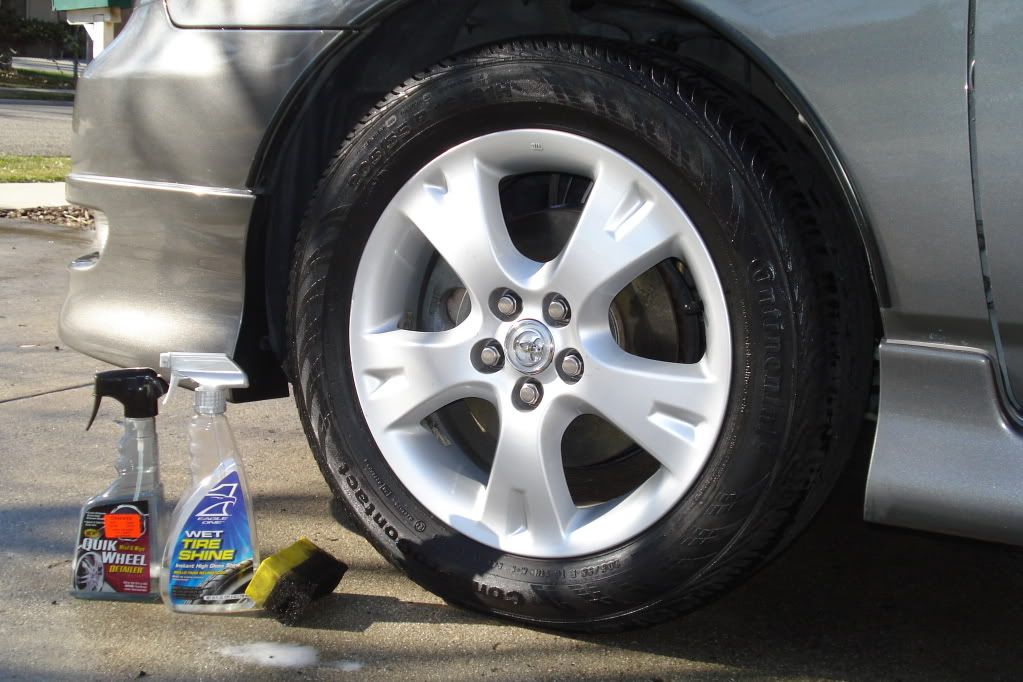
I didn't wax them or anything like that, but you can do that if you want. I've found it doesn't really make much of a difference, so I don't waste time on it. On a BMW or high dusting vehicle I would probably use a wheel sealant or just a normal paint sealant, but Corollas (at least mine) don't seem to have that bad of a problem.
Alrighty then... Step 2 is the engine. This was an easy project for me this time because it was mostly just dusty from a long winter of driving. I detailed the engine in the fall, so it wasn't like I was going to have two years of crud built up under it. Your experience may definitely vary from this one, but here is how I did it on this particular engine.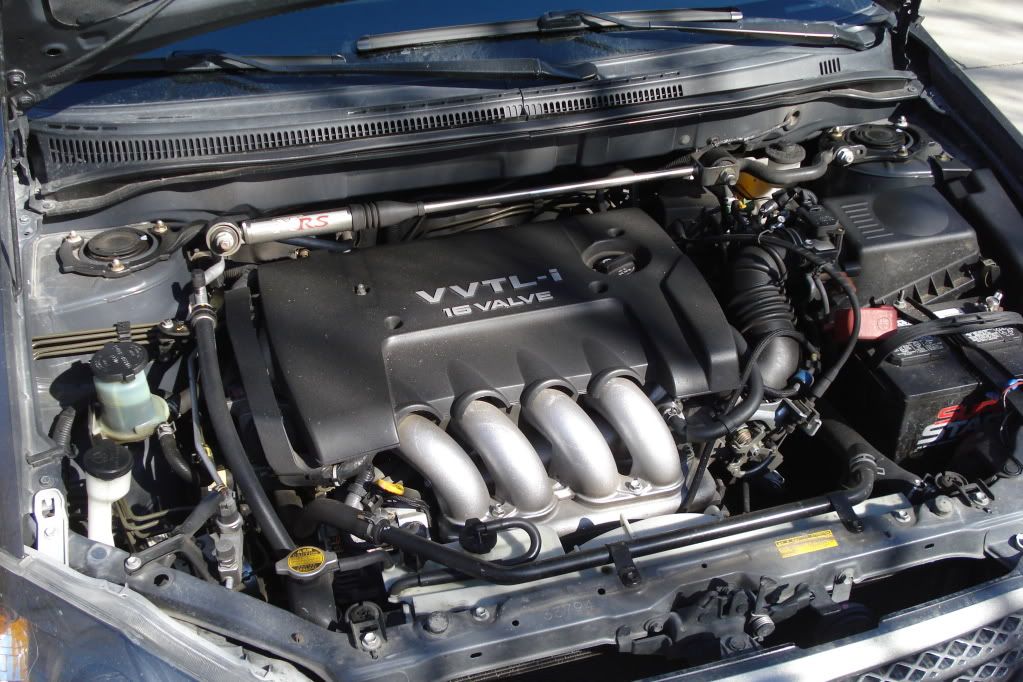
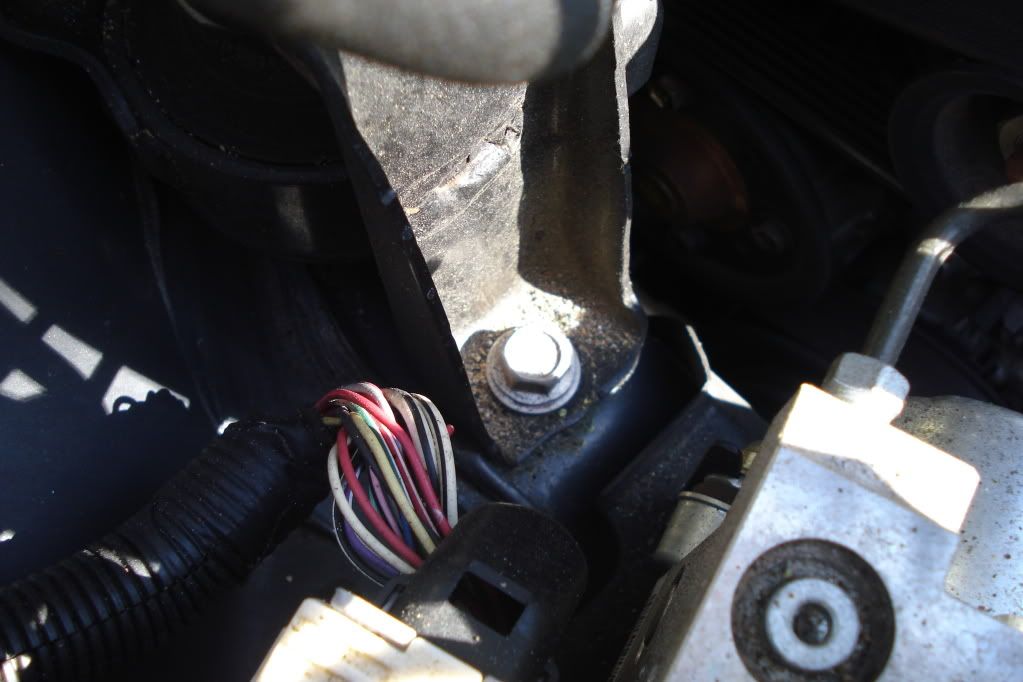
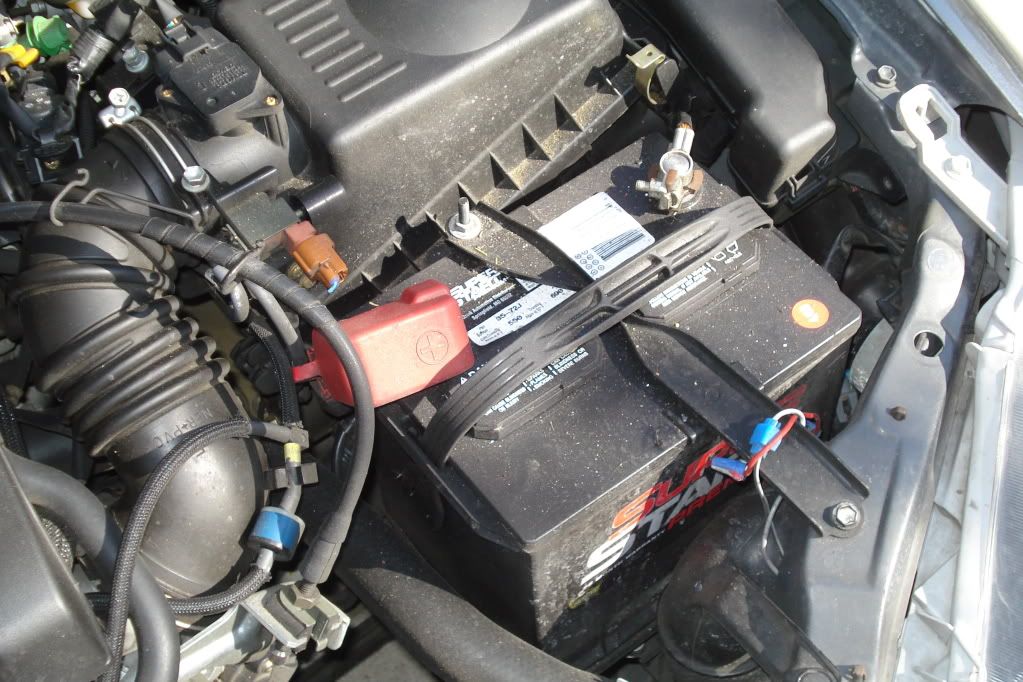
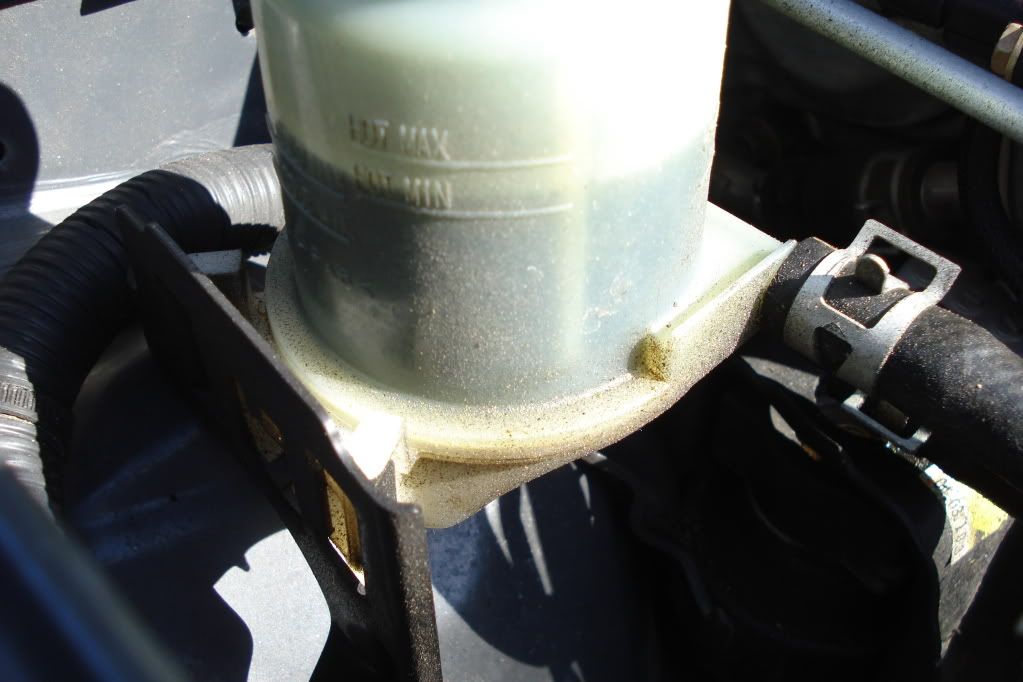
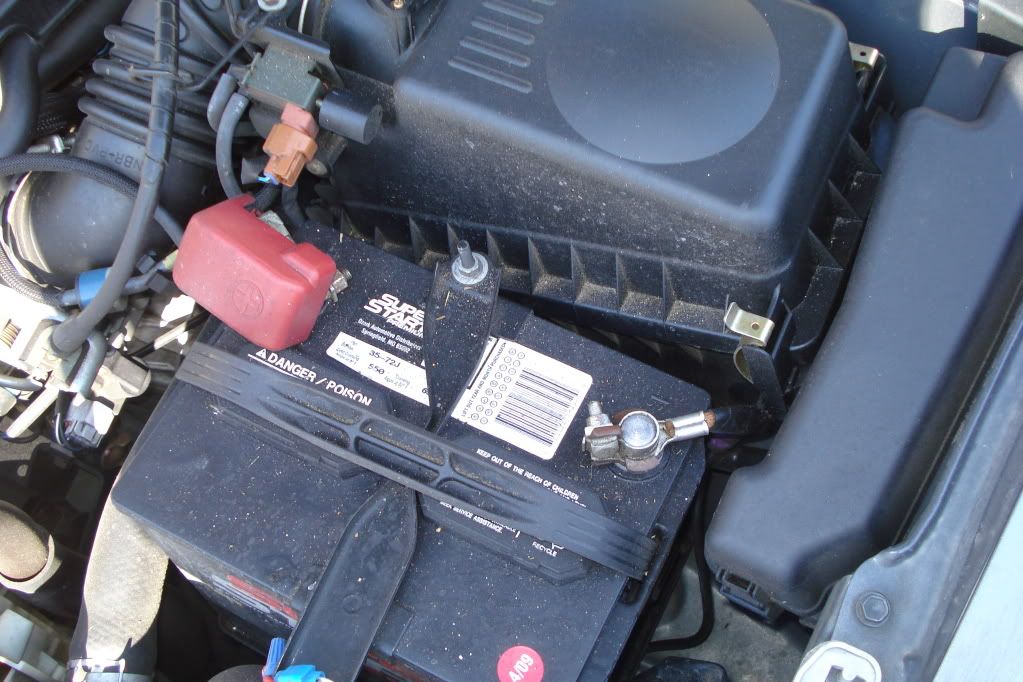
So, yeah. Not overly dirty, but there is a lot of dirt in there. This is an easy job that degreaser and a hose will take care of. I'm still going to have to get in there and wipe some things down, but it isn't going to be an hour long project or anything like that.
I start by grabbing a bottle of engine degreaser. I typically like to use Gunk Foaming Degreaser, but this particular bottle was on sale at Checker, so I decided to give it a shot. I sprayed down everything except for the alternator (I can't stress enough how important it is to stay away from that area with degreaser) and directly on electrical connections. I just don't like spraying degreaser there. I made sure to get it good and heavy on areas that had a lot of dirt. Around the bolts, the reservoirs, and the strut towers especially. Even the firewall is a good spot to spray down since it can get pretty greasy back there.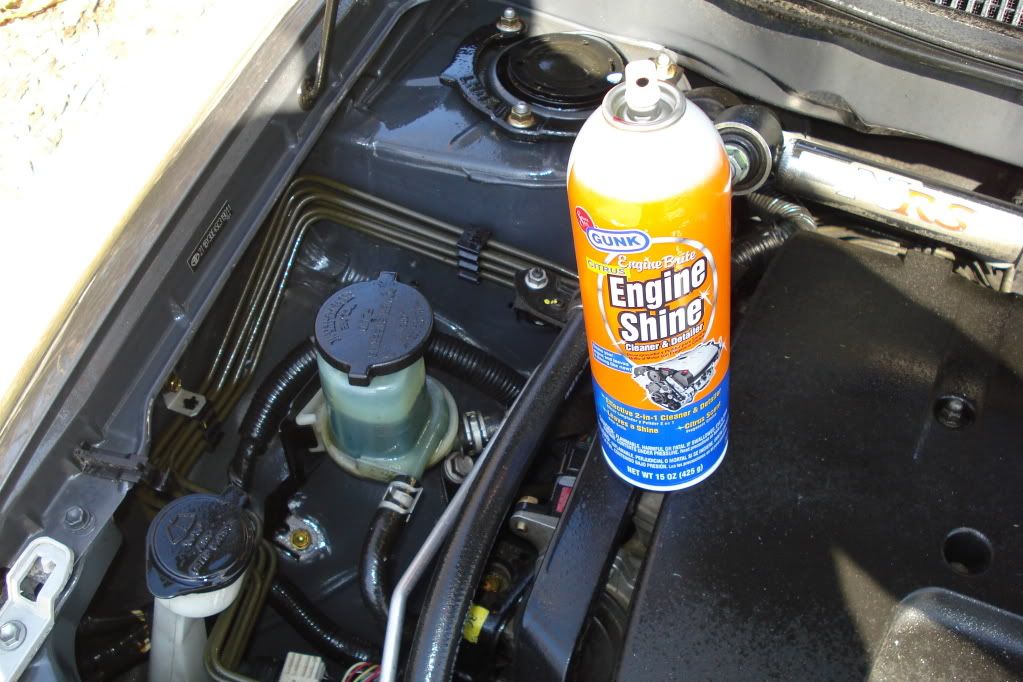
Now this next part is the easy part. I'm not advocating that you spray down your engine like a wild firefigher trying to put out a 5 alarm fire or anything, but it is ok to use a hose and a little pressure to get the grit out. Just be careful where you are spraying. Don't use high pressure around electrical connections. I used the bucket filler setting on my sprayer and turned down the hose a little so the pressure wasn't too crazy.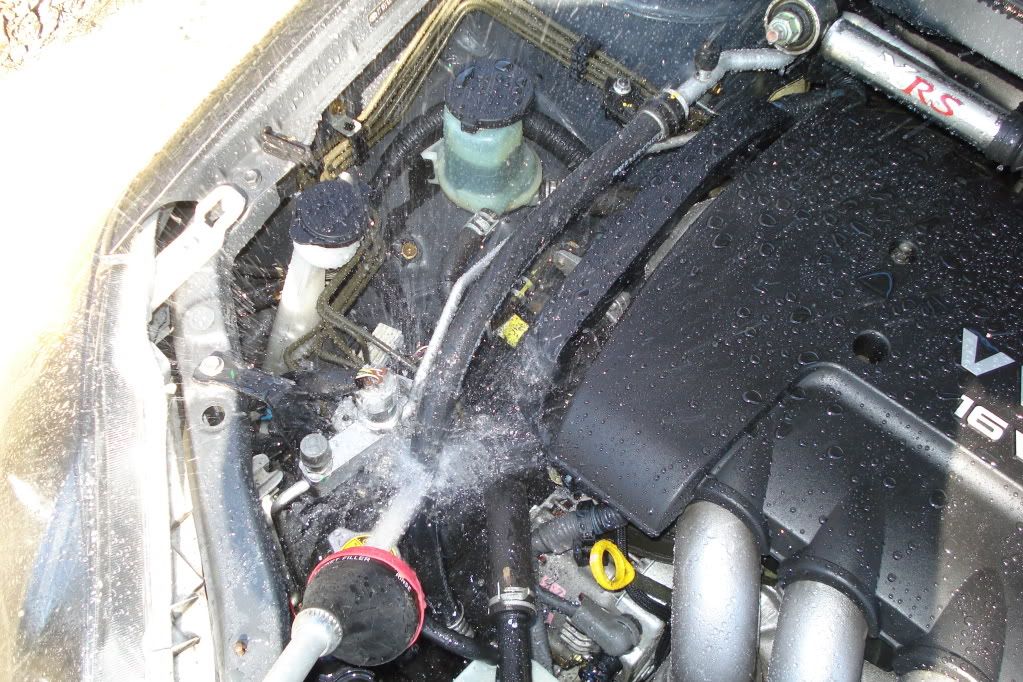
Your engine isn't made of sugar and it isn't going to melt, but you don't really need to get it too wet.
Now you can dry the engine off and go for the final step. In drying the engine you should wipe down any of the painted surfaces to ensure that they are clean. Blot out any standing water on the valve cover or strut towers. Just basically dry it off and remember that you are probably getting it a little cleaner by doing so. Sort of like what you did with the wheels. In fact, that wheel brush is a great tool under the hood too. It gets under hoses and tight spots like a champ. Definitely one of my favorites.
After the engine is dry you can use the CD2 Engine Detailer that I love so much. Spray down anything black, basically. It doesn't need to go on painted areas or metal, but it isn't going to hurt them if you do get it on them. This is designed to make the plastic and rubber parts really shine as well as protect them. This is far above and beyond better than just using tire shine. This won't cause your hoses to turn brown or weaken them. It also won't attract dust like mad. I last detailed my engine in October and you can see how much dirt I've attracted in the last 5 months. Trust this product.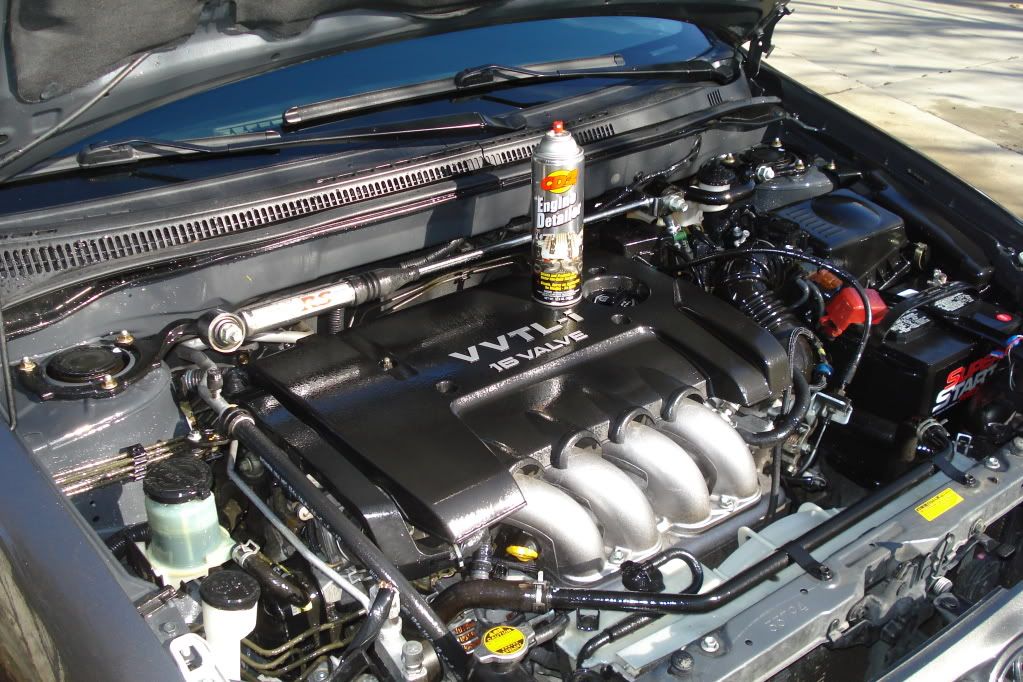
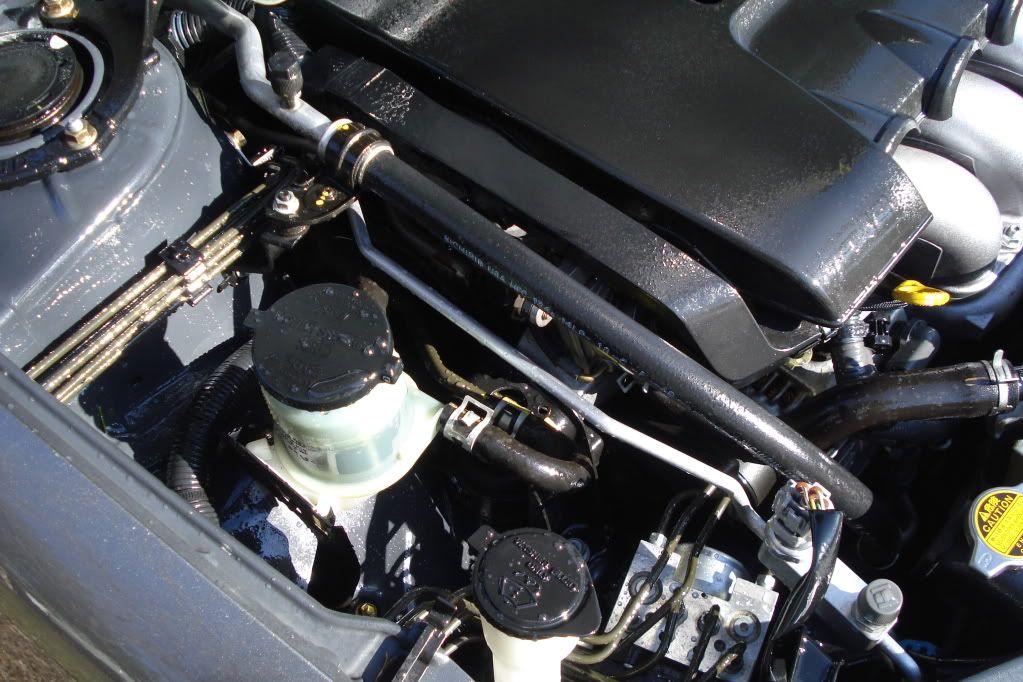
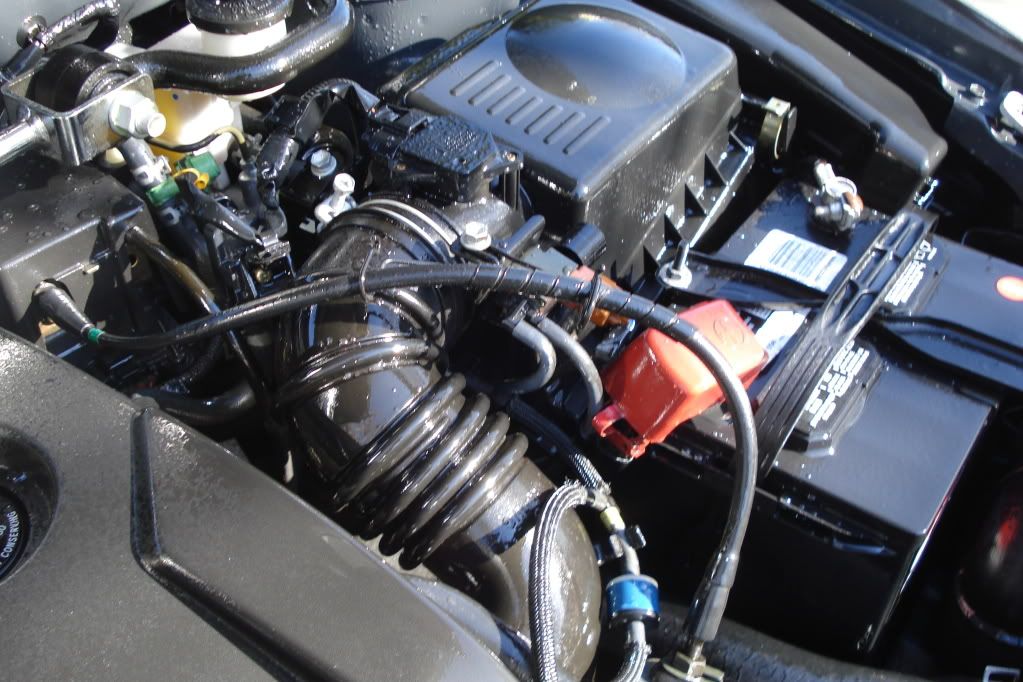
Don't use the whole can or anything, but get everything nice and soaked. Especially the hoses. Those look really sharp when it is all said and done.
Then just close the hood and start your engine. Let it heat up in there for twenty minutes or so and let the product set. Use this time to either wash the rest of the car or start vacuuming or something.
After 20 minutes you can pop the hood and buff everything off. This is when you will start to figure out how much of the product you need to use. If you have a lot of excess that hasn't dried, then you know not to use that much anymore.
Wipe down everything with a dry towel. I've got a stack of microfibers that are only for engine detailing. This is a good place to use those t-shirts and shop towels that you don't have any other use for.
After everything is wiped down then you should be able to stand back and appreciate your factory clean engine.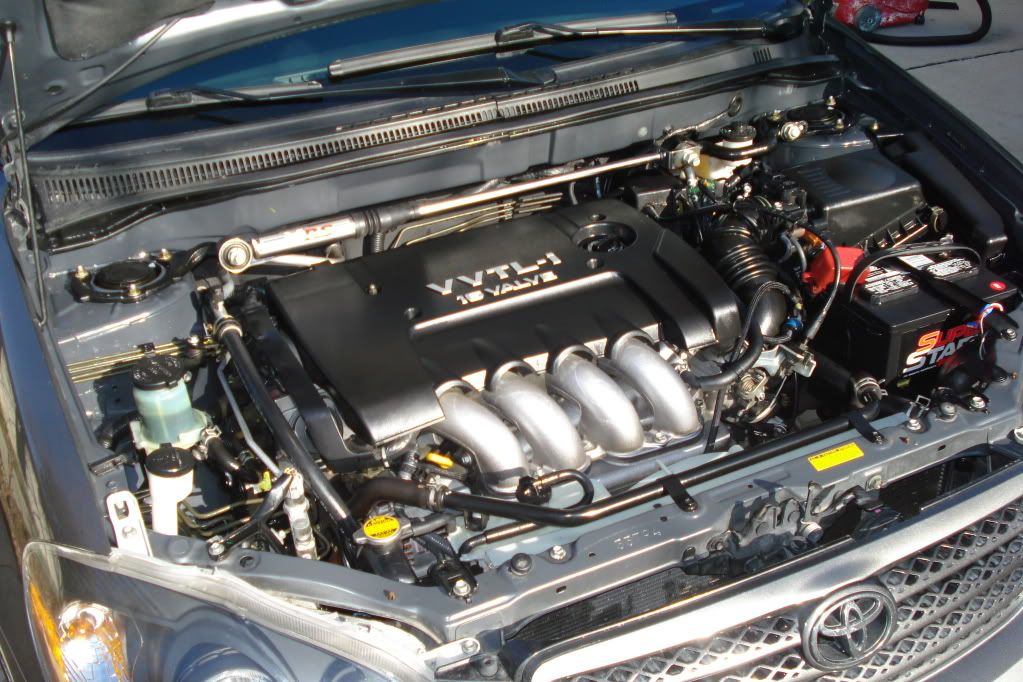
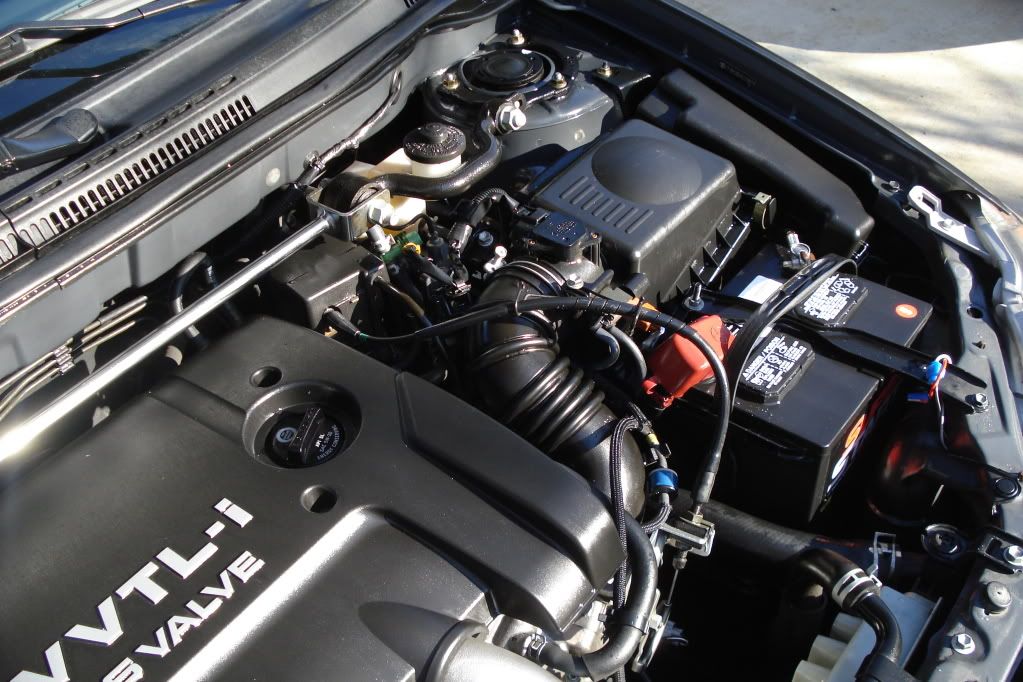
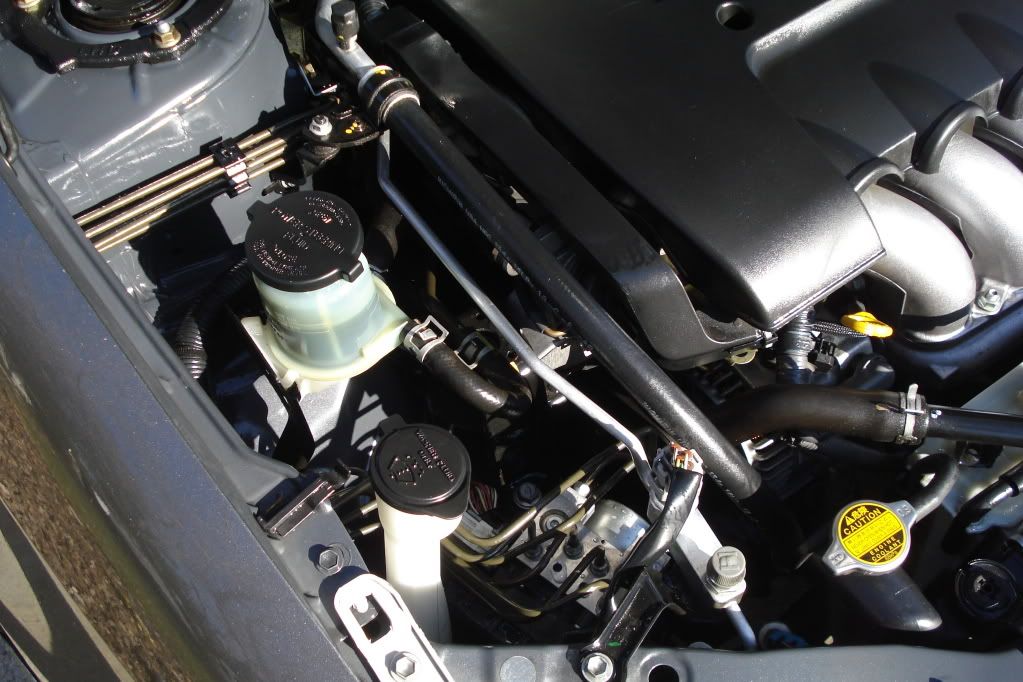
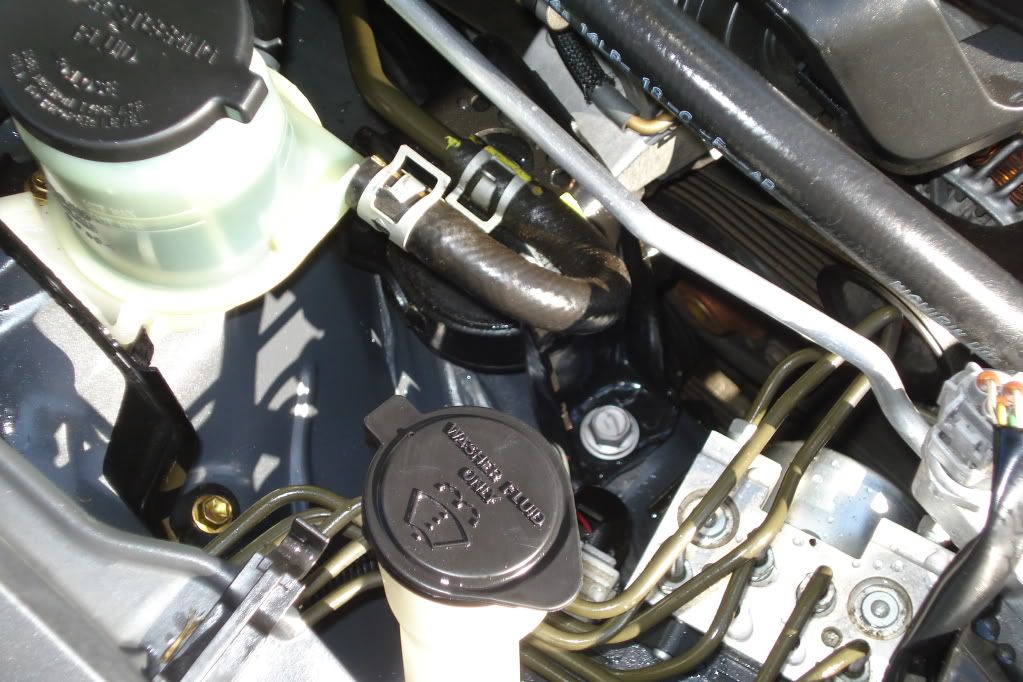
Stay tuned for Part 2 where we talk about washing and clay and hopefully polishing and sealant. I should be able to get all those done in one shot. Part 3 will be about the Interior.


3 comments:
It is about the Wheels and tires are the most commonly upgraded parts on a car. This is because a different wheel and tire package can dramatically improve the looks and even the performance of your car for a relatively low cost. Wheels And Tires
The job of an auto detailing specialist is a tough one because he needs to have a good background of the quality controlled setting. If you have enough training in the different areas of auto detailing, you would surely gain an increase in productivity and profits as well.
FInd A Tradie | FInd A Tradesman
This is a great post, very interesting points and I have enjoyed immeasurably. Lots of thanks!
carpet cleaning geelong
furniture cleaning geelong
windows cleaning geelong
Post a Comment