3:31 PM

How To Leverage Craigslist

Posted by Anthony

In January of 2007 I gave myself a challenge. I decided that I was going to take everything I had been learning about detailing for the past ten years and really put it to the test. So I sold my car in January and committed to detailing enough that year that I would be able to buy another car before the end of the year. I put $8000 from the sale of my car in the bank and started working. Well, I had to wait for it to stop snowing first, but as soon as spring arrived I started working my butt off.

I figured I would need more than just my regulars and and their few referrals, so I decided it was time to branch out and start using some other techniques. So I dusted off a couple things I had tried in the past and really put them to work. The most effective technique I used is what I'm posting about now.

Most of you are probably familiar with the internet's awesome yard sale known as Craigslist. There really isn't anything to compare it to other than the classifieds in your local paper. You can advertise jobs, services, stuff, and just about anything else you can think of. The best thing about Craigslist is that you can create your ads in html and really make them stand out. Take a look at your local Craigslist site and see what othe detailers are advertising. Chances are that they look like this:


That is what the average detailing service post on my local Craigslist looks like anyway, and clearly they look like that in Atlanta too. My guess is it doesn't look much different wherever you go.

So while that guy may or may not get many hits, that type of post shows some very important facts:

1. He isn’t professional enough to have a website he can post.
2. He is not professional enough to have proof of his skill in the form of before /after pictures.
3. He doesn’t have to give a full list of his services, but you definitely want to post more than he did.
4. If you are going to post such scant details, then at least don’t capitalize every other word. It makes you look like a teenager. I’m surprised he didn’t use texting lingo in the posting too.
5. The word ‘We’ is mentioned, but I get the impression that there is no ‘We’ in his operation. Be honest and never imply that you are more than you are.
6. There isn’t even a name for his business listed. How legitimate can you be if you haven’t even got a name yet?

The list could go on for everything that is wrong with that particular posting. I'm not going to say that I do everything right or that I am a marketing genius or anything, but I definitely can suggest some ways to do it a little bit better than that.

Here is what one of my craigslist ads would look like.


That says quite a bit about the business. Look at the things we have corrected on the short list of errors the other ad has.

1. There is a website URL posted for you to get more information.
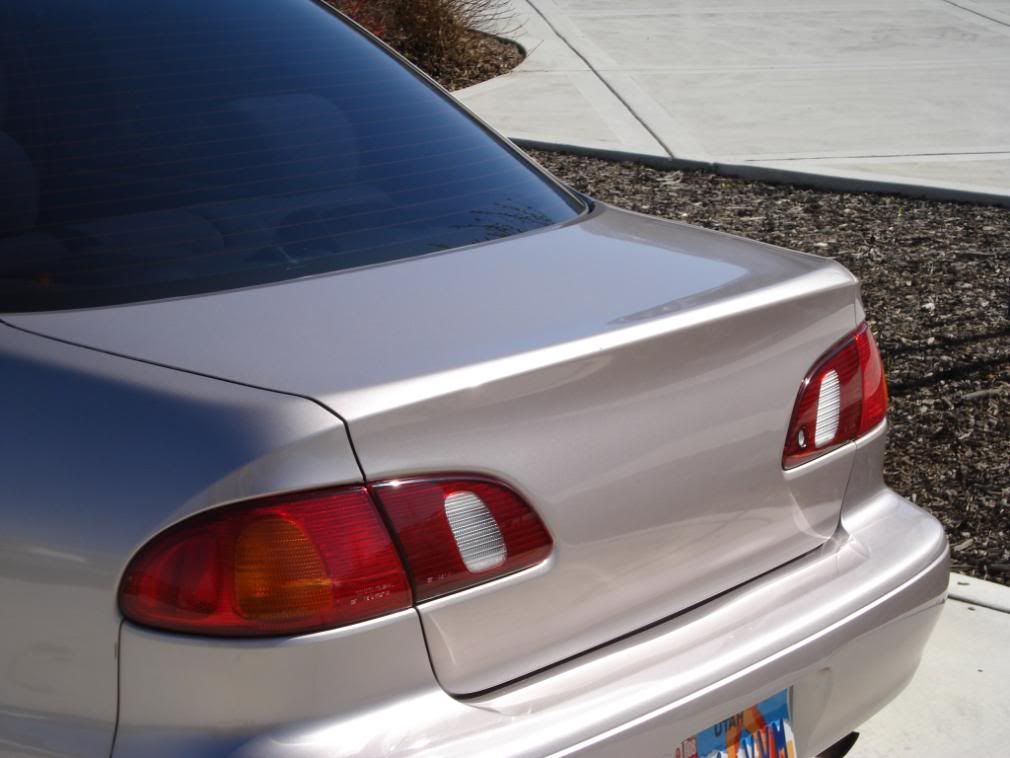
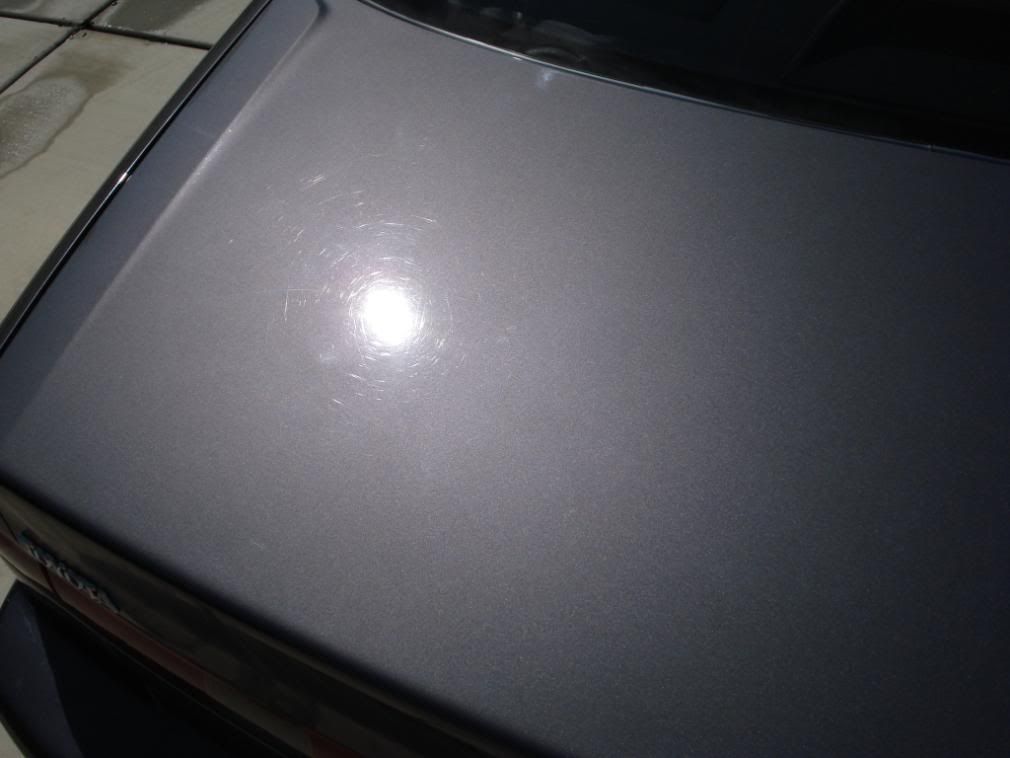
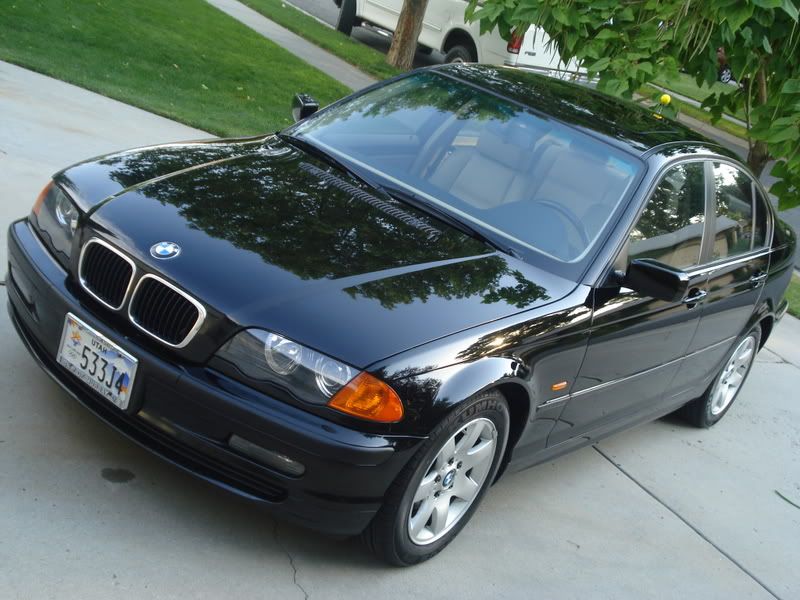
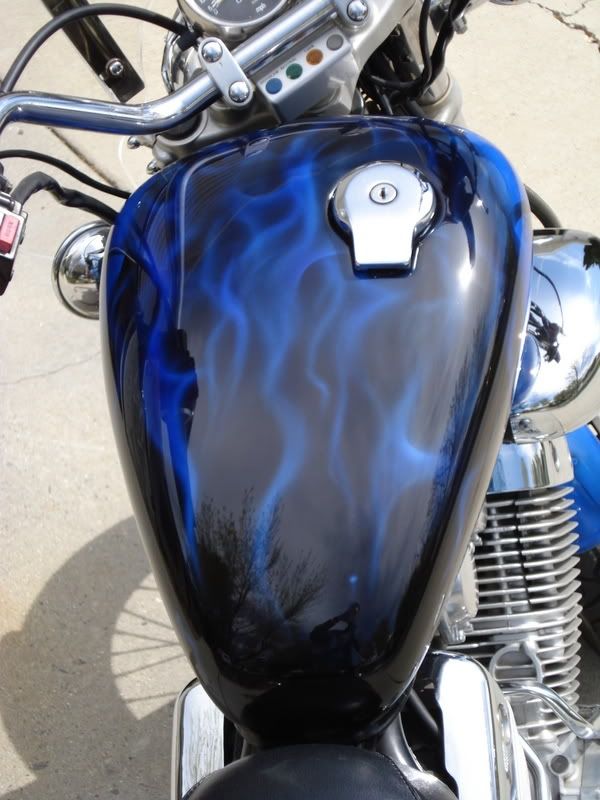
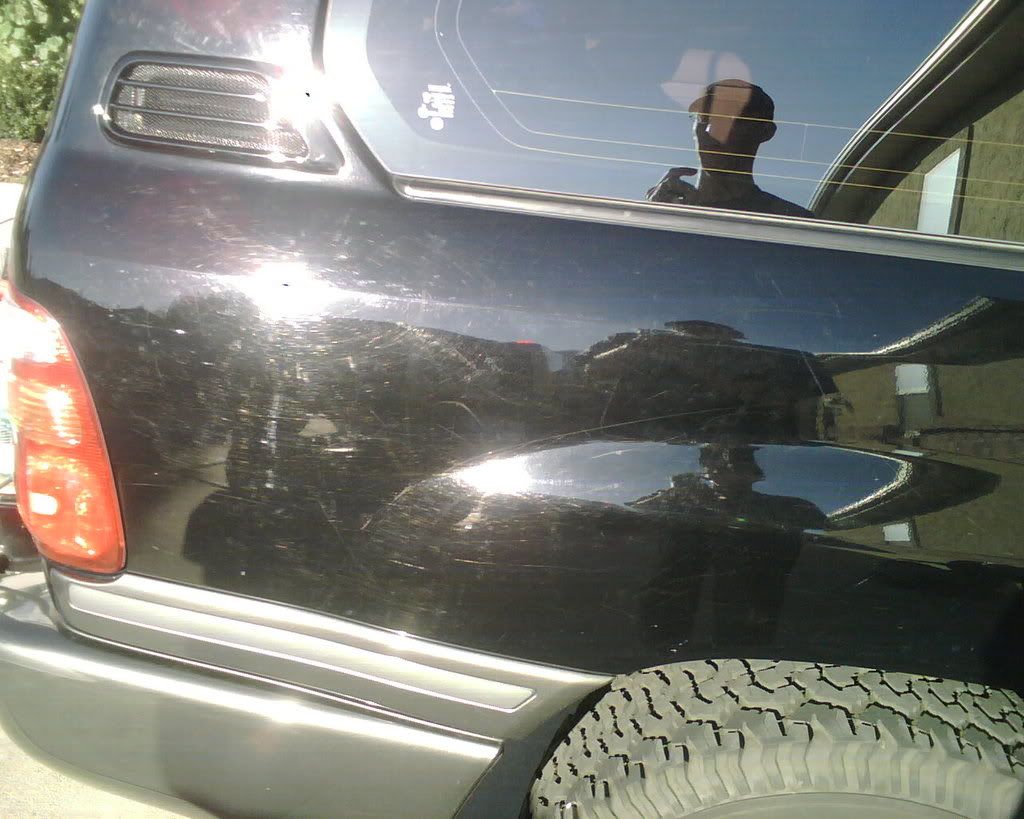
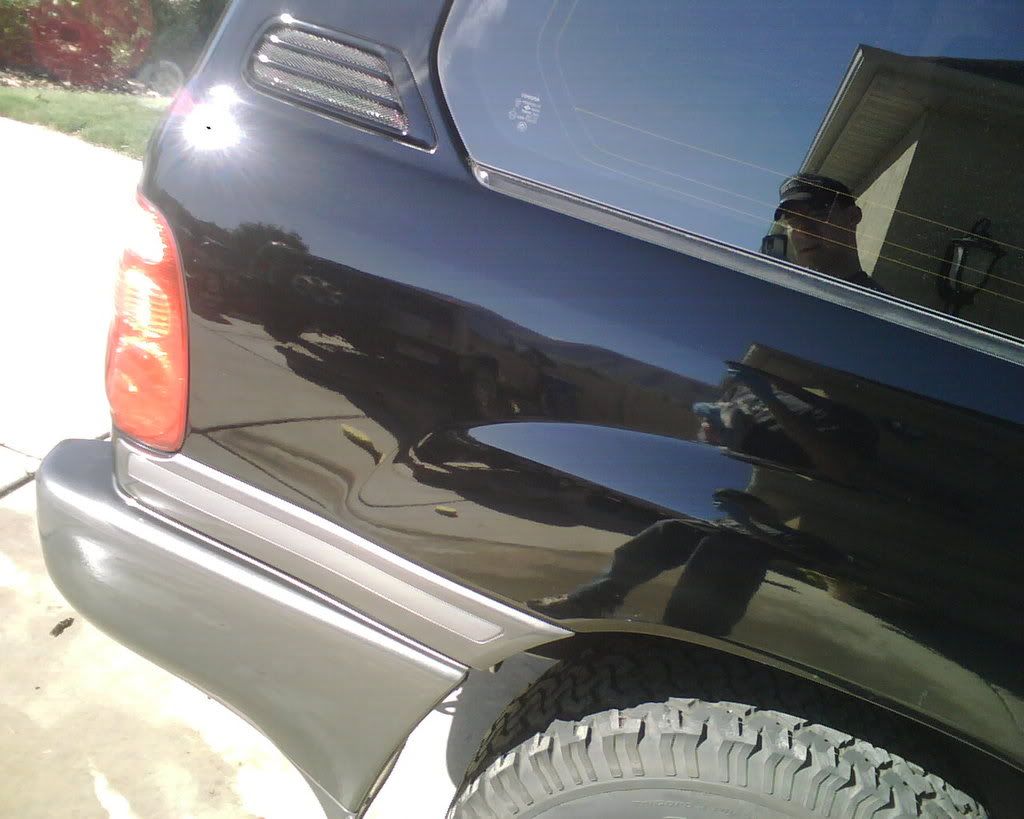
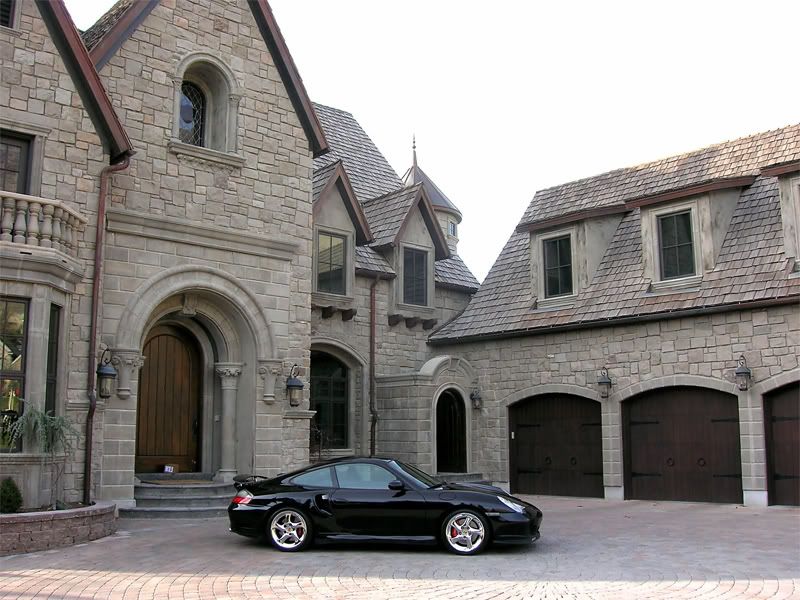
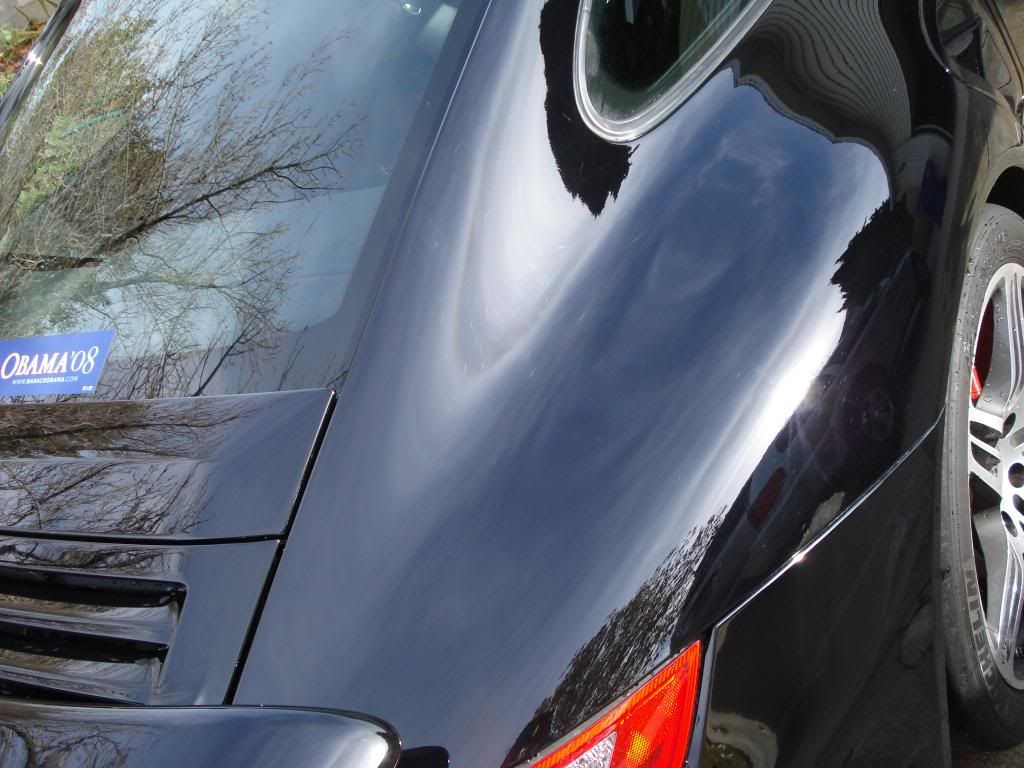
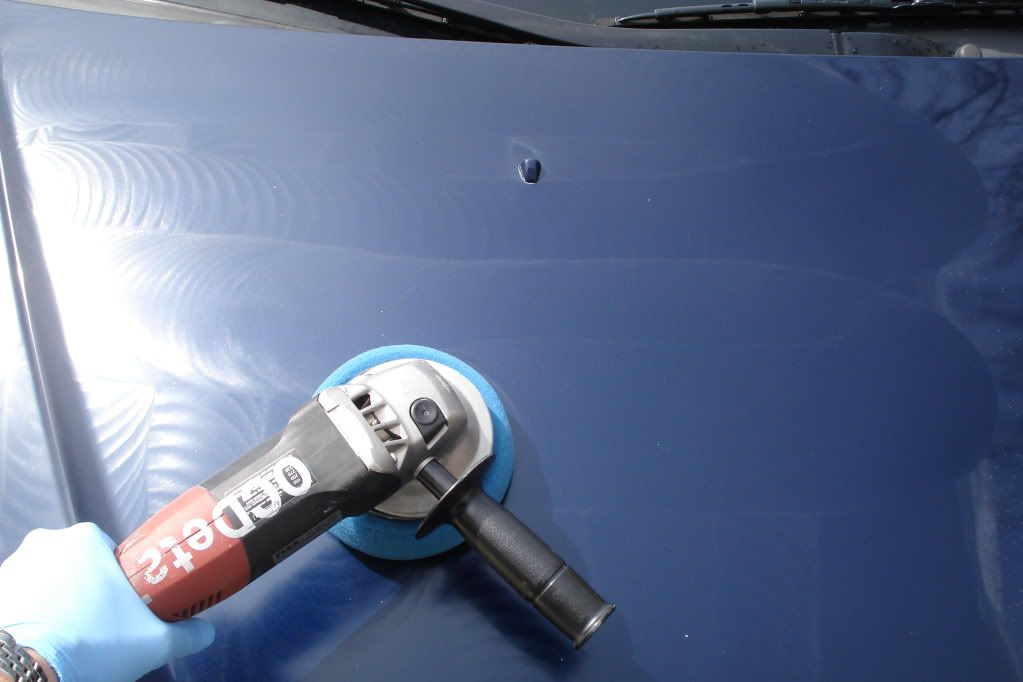
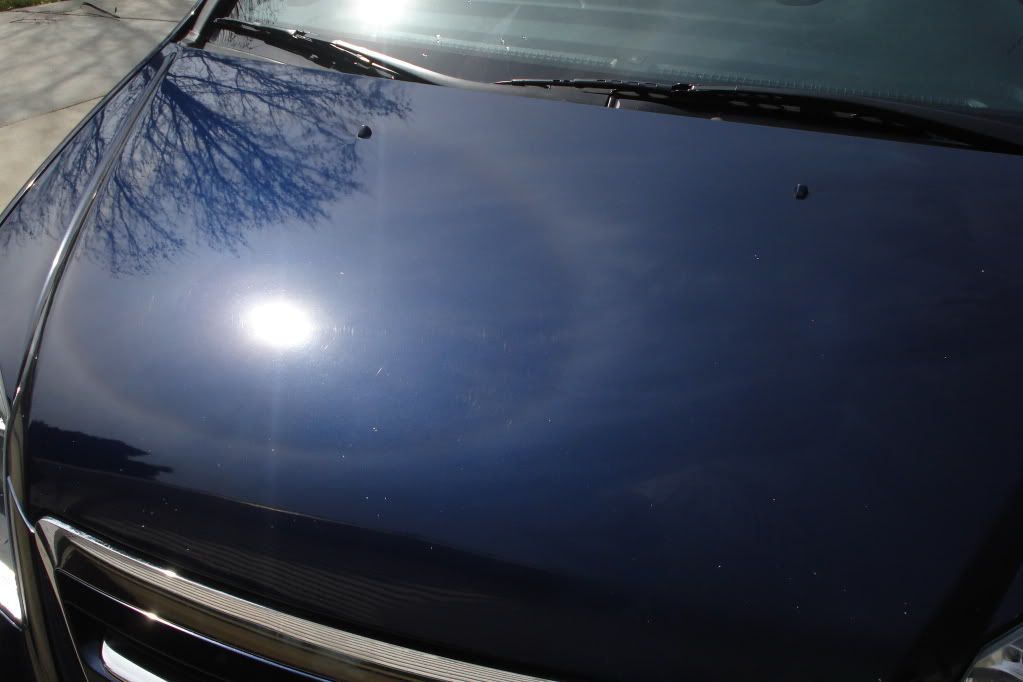
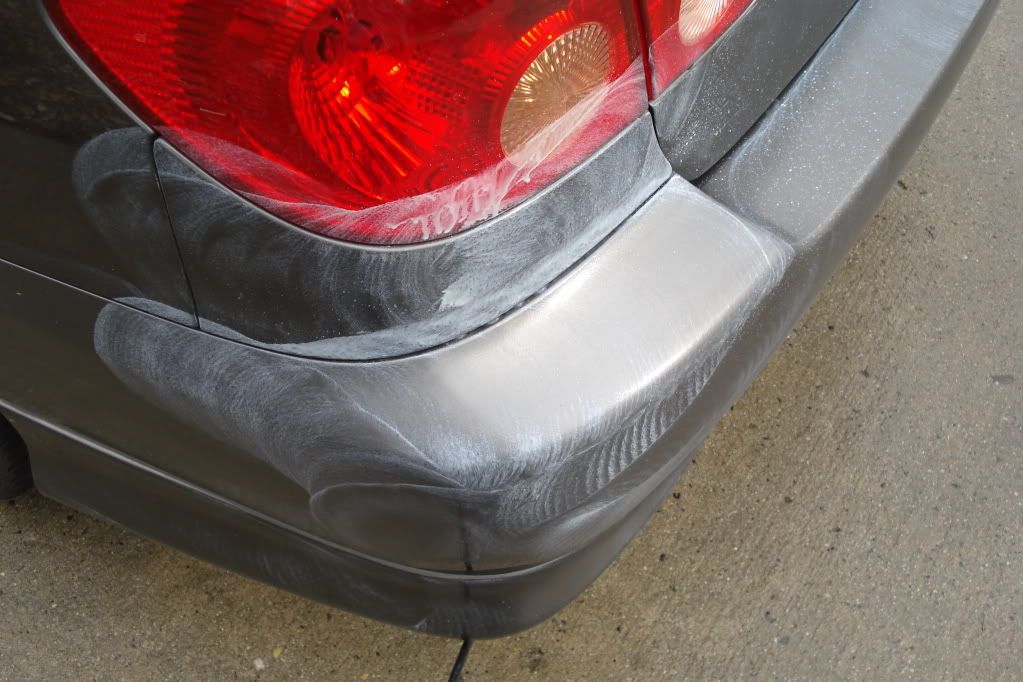
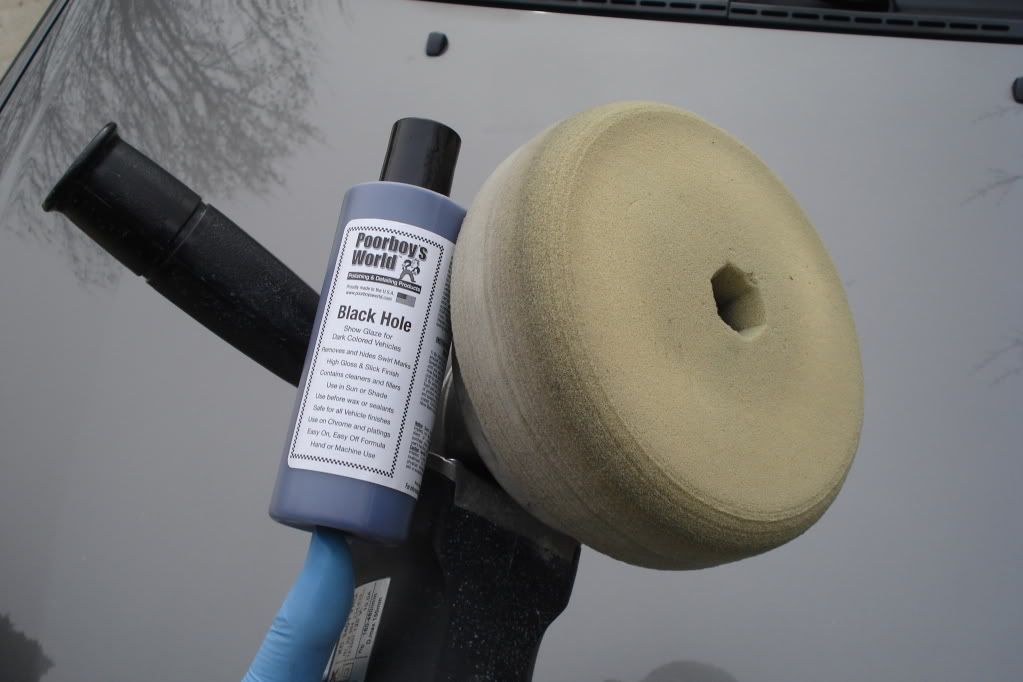
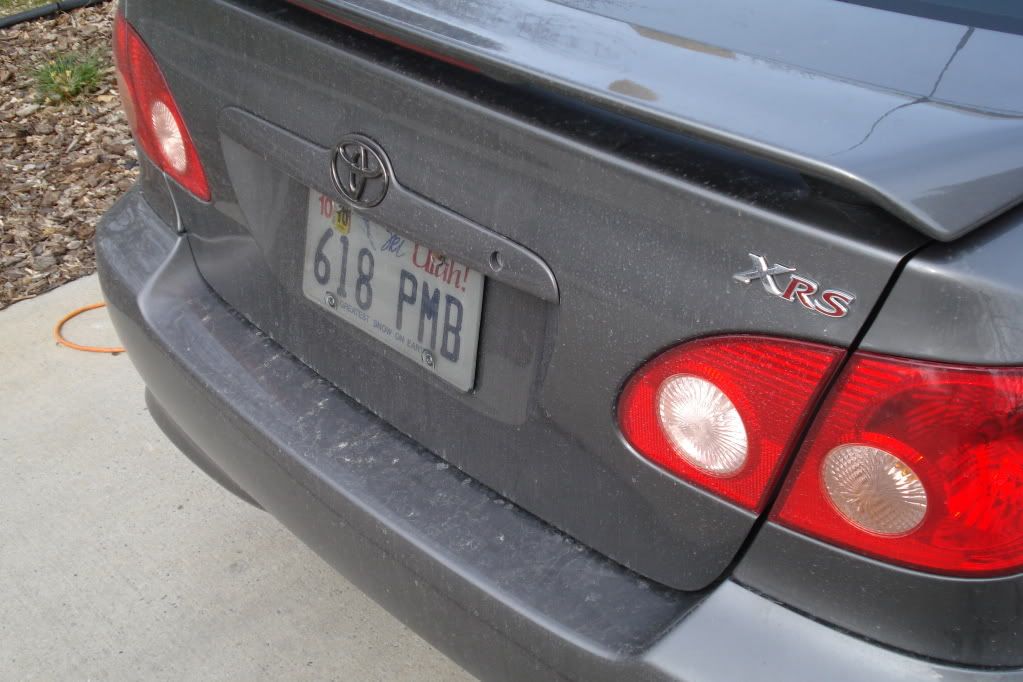
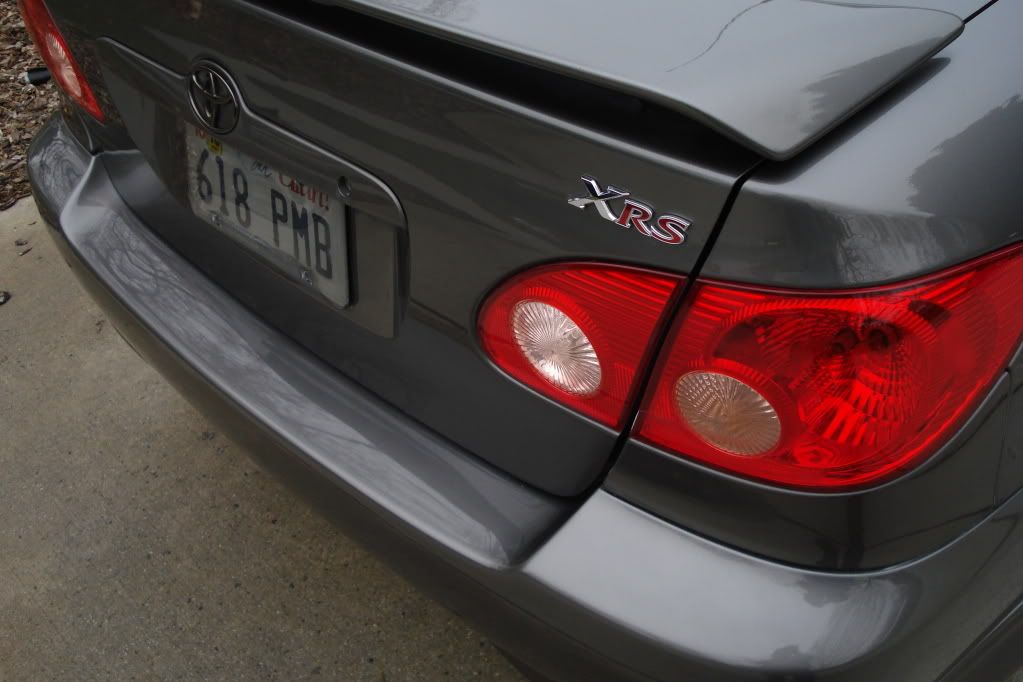
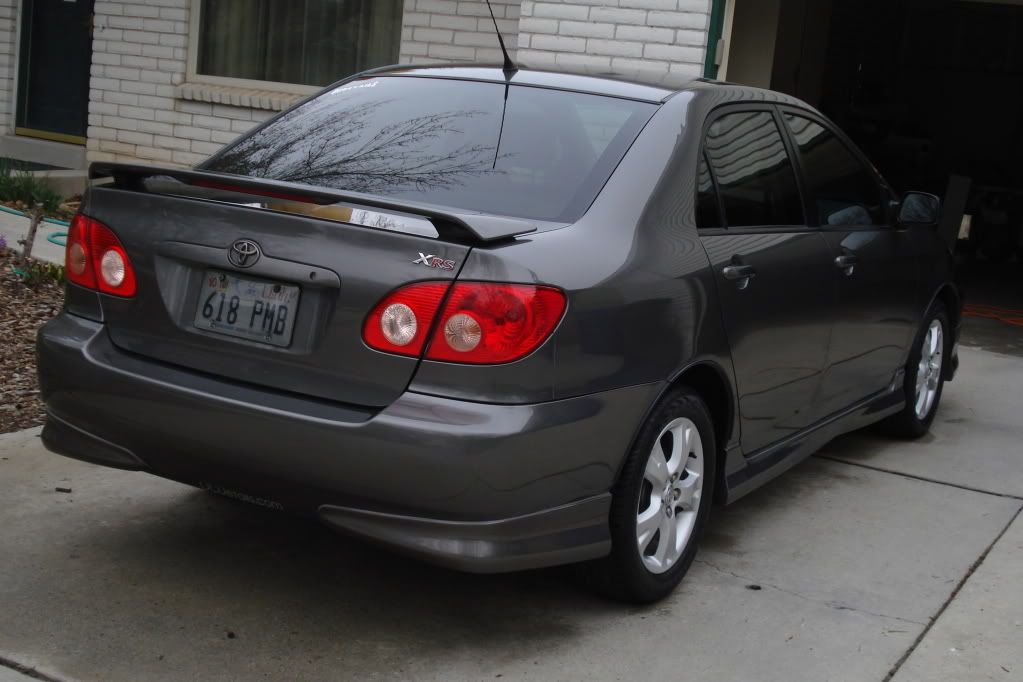
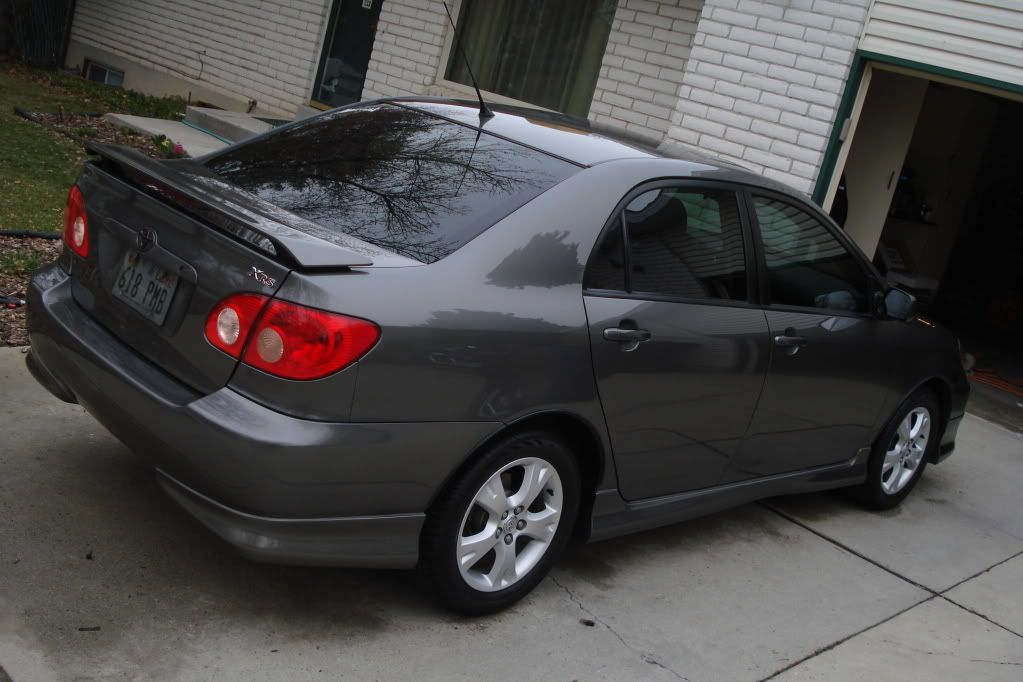
2. Behold the before/after pictures.
3. More details about the services are listed and even more in the URL.
4. I'm pretty sure my posting is fairly grammatically correct.
5. I'm not implying there are any other employees other than myself that you will be dealing with.
6. Name? Check!

That isn't all that this ad does. It is designed much better than just plain text. Because Craigslist allows you to use HTML you can do quite a bit. I used a very simple template that required little effort to modify for my purpose. All of the images are hosted on Photobucket for free. You can check out the album if you want to grab the graphics and use the same templates if you want.

In addition to being a better looking ad, there is another thing that designing your Craigslist postings like this can do for you. Do you see the navigation at the top? That Oxidation - Swirls - Engines - Interiors - Contact Us aren't just graphics. They are true navigation buttons. What do they navigate to you might ask? OTHER CRAIGSLIST ADS. Lemme 'splain.

Craigslist is ridiculously search engine optimized. When I have my ads running and you go to google to search for Salt Lake City Detailers, you find my ads. So there is definite benefit to having as much search engine food in Craigslist as possible. So what I do is post on other area Craigslists different pages of my "Craigslist Site". In Salt Lake I’ll post one page and in the Ogden one I’ll post another page. In Provo I’ll post another one. I’ll use as many of the regional Craigslist pages and beyond until I’ve got everything up there. The reason for this is because if I posted all five pages in the Salt Lake Craigslist then they’d get deleted as being duplicates and all my work is ruined. It doesn’t really matter where they are posted since you are going to link them all together anyway.

Once you have your five ads posted, you’ll need to go back to each one and update the navigation buttons with the corresponding Craigslist ad. Without an HTML editor like Dreamweaver I suppose that could be kind of a pain, but it really isn’t too tricky. It is absolutely worth the effort. What you are left with is a network of Craigslist ads which are essentially your own little website. Click Here to see what it looks like all linked together. I haven’t posted this on Craigslist for two very important reasons.

1. Because it is not useful to link to things that will expire when you want the thread to be a resource for a long time to come.
2. Because it is winter right now and the last thing I want is a hundred phone calls of people wanting me to come out and detail their car in 20 degree weather.

I do want you to see how it all looks though, so definitely check it out. I haven’t protected the right click or anything, so feel free to take the source code and use it as your own. The images in the Photobucket album should help you out and I would recommend you build something similar. Separate the images into corresponding page named folders for easy sorting and go from there. Even if you don’t have a website, this can be your first one.

Craigslist isn’t the only site that you can do this on either. There are other places that you can go to. Here are some other tools that will come in handy as you search for other ways to leverage free websites to grow your client base:

Craigslist Ad Maker, Craigslist Ad Creator, Craigslist Ad Generator
Custom Classified Ads | Listing Doctor | Custom Craigslist
Slozzle is a FREE Craiglist Ad Maker!
Post Classified Ads | Targeted Online Ads
postlets | home
vFlyer - Redirect

I hope this guide was useful. Beware the power of using the information in this article. If you post an ad like this, you had better be prepared to receive the volume. Some of my largest clients came from my Craigslist ads.

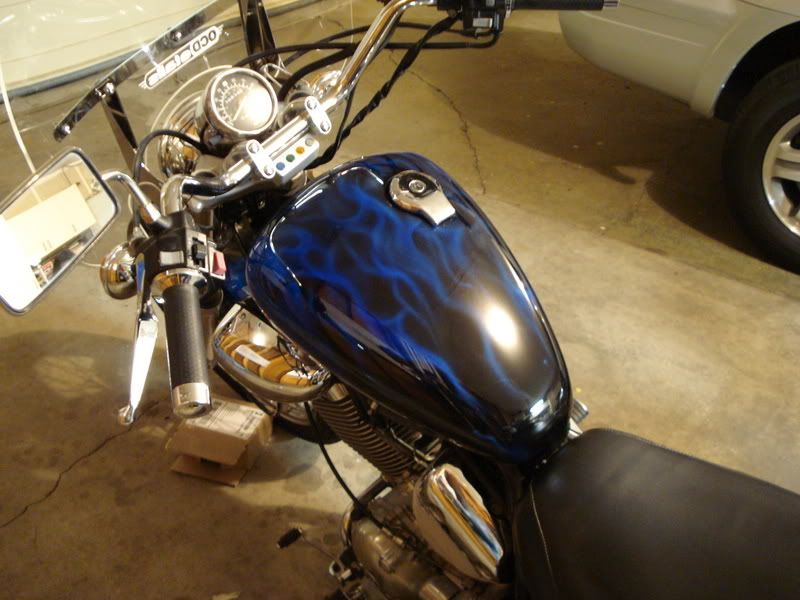
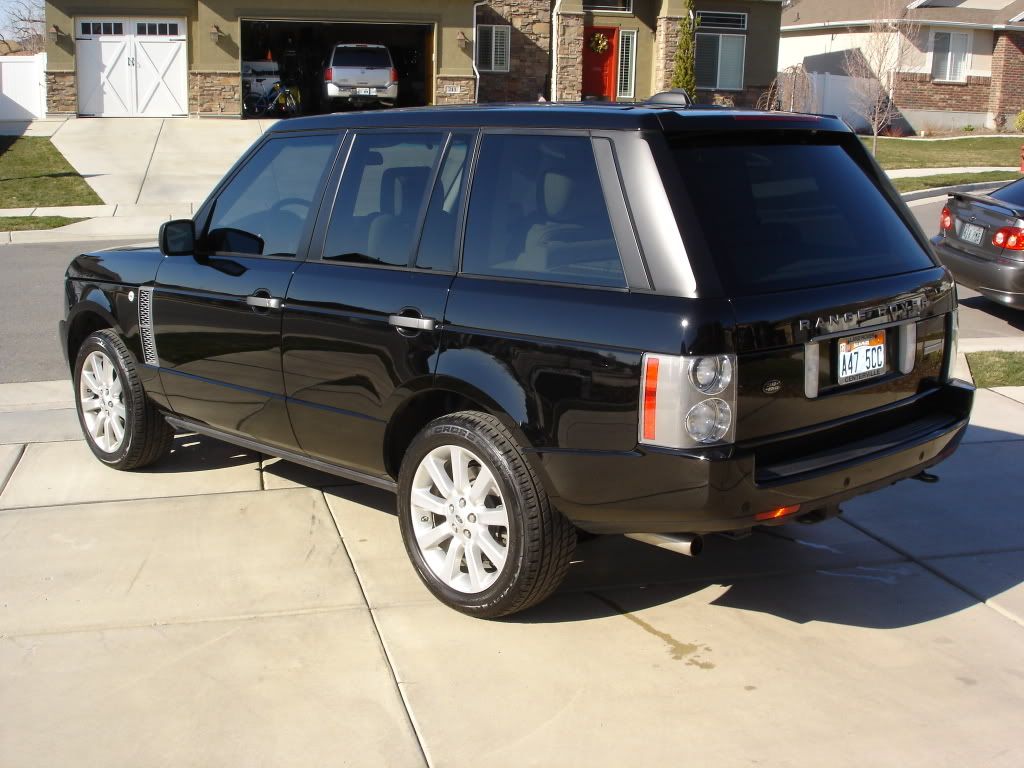
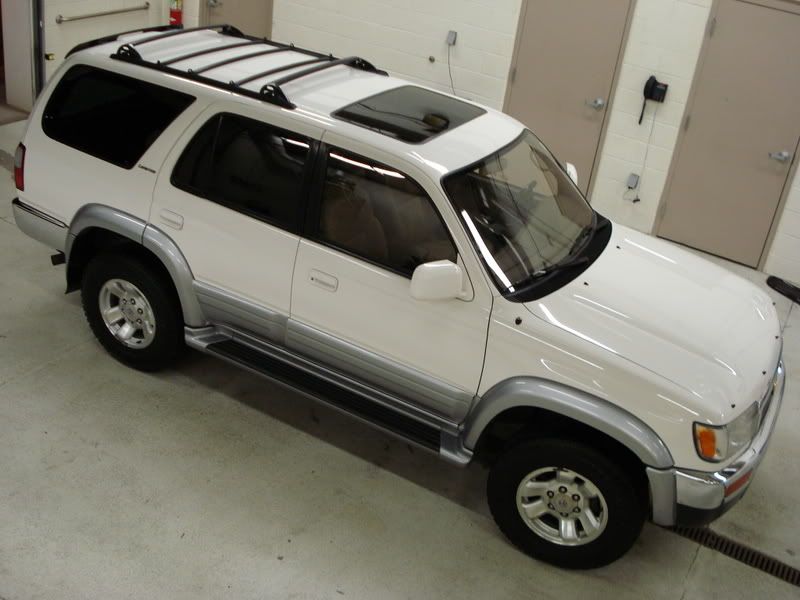
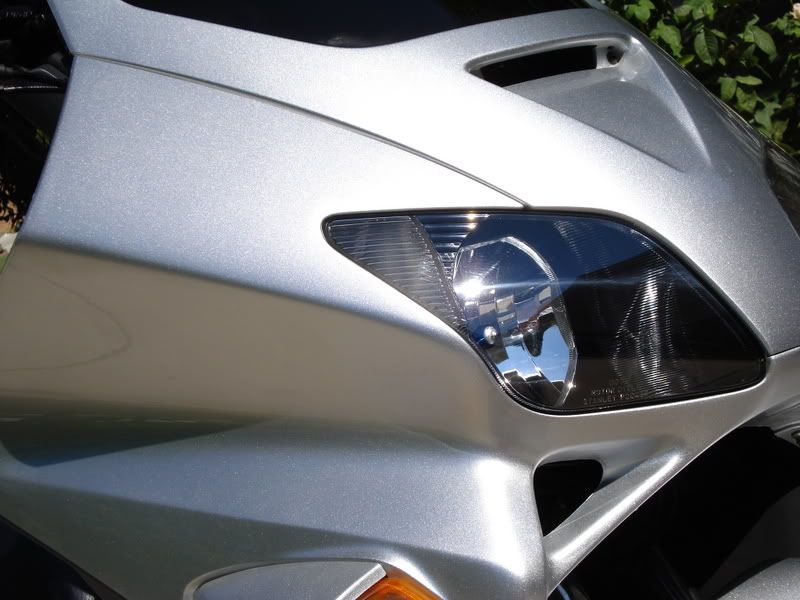
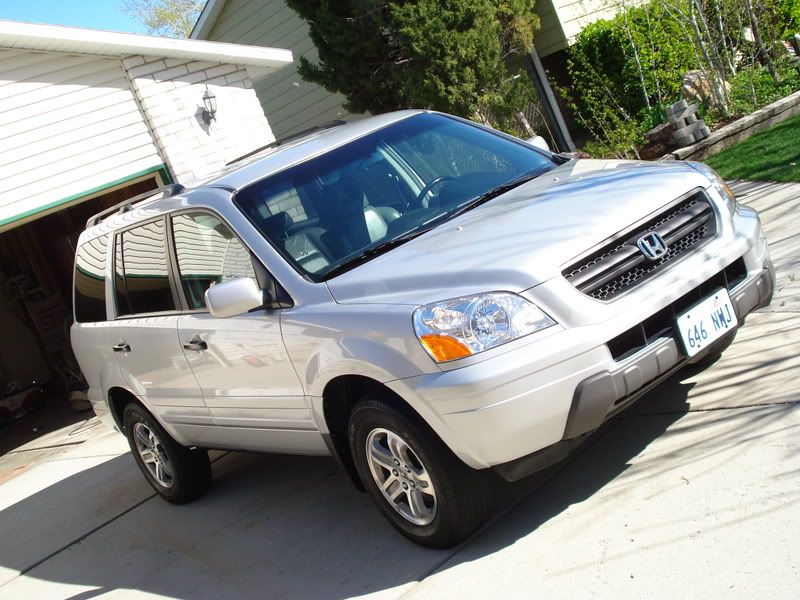
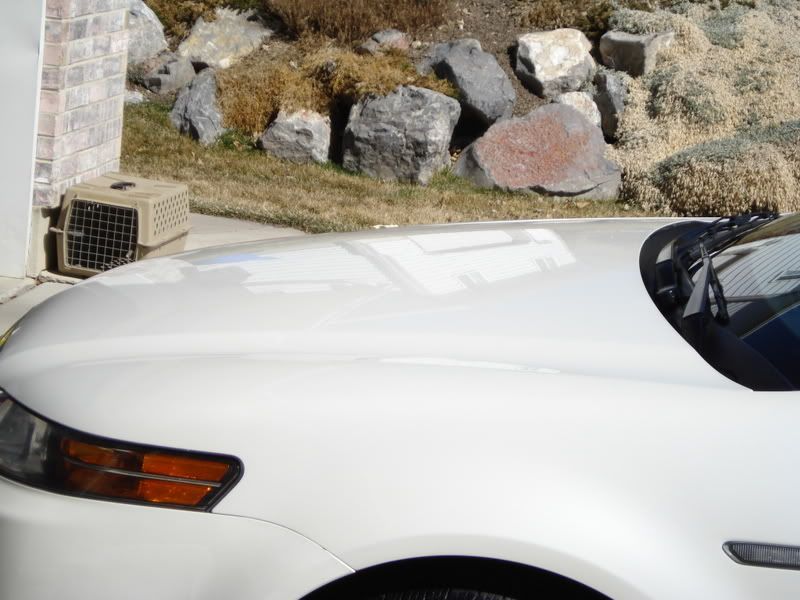
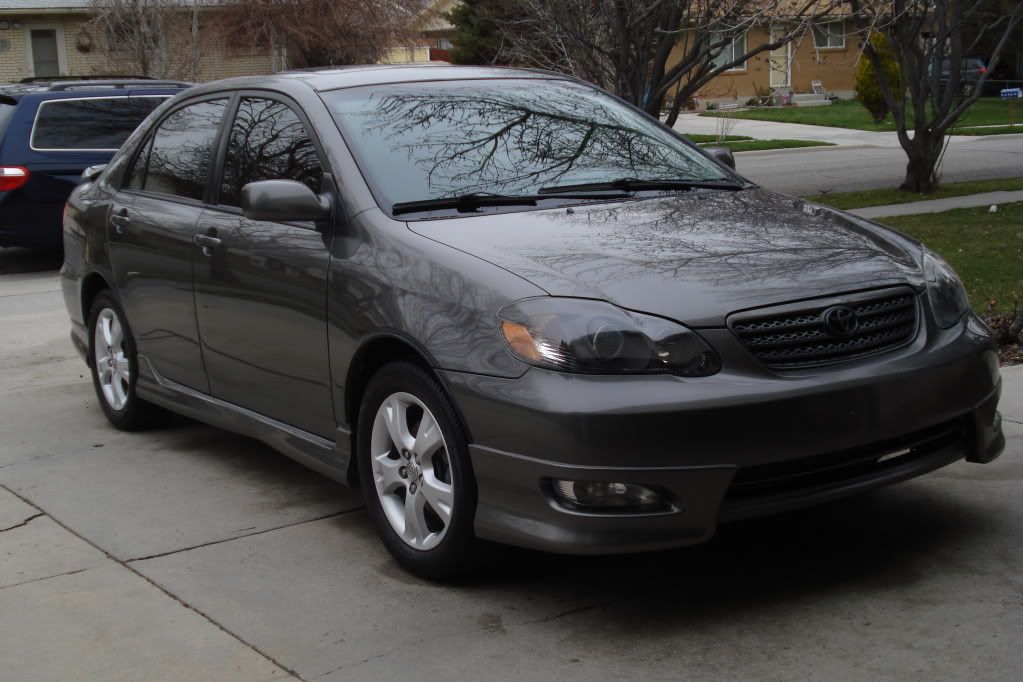
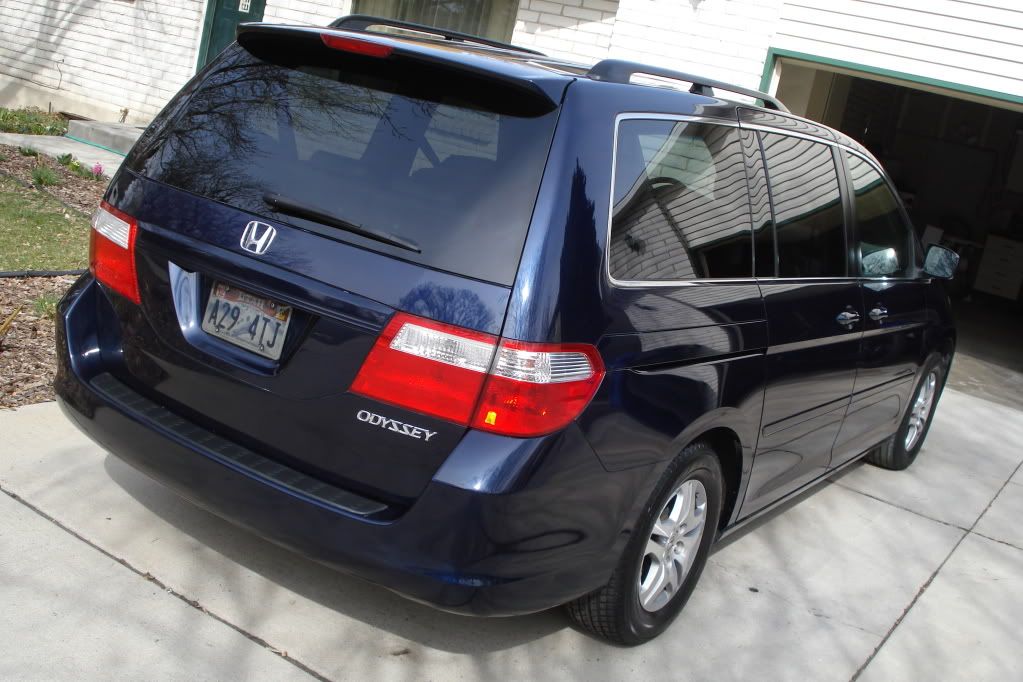
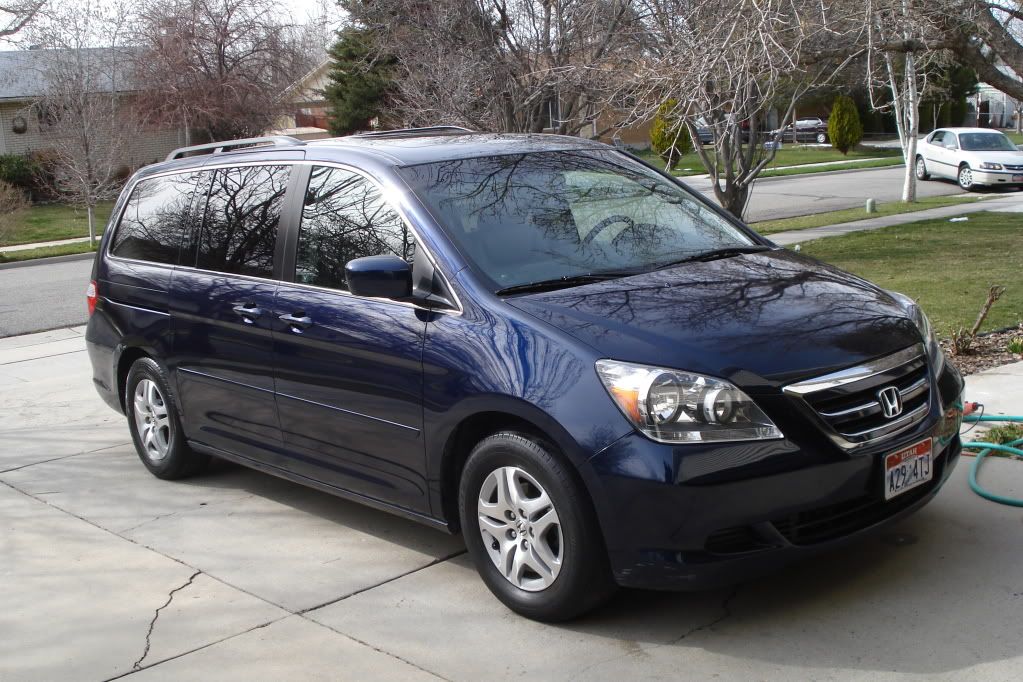
Oh, I almost forgot to tell you the end of the story. So in 2007 I sold my car in January and committed to detail my heart out until I could buy a new one with my detailing profits. I bought a motorcycle in February to use to go back and forth to work and my wife and I shared the Pilot for everything else. I put $8000 in the bank from the sale of my car and in September I paid $15,000 cash for the car I drive now. Other than the $8000 from the car I sold, the other $7000 was generated through detailing. That may not be a lot, but I also have a family and a full time job as well as another business that I run to keep on top of, so I'd say $7000 profit after taxes and expenses is pretty darn good for realistically six months of detailing season in Utah. The detailing season wasn’t even over yet and I generated additional revenue in October during my Fall Detailing Blitz. That was also due to a brief (only two weeks prior) of advertising for that on Craigslist and with an email blast to the customers I detailed for earlier that year.

As a result of the new clients earned in 2007 I still haven’t had to post anything on Craigslist to keep the business going. Granted in 2009 I slowed down a ton because of another business I started, but I didn’t have to advertise at all in 2008 or 2009 to keep the cars coming in. It all comes from some well made Craigslist ads that were head and shoulders above the competition. Even the ones who throw in pictures of their work will not look as impressive as your site will with a little proper design work. Good luck! Post your results!

EDIT:

One resource I forgot to mention is where you can find templates. I like freetemplatesonline.com for that. There are a a million different templates that are easy to modify. The key to this strategy is the text in your ad. If you don't have words for Google to see, then you won't get the search hits. Just uploading pictures won't do you any good at all. It might make you stand out from others who just put text up, but someone who uploads a big image of their services is just like someone who just uploads text. It is a good idea, but poorly executed. Find a good template that you can edit and you'll get much better results.

3:28 PM

DA Polishers Work Just Fine

Posted by Anthony

I have heard this for years that you can't remove swirls with a DA. There are clearly two camps that say either you can or cannot. Well, I'm in the camp that says if you can't remove swirls with a DA, then I wouldn't recommend trying with a rotary polisher because you clearly don't know what you are doing. Swirls can and will come out with a DA if you are using the right process and products. If you try to remove them with just a damp pad, then yeah... you'll have some difficulties. With my FLEX and XMT2 on a blue Edge2000 pad, these are some of the results I get.

(ignore the water streak)


The left part of this hood was polished and the rest is not yet.


Here is a good before/after on a nice Porsche.


This one is from some dog scratches on the door of an X5.


So just in case anyone ever tells you that in order to remove swirls you need a rotary, don't believe them. I don't even own a rotary because I've never run into something that I've needed it for. I guess on that last picture if I really wanted to get every last scratch out then I could have used a rotary, but it isn't like the dog isn't going to jump up on it again or that the car is going into a museum or something. lol For a daily driver I don't think perfection in the absolute sense is even a logical thing to strive for, but you can get close enough with a DA that 99% of people are going to think it is perfect. I guess I'm just not detailing the really nasty stuff, but I'd say that first picture was pretty nasty looking and it seemed to come out just fine with a DA. My motto is "You can do anything you know how to do." If you can't remove swirls with a DA, then learn.

3:18 PM

How to photograph your work

Posted by Anthony

I'm not a photographer by any stretch of the imagination. I'm not going to tell you what F stops to use or what appartures to set your camera for (if cameras these days do any of that). I pretty much just point and shoot. What I'd like to tell you about is how to show off your work properly.

I see pictures all the time of black cars in the shade reflecting brightly lit backgrounds. Yeah, that doesn't work for me. Any dark color will reflect brightly lit objects, so it isn't a fair view of what you have accomplished. Likewise, just a brightly lit paint job doesn't always do much for showing off the work you accomplished.

For example, this car I did using XMT 360 to test the swirl removing and shine capabilities on a light colored car. Here is the after shot of the deck:


Pretty slick, right? Slick, but not perfect. I remember that car well and I know I didn't get it perfect simply because it was a college kid's daily driver and only got washed when she brought it home between semesters. Here is the before and after of a swirl removal project on a similar condition vehicle owned by the same guy using a FLEX DA, blue Edge2000 pad, and XMT360:


Even though it looks better by far, just having the paint lit doesn't show that there are still quite a few swirls on the paint. The whole car essentially looked like that second picture, but you can't tell unless the sun is in the shot.

Black is another great example. It is easy to put a black car in the shade and have it look stellar.


While those pictures might look like well detailed cars, it is really tough to say unless you have the sun in it. The sun won't let you hide squat. Case in point... Here is the fender and hood of that Porsche. You can tell that with the sun in the shot you are going to see all the imperfections. The hood is still not perfect, but rock chips will do that.


Granted, sometimes it is hard to get the sun in the picture and still show what you are trying to show. Sometimes getting the sun in it isn't even possible. Here is a good example of that. I wanted to be able to show the detail of the flames, but getting the sun right in the middle of the tank washed everything out. However, having it in there a little bit shows that I'm not trying to hide anything. Even without the sun you can try to get a light bulb or something in there and that will do the trick too.


Camera quality being bad doesn't matter either. I did these pictures with the camera on my Blackberry Pearl, so don't think that having a crappy camera is an excuse for not being able to really show off your work.


Sometimes I don't even think it is necessary to get the sun in every shot. With the sun at the angle it was by the time I was finished with this vehicle it was impossible to get a very good sun shot. So when I posted pictures I made sure I had at least one sun shot to show I was being serious about removing the swirls. If I was going to take the time and had the ability to do this on the hood, then it can be assumed that I probably did that on the rest of the vehicle.


Light colors are tricky. All I can say is try to take the most unforgiving angles that you can find. Get any light source that you can find to reflect in the paint. Just avoid the shade and relying on the brightly lit background to serve as proof of your skill. Any color in the shade will reflect brightly lit backgrounds, so try to get as much direct light on the paint as possible. Even light colors can impress if you do that.


I'm not saying that you should avoid the money shots by any means. What good would cameras be if we couldn't use them to take advantage of perfect angles and special lighting? Definitely leverage that if you can. It produces some great results!

shady side on silver:


extreme angle on white:


shady black: (screw the car... I want that house!)


more shady black:


total shade oxidation removal: (you can't see it, but the paint is still pretty borked on this paint, but the point was to show the difference)


definitely one of my favorites:


curves do wonders in the shade:


and of course, the irresistible self portrait:


The whole point of this thread is to say don't be afraid to show off your work! You know you did a great job, so don't hide it by taking pictures of the shady side. Get the car out of the garage and into the sun. A picture of a black car in the garage reflecting the shelves three feet away is not impressive. I'm sure the paint is perfect and it looks spectacular, but if it wasn't then the car would still reflect the same. Do your work justice by taking pictures out in the sun where we can see that you did an awesome job and there isn't anything to hide. Don't avoid the money shots, but make sure you get some real before and after shots as well.

10:23 AM

Corolla Detailing Part 2

Posted by Anthony

Part 2 of the big Corolla Detail (See Part 1 for Wheels/Tires and Engine)

We have already covered wheels and engines, so we’ll just start with the washing and I’ll have to put things in the right order after I have everything finished. Now, for this part of the process I’m only using products that I got from a Poorboy’s Sample Kit. I could do the engine, wheels, and tires with products from the same kit. After this whole thing is done then I’ll put together a list of the products that I got locally and everything else came out of this kit.


Step one is to do sort of a presoak. It is assumed at this stage you have already detailed the wheels & tires, so as you are rinsing those off, just wet down the rest of the vehicle. It helps loosen the dirt and makes washing easier.


Now get your soap and fill a bucket with bubbles. The soap you use is important because it does a couple important things. 1) It breaks down the dirt that is stuck to the surface. 2) It lubricates between the wash mitt/sponge/brush and the paint. And 3) it floats the dirt off the car. Using a good soap that gets lots of bubbles and doesn’t just settle to the bottom of the bucket is important.


DO NOT USE DISHSOAP. That is not a good car wash soap. It is too harsh and it will remove the wax that you have applied. So unless it is your intention to remove all the wax from your car, leave the dishsoap in the kitchen. Besides, most dishsoaps have hand moisturizers and other things that have no place on your car. I doubt it will hurt much, but extended washing with dishsoap can dry out the rubber and plastic moldings and seals on your car.

Next step is to start washing. Using either a lambs wool wash mitt or a terry cloth sponge (the safest tools), wash in the same direction that the wind moves over your car. This means back and forth. Not circles. Not random directions. Go from front to back. There is a grain to your paint that is created by the dust and ice and everything else your car drives through. If you want to give yourself some gnarly spiderwebs to deal with, then go ahead and wash in whatever direction you want. I’m giving you this advice so you cause as little damage during the washing phase as possible. This is where most of your swirls probably came from to begin with, so let’s start with some new wash habits if you aren’t already doing this.

One other piece of advice is to start from the top and work your way down. No sense in having dirty water dripping down over clean surfaces, is there?


Remember, lots of bubbles is a good thing. Rinse them off as you go so they will not dry on the car and just leave most of the dirt still sitting there. Definitely rinse as you go if you are in the sun or it is pretty hot outside.

Speaking of rinsing, once you have your car waxed, I want to share a neat tip about how to get the car rinsed and mostly dried at the same time. If you use a slow stream of water you will notice that most of the water just sloughs right off the panel. If you spray it and it splashes everywhere then you get water drops everywhere. But a slow stream will just slide all the water right off and you’ll be left with only a few drops to blot out with your towel. Give it a shot. It doesn’t do much for my car at this phase because there isn’t much by way of wax or anything else on the surface anyway.


Before you bust out your towel just yet, let’s move on to the clay stage. The extra water on the surface will lend itself to the task of clay lube. Clay lube can get expensive, so while official clay lubricant is best, soapy water works too. So that is what I use. Call me cheap, but I use what works and if it is cheap, then all the better.

Clay doesn’t have to be a mystery to people, but I’m always surprised how many people don’t know what it is. I’ve got a full clay article on OCDetails.com if you really want to know about it, but we’ll just keep it simple here.

You can get a bar of Clay Magic at AutoZone for somewhere around ten bucks. It will even come with a bottle of clay lube that will work for about one car and then you are on your own. When you get your 100 gram bar of clay you will want to break it into smaller pieces as you go. Don’t use the whole bar at once. The reason for this is because there is always the chance that you will drop your clay at some point and contaminate it with gravel and grit. You wouldn’t want to burn a whole bar if that happens.

I follow a simple rule of thumb. Quite literally, in fact. I break off pieces about the size of my thumb and work with that until I need another piece. You can generally get half a dozen cars at least out of a clay bar if you aren’t dropping pieces. Depending on how messed up the cars are that you are detailing, you could possibly get quite a few more than that I’d wager.


Spray the surface with your clay lube and glide the clay in the same direction you washed in. Claying may cause microscratches, but since the next step is to polish the paint anyway, I don’t worry about that. Don’t be surprised if you see them after you are finished claying though. Considering what the clay is removing from your paint, I’m surprised that the scratches aren’t deeper.

Because I use soapy water for clay lube, it often times leaves quite a mess. So I give the car another once over with the hose and wash mitt again. Just to be safe.


Now the car definitely doesn’t bead any water or give any indication that there is protection on the paint. Good. Now I can get to polishing. First, let’s dry the car.

There is a great tool I’ve been using for years called the California Water Blade. If you keep the blade clean, it is very effective at getting the water off the car. Like any tool, if you use it wrong then you can do damage. I always run my fingers along the blade every second or third swipe just to make sure there isn’t any grit there. When the car is sheeting water I find this to be a very effective time saving tool when it comes to drying the car. It works great on windows too. Just remember to start at the top and work your way down. If you dry the hood and then flip a bunch of water from your windshield on it, then where does that leave you? Try to find a process that doesn’t make you repeat any part of the process.


When you finish swiping most of the large areas dry, you’ll still have a few spots that need drying. I strongly recommend a good quality waffle weave microfiber towel for the drying. Remember that microfiber comes in all sorts of grades. They make everything from underwear and bathrobes to hats and jackets out of the stuff, so there is bound to be a difference in softness. Don’t just use any ole ‘microfiber’ towel on your car. Especially when you are drying it. Personally I’ve never found a microfiber towel locally that I would use anywhere other than under the hood or in the interior of my car. The best microfiber towels are found online. If someone asks me then I’d tell them that I get mine from Autogeek.net, but you can get them in a number of places. This one is one I got from Autogeek a few years ago.


When the car is dry you can move right into polishing. I’m using the FLEX 3410 just because I love this machine so much, but the PC7424 is still a very capable machine. They are both random orbitals, but the FLEX has an entirely gear driven movement that makes the job go about 30% quicker for me. Since I was polishing my car and my wife’s van today for this article, I needed the speed.

I’m going to use Poorboy’s SSR2 and a blue Edge 2000 foam pad. The reason for the SSR2 is because I’ve got some swirls, but they aren’t that bad. The paint isn’t the easiest to cut though, so the SSR1 wouldn’t quite do it. I could probably use a yellow pad and SSR1, but then I would have pad haze to clear up and I’d have to polish twice. So I’m using a more aggressive polish and a less aggressive pad to get the results I want. You’ll find that I do that quite a bit. It just comes from practice. You’ll figure out what works best for you.


Apply about this much product to the pad. This too you’ll sort of figure out as you go. I just sort of draw a circle half the size of the pad and call it good.


Put the machine against the paint and start the machine on a slow speed to spread the product around. Then kick it up to 5 and start to work. Go in a criss cross pattern to ensure the best coverage. So go up and down and then back over it from side to side. You’ll get the feel of when the polish is done doing what it needs to do, but the best thing to do is check your work frequently. Buff off a section and see where you are at before going on to the next panel. This will help you know how severe your swirls are and how long you need to work the machine and polish before you get the results you want.

Since my car doesn’t photograph swirls well, we’ll use the van for this example. Same products and process.


Remember that if you are detailing a daily driver that it is ok to leave a few marks on the paint. Seriously, n o b o d y is going to notice them. Well, nobody except for me and you probably, but that doesn’t matter. To anybody else your car is going to look perfect. Don’t over obsess or it will drive you nuts. A daily driver is going to get swirls again the first time you drive it to work, so get comfortable with a certain level of ‘good enough’.

Occasionally you’ll be going along in your polishing and you’ll hit a drip or a nice flow of water. This always happens on the back of the car, but you’ll pull water out from under the door handles like this too. When this happens you will want to wipe it up quick. This kind of mess is a real pain to clean up when it dries. Wipe it down and spin the water out of your pad before going over the spot again. Trust me on that. It makes buffing it off much easier.


Now buff the polish of and pick your poison. I’m going to give Poorboy’s Black Hole a shot. It is some sort of a glaze or something, but it says you can put a sealant on top, so that is what I’m going to do. I’m going to apply Black Hole and then EX-P.


Same process here as when you did the polishing. I don’t necessarily always do the whole criss cross pattern thing, but sometimes I do. You just want to make sure you get coverage everywhere.

The reason I use the Edge 200 pads is because after I finished applying and buffing off the Black Hole and it was time to apply the EX-P, all I had to do was flip the pad over and I was ready to go. I didn’t have to go find another pad so that I didn’t mix my products up. I don’t’ know that it would make a whole lot of difference, but this is the first time I’m layering these two products, so I don’t want to mess anything up. So a quick click and flip and I’m ready to go with the EX-P.


Whoops!! Yeah, so I didn’t mask anything off like I normally would have, but that was on purpose. I wanted to show you what happens when you hit your trim and seals with your polisher and how to clean it up.


You’ve seen that before I’m sure, right? Well, it isn’t so bad to clean up. My wiper cowl can get to looking like that sometimes too.


The solution there is Poorboy’s Trim Restorer. It does a fantastic job on polish stained trim and general damage to plastic and rubber.


Not bad, eh? Definitely look into getting some of that. It is awesome. It isn’t quite a gel, but it is thicker than Armor All. Sort of like soap, only thinner by a little bit. You can either apply it directly on the piece you are working on, or just apply it to the towel and rub it in. You’ll be amazed at what a difference it makes.

So now you can clean your glass (I don’t really need to tell you how to do that, do I?), dress your tires, and admire your work. It looks so much better than when you started.


Notice how the body lines will glow more than they did before. I don’t care how clean you get your car by washing it. You’ll never get appearance like this until you polish it and use a quality sealant or wax on it. The difference is blinding. I’ll get some pictures in the sun perhaps later. It was a cloudy day and that doesn’t make for good pictures, but here are the results of my efforts today.