


Techinally, the interior should be the first area you strike when doing a full detail. The reason for this is because you will kick up quite a bit of dust and you are also likely to get over-spray from your interior protectants and other products. So let's start with the inside.
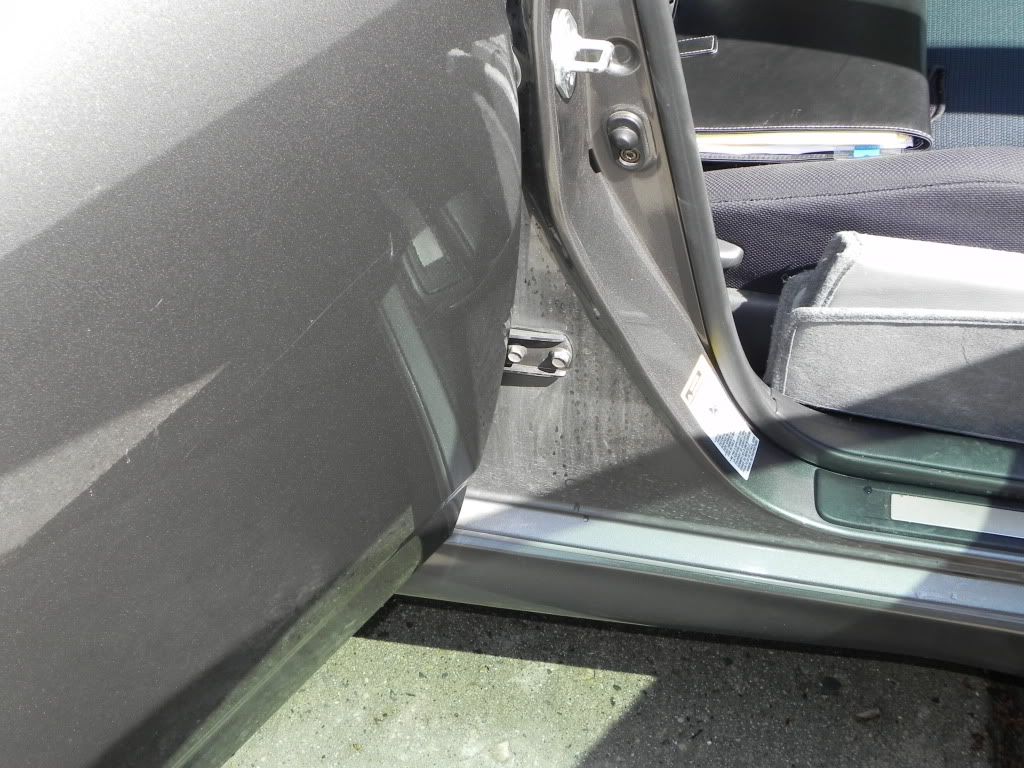
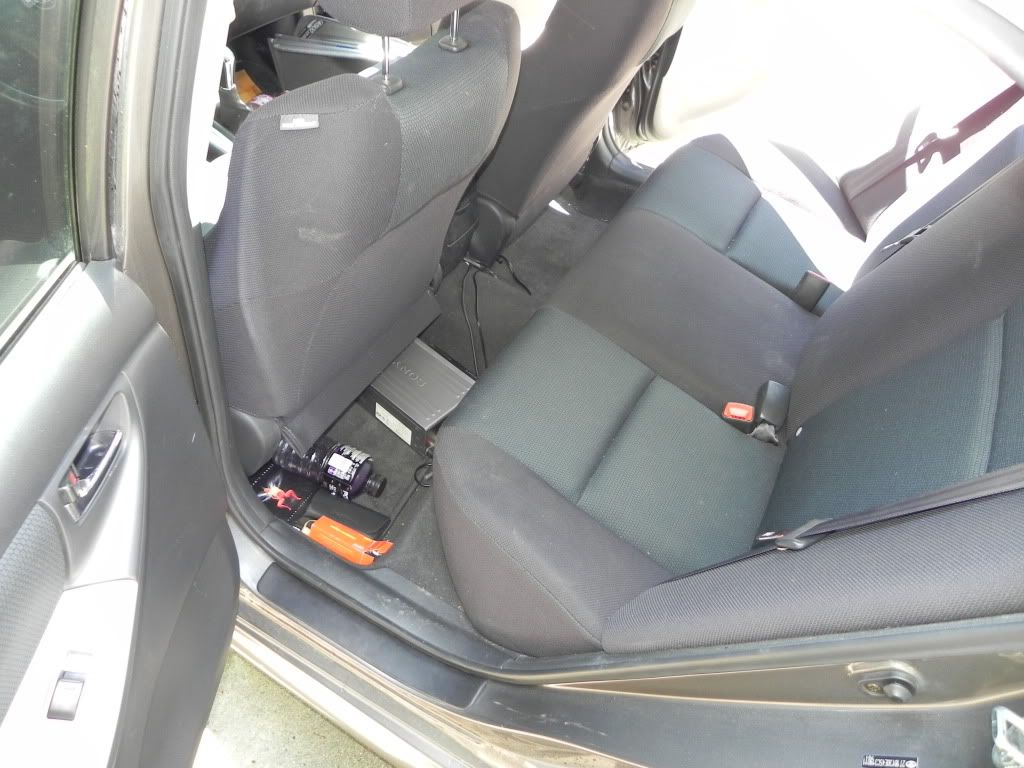
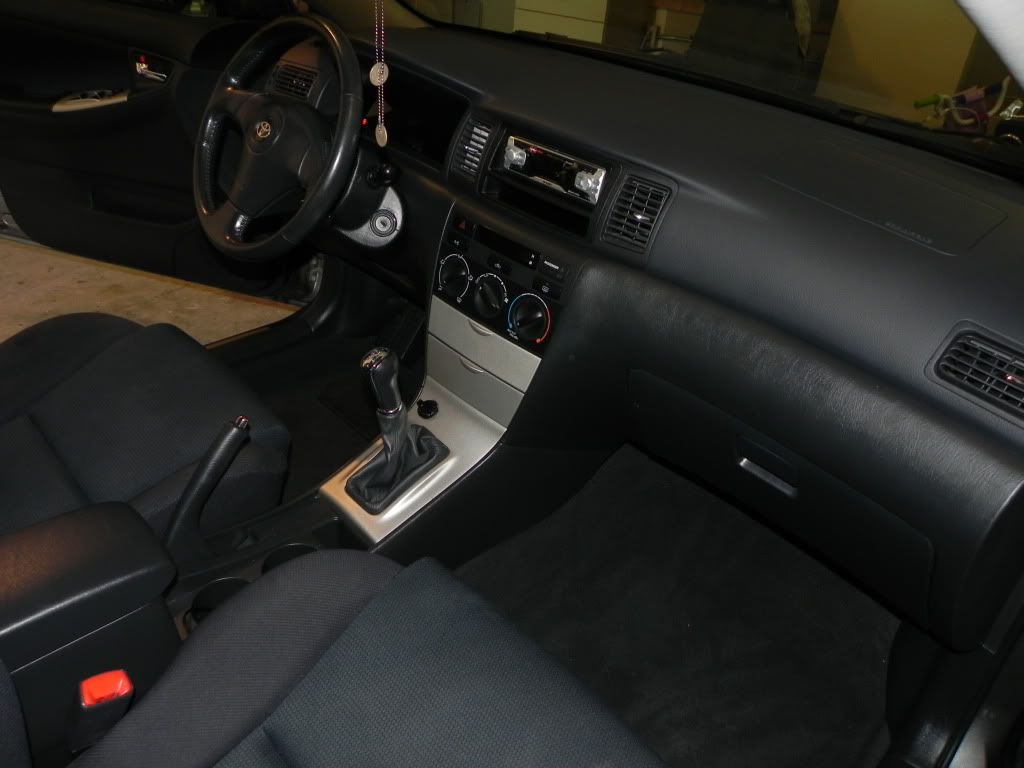
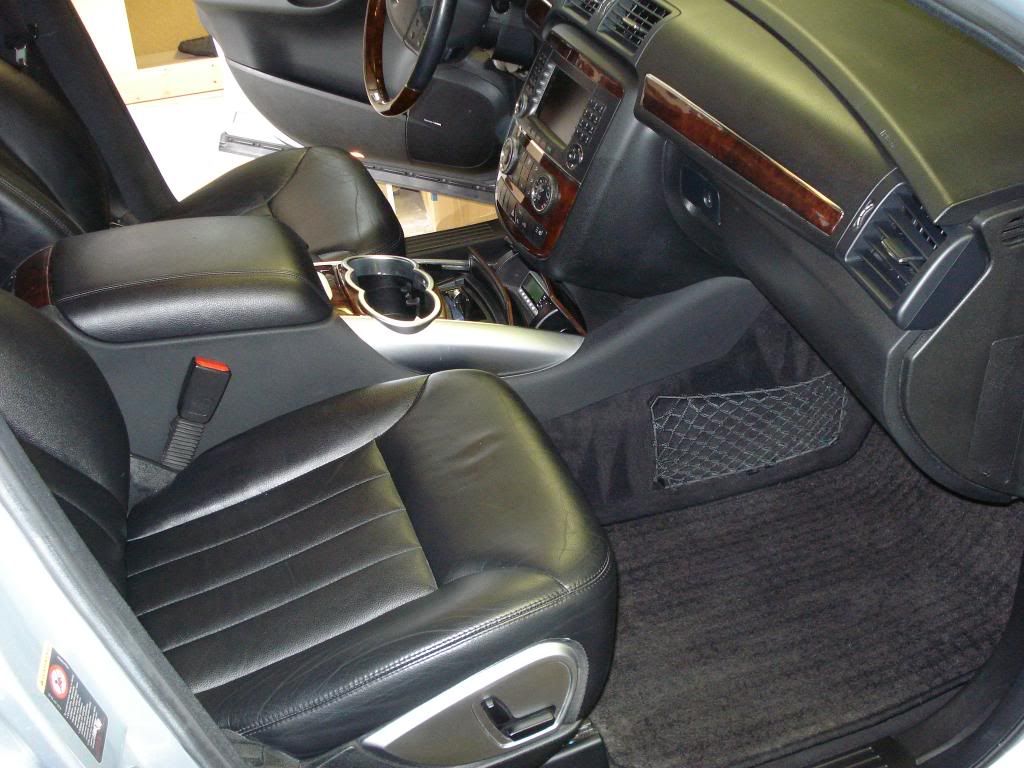
Let's take a look at some of the before pictures of our project car so you can see what we are working with.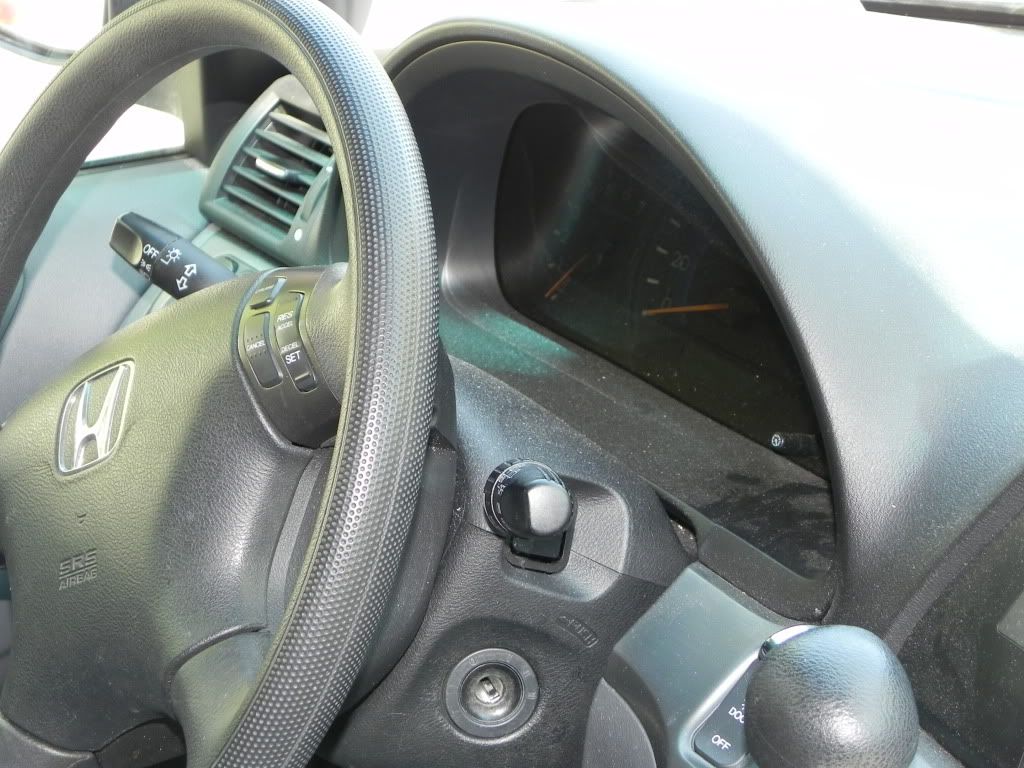
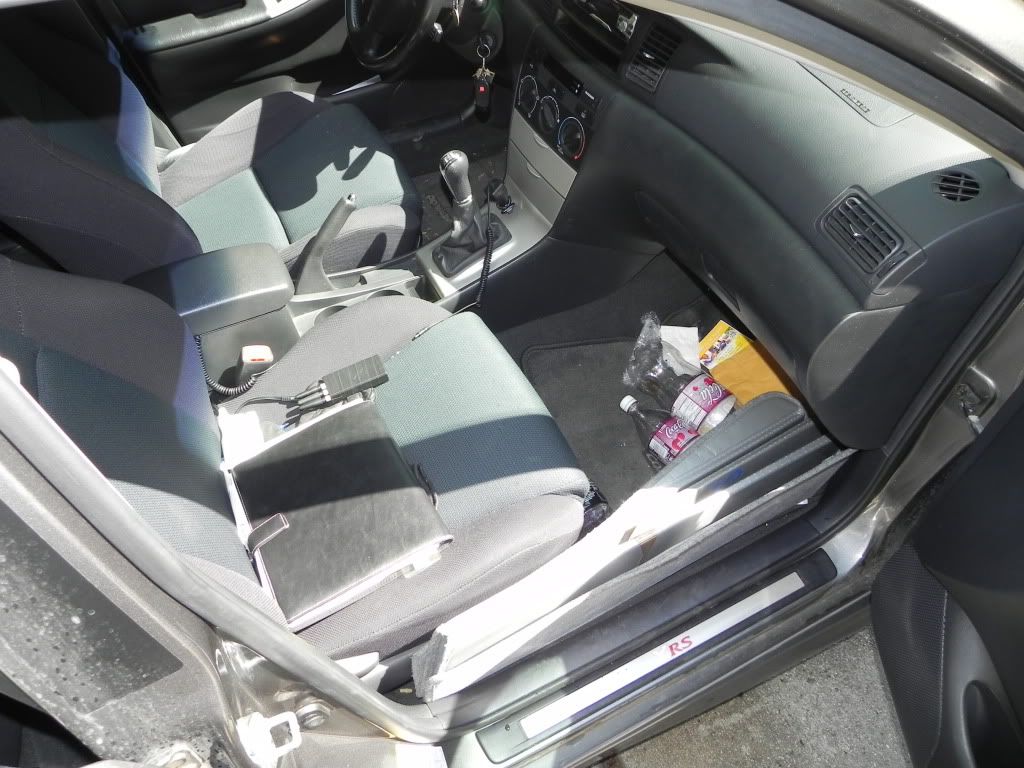
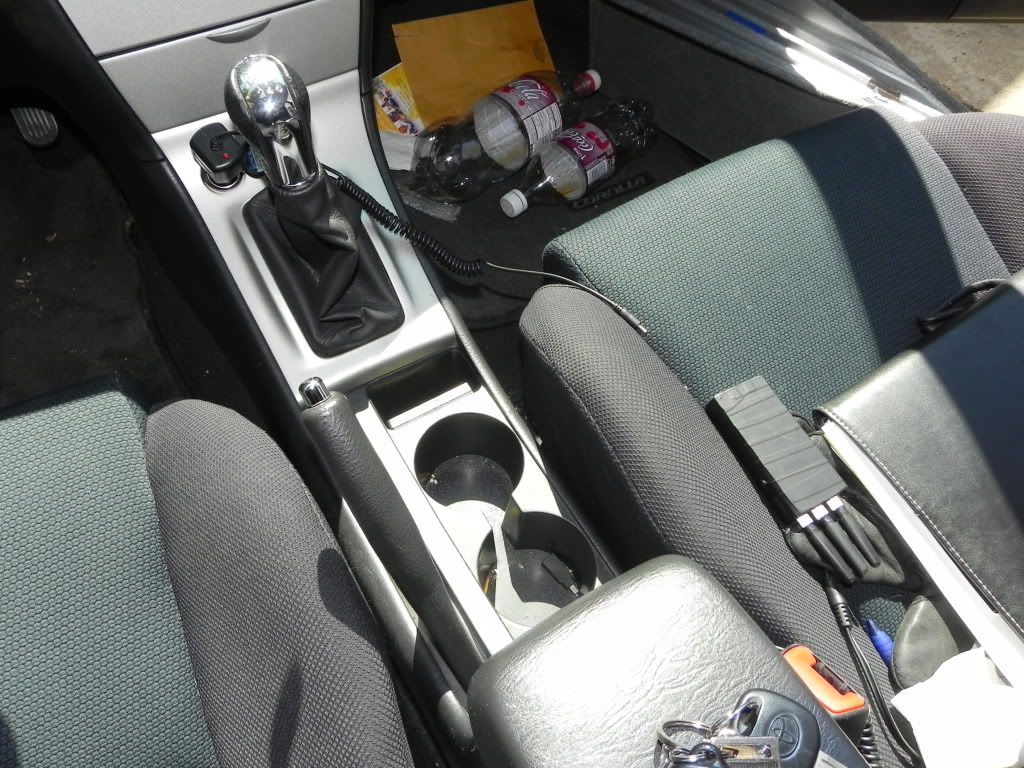
Just like when you are washing your car, you want to start from the top and work your way down. Clear off all the stuff stuck to your windshield and dash like radar detectors, gps, cell phone holders, etc. Unplug all the lighter adapters and start boxing up all the stuff that you will want to put back in your car while bagging up the garbage that you will not want back. You want to do all of this before anything else because you are likely going to shake up the dust during the process and what would be the point of vacuuming the carpet and then knocking a bunch more dirt on it while you are cleaning other areas?
Try to dump the dirt off the floor mats before removing them. The reason for this is because you don't want piles of dirt all over the place outside your car that will just get tracked back into your car if you are doing this in your garage. The other reason for keeping the area around your car clean is because you'll be putting these mats on the floor to vacuum out later and you don't want to put them in piles of dirt which will then be dragged back into your car.
A product I love to use on the interior is Meguiar's Quik Interior Detailer. This is an awesome product because it isn't going to create a mess if you spray some on the gauge cluster or the windows. Protectants like Armor All will make a greasy mess if you get them on plastic lenses or glass, so something like this is great. It also has a little bite in it so it will help get the spilled soda, coffee, and other messes that make the dash and center console of your car nasty. You can spray this on pretty much anything on the interior without worrying, so go nuts with it. You can use it on leather, plastic, vinyl, rubber, whatever. Even paint if you wanted to use it to get some of the dirt off the door jambs. Just remember to do the door jambs last if you decide to use the same towel for all of this. Do one door and you'll see what I mean. When it gets really nasty, you definitely wouldn't want to be wiping down your seats or anything else with it. You'll likely just make it worse rather than cleaners.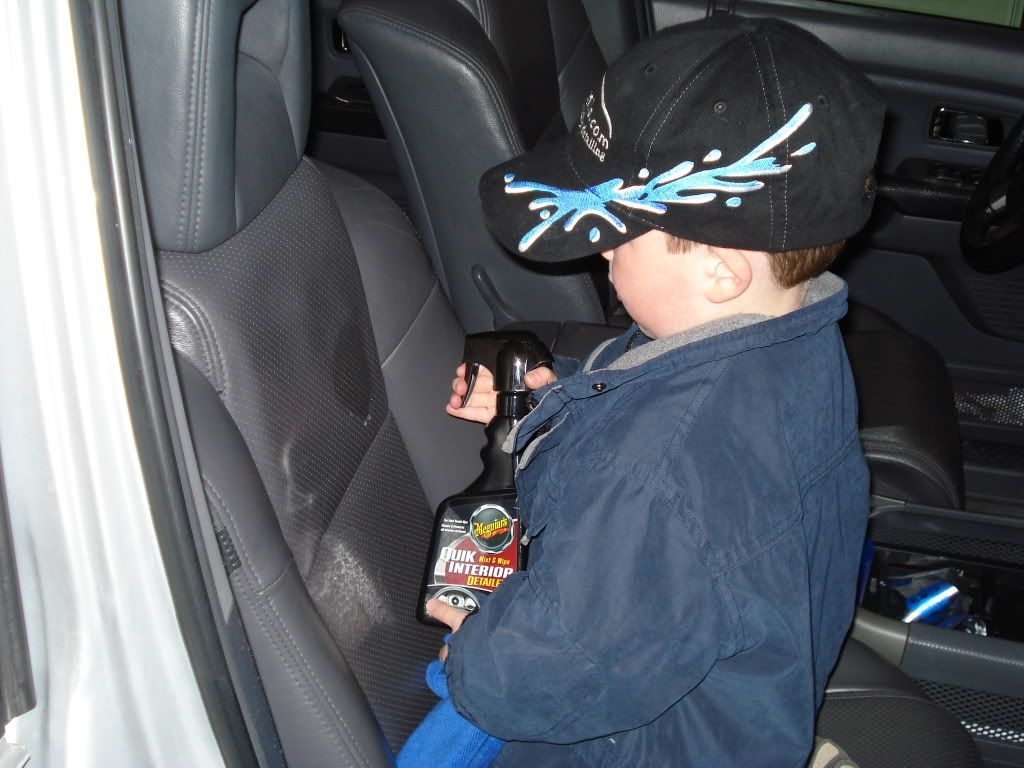
Cleaning the interior surfaces is one of the first things you should do if you are trying to get smells out of your car. Cigarette smoke in particular is very bad about sticking to the dash and other surfaces. It is probably the ash that does it, but other smells like perfume, pets, and just general 'funk' will stick to the surfaces of the car and they need to be cleaned. Dash protectants don't typically do much cleaning, so products dedicated for cleaning are best for that. I like Pinnacle Leather & Vinyl Cleaner when it comes to real nasty jobs. This is one that has plenty of bite to get the really bad stuff out. It is also great for dingy leather that has gotten darker over time. Grey and light colored leather is the worst for that. Sometimes you have to just hit it with a tooth brush to get it all out.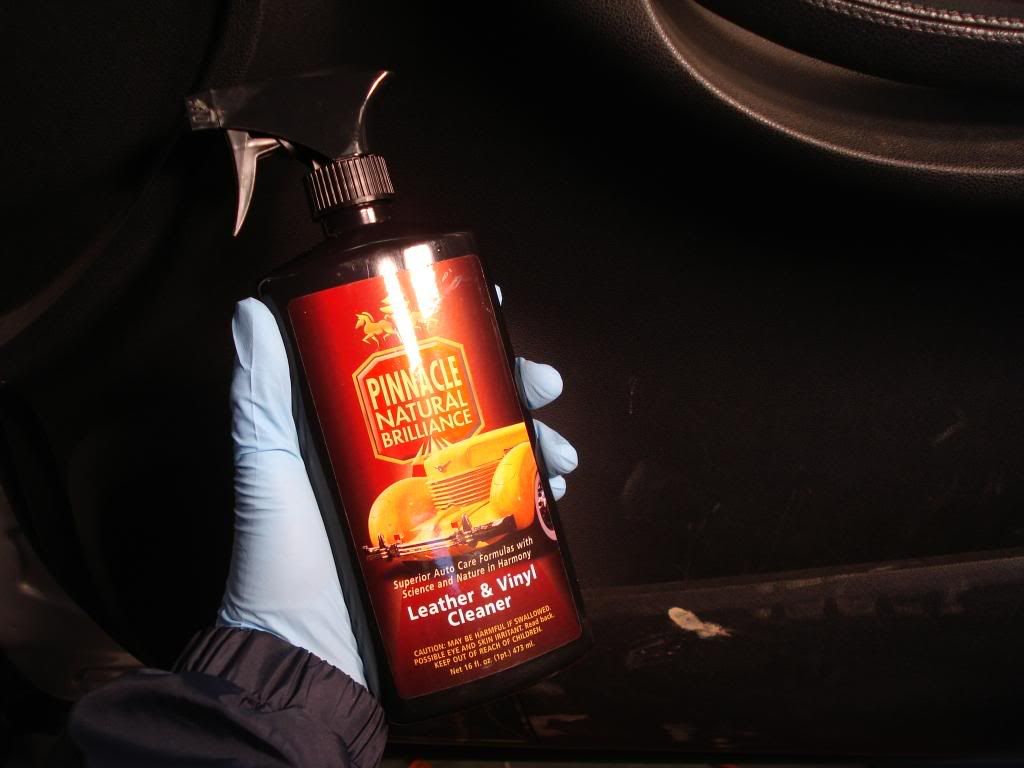
Here is a half and half picture of what a product like this can do for leather.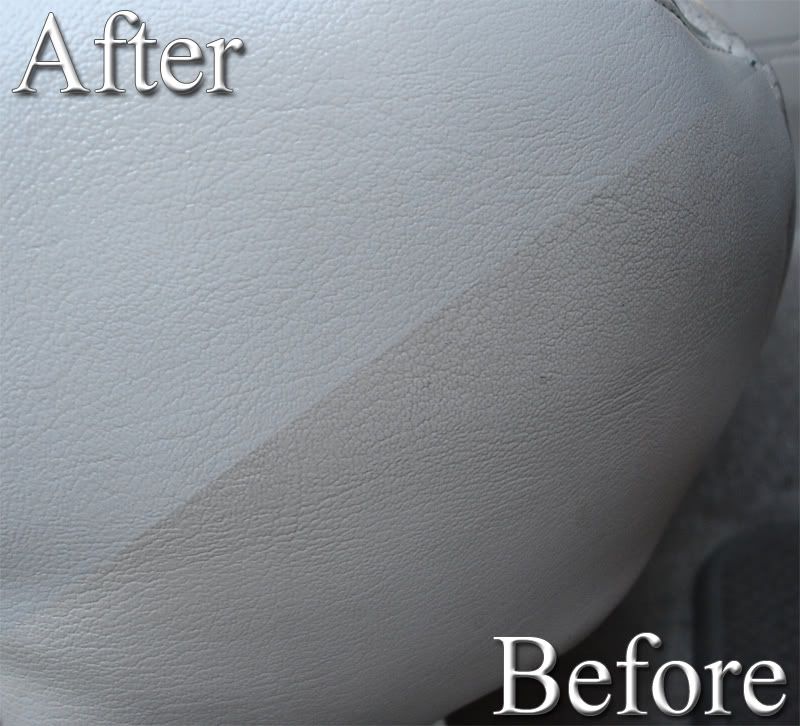
On colors like that you have to be careful how strong your cleaner is. If you clean one spot then you better be prepared to clean the whole thing or else you'll be left with a pretty nasty looking seat. The rest of the seat looks pretty dirty when you clean just one spot.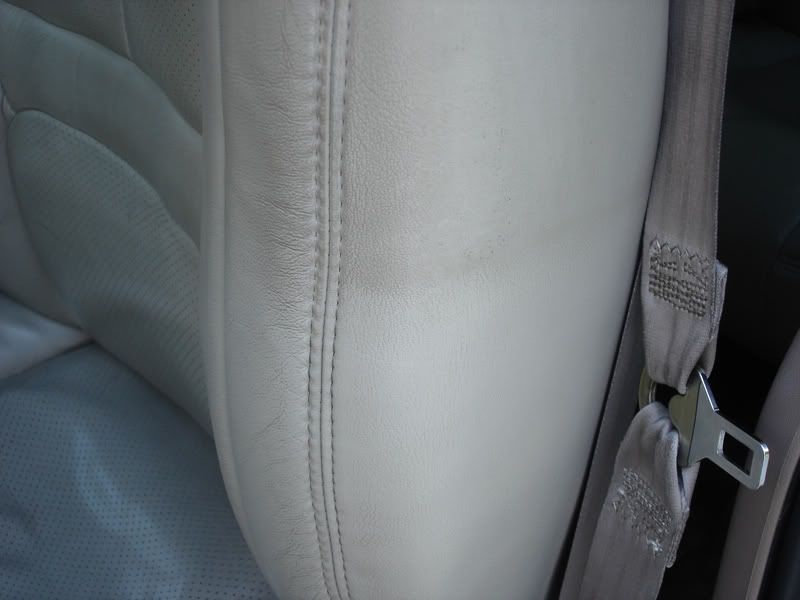
Vacuum your seats before cleaning them. Don't worry about the rest of your carpets or anything just yet. You may still knock some stuff out of the seats while cleaning them, but you want to get all the dirt and crumbs out of the seats before you start cleaning them with sprays or lotions.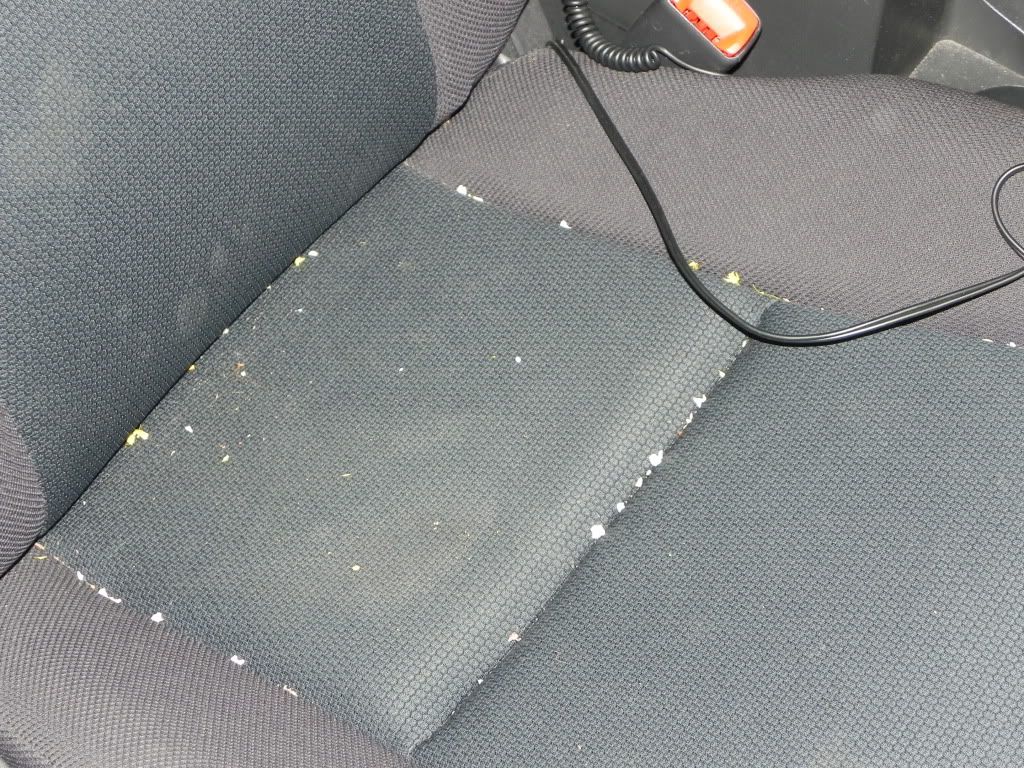
The best way to deal with leather is to use a dedicated cleaner and have patience. Spray cleaners or lotion cleaners work really well. I would typically say to avoid "all in one" products that say they clean and protect, but I have seen some exceptions. Poorboy's Leather Stuff is a gel cleaner/conditioner that seems to work really well at the cleaning part at least. I always use a dedicated product for the conditioner, but Leather Stuff seems to look really nice and conditions the leather really well. The best part about using a gel is that it won't fill in perforations in leather if you have seats like that. Most lotions will cause a mess when working with perforated leather, so the best thing to do is apply it to the applicator and condition the solid leather first to use up most of the product before wiping down the perforated part. Avoid using any kind of conditioner on anything fuzzy when you are working with your seats. Leather conditioners can stain suede-like materials. Just use a leather brush for those areas.
Choose your leather conditioner carefully. Just because it says it is leather conditioner doesn't mean it is going to be what you want to use. I use Pinnacle or Wolfgang leather conditioner typically for a couple of reasons. Mostly it is because I really love how it looks. Not too shiny and not too flat. It gives leather a nice satin look that everybody I've detailed for loves. The other reason I love them so much is because they smell like leather. There are few things better in life than the smell of a new car, so I like to give that to my clients when I have the chance.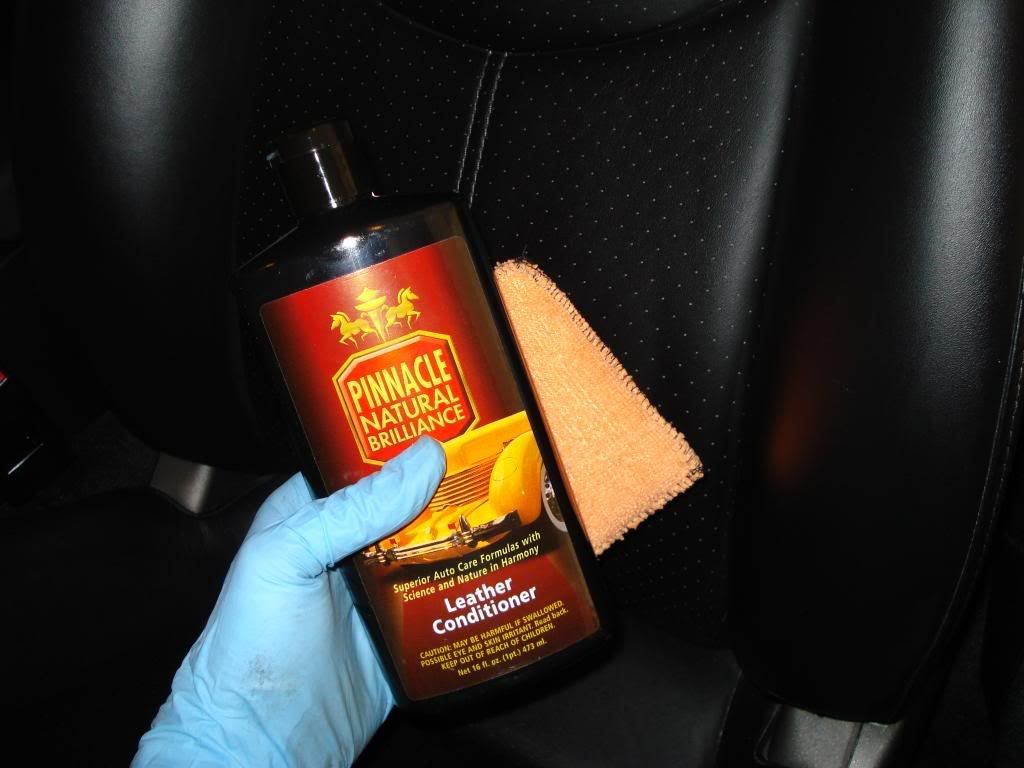
For regular upholstery you can use any number of products. I love Tuff Stuff personally. It has worked really well on the upholstery and carpets that I've had to clean for the last couple years. I'm also still a huge fan of Prestone Upholstery Cleaner. That is frankly the best I've used off the shelf, but Tuff Stuff has a couple more uses and it works nearly as well. It works great for spills in your cup holders to sort of pre-soak them and get them ready to be wiped out. It can also work great on spills and splatters on the headliner. The important thing to remember about cleaning the headliner is that you don't need to scrub. This holds true for stains on the seats too. Scrubbing may not be necessary and may actually just spread the stain around. What you want to do is spray the stain with Tuff Stuff (or some other spot remover) and then blot the area with a towel. You may even want to try using your vacuum to suck the foam and dirt out like an extractor. This has worked on nearly every stain I've had to deal with on a headliner or upholstered seats. Scrubbing just makes it worse, but blotting or vacuuming the stain after spraying it and letting the cleaner soak in has worked the best.
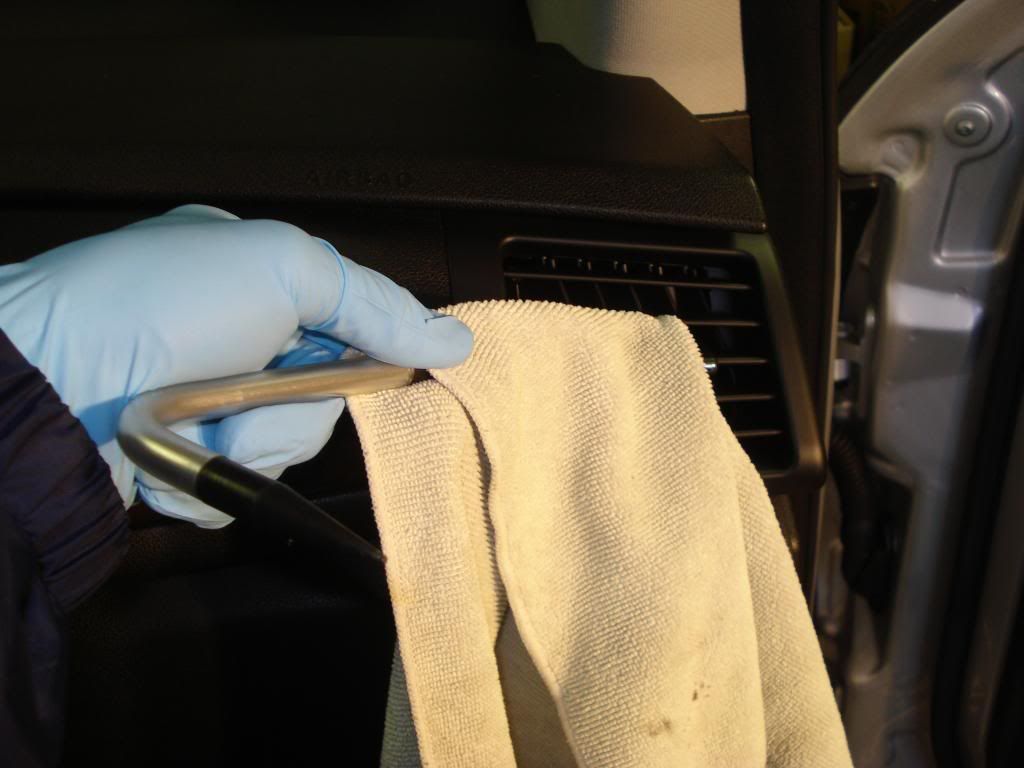
Don't forget to clean out the vents. Even if they are just dusty, you'll want to clean them. Usually by this time you have a towel which is at least a little damp, so all you need to do is shove an end between the fins and floss away. I have a great set of tools called Slick Stixxx that I bought for motorcycle detailing, but they work great for interiors and engine detailing when you need to reach a hard spot. Vents are one of those spots.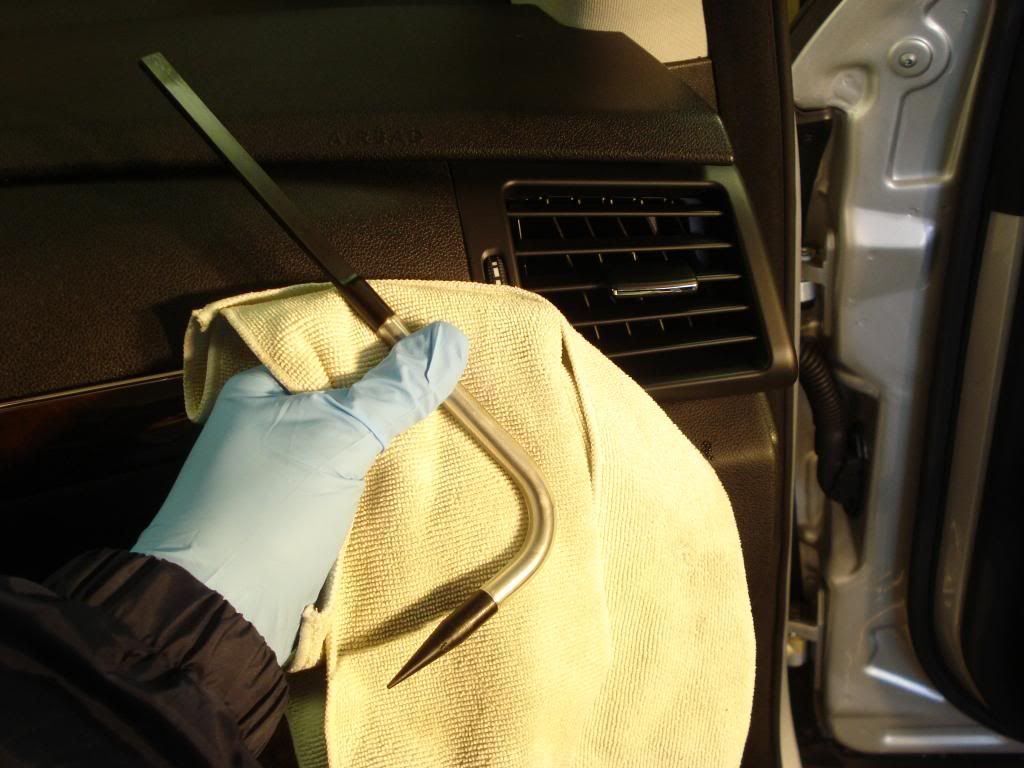
Now you have cleaned the headliner, dash, doors, center console, and the seats. All of the junk that can drop on the floor has dropped, so now you can vacuum. You can use just about any vacuum, but I've found that using a shop vac is the easiest because of the long hose and usually the caster wheels on it which enable you to drag it around more easily. The one I have is just a 5HP model from Sears and it is a wet/dry vac. That comes in handy when I am cleaning out the mats, which I'll get to in a minute.
Don't forget to pull your seats forward so you can get all the way under them from behind. Even in a two door car you will want to do this. I do this even if it is a roadster and there is no back seat at all. You'll be surprised how much is under there. I would be a rich man if I had kept all the change I've found under seats over the years.
Moving the seats forward will also give you easier access to the sides of the center console. It gets dusty if nothing else, and pulling the seats forward to clean it is a lot easier than trying to get your hand and towel between the seat and the console.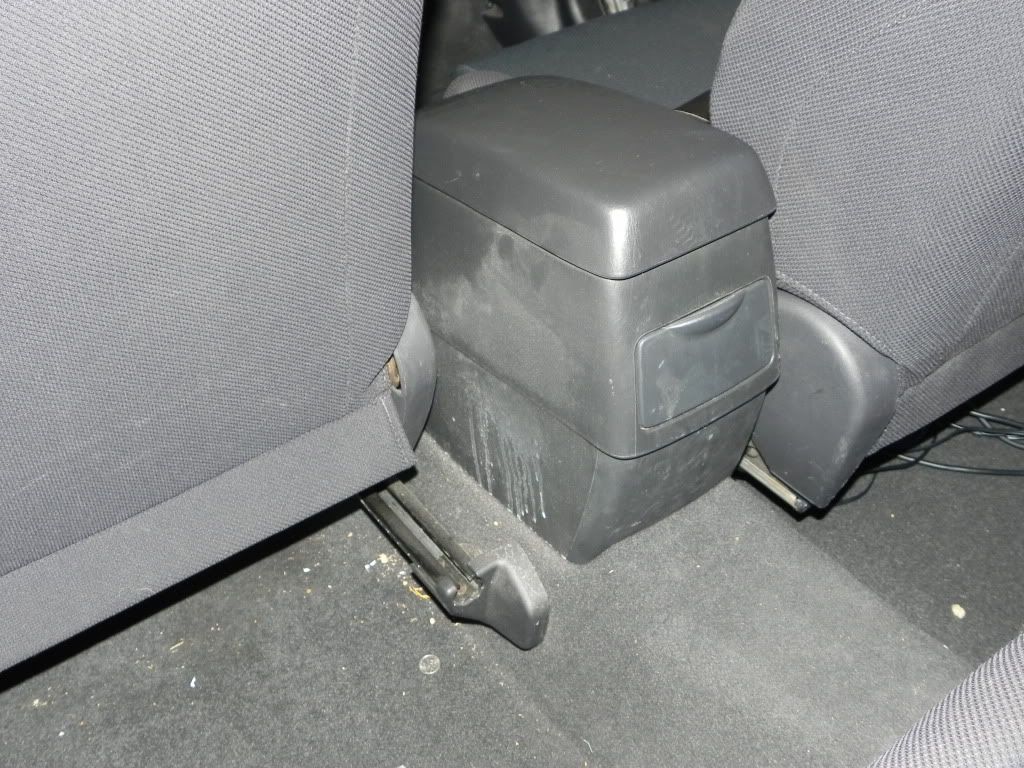
Removing the seats is an option as well. Most of the time they are just held down by four bolts on the rails, but if it is a powered seat or a seat with heaters in it, I would just leave it be. Getting the seats out makes cleaning the vehicle sooooo much easier. I won't say that I enjoy cleaning vans, but the fact that I can remove the seats sure does make them easier.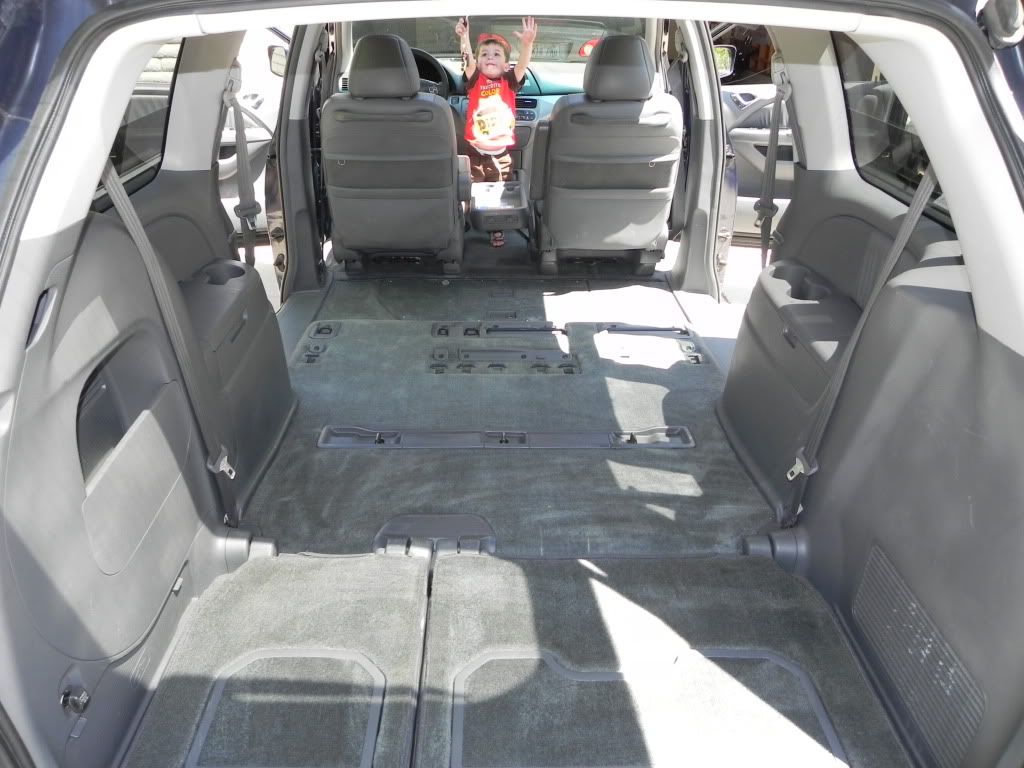
I don't think I need to get into too much detail on how to actually go about using a vacuum. The fact you are smart enough to navigate the web and read English indicates you have the required intelligence to use a vacuum without instruction. I will just say again that you should be as thorough as you possibly can. Get into the seams between the carpet and door sills. Get the rubber seals where dirt collects. Don't forget to get under the trunk release and between the front seats and the center console. Those are areas people miss a lot.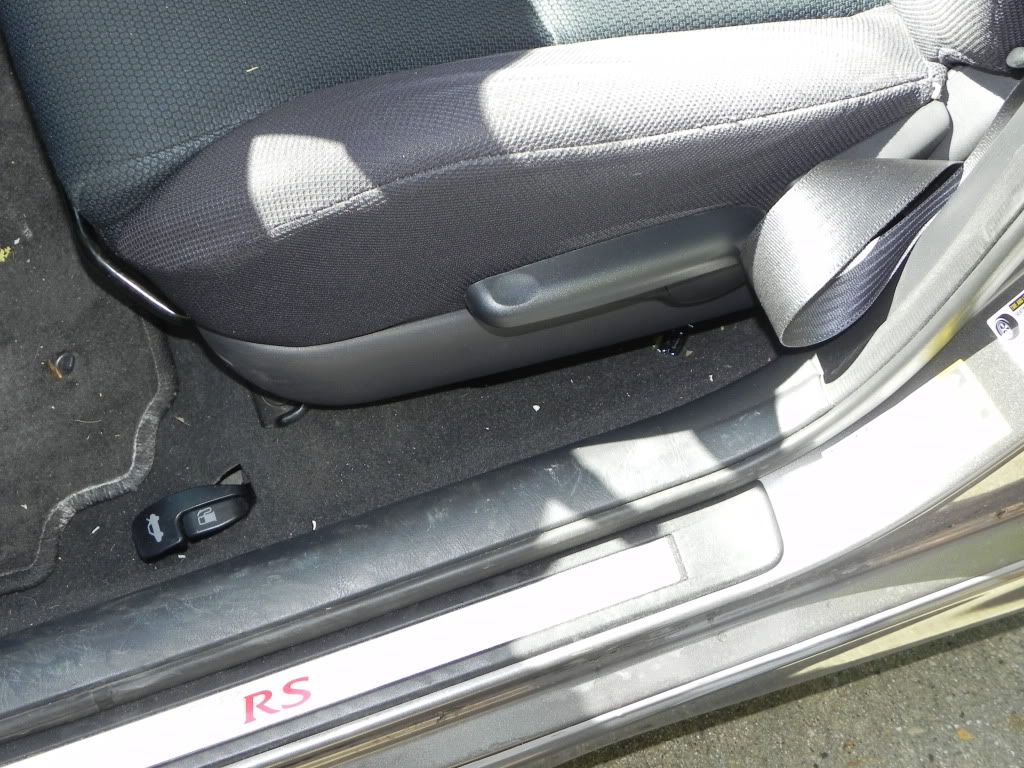
Once you have it all vacuumed out you may be thinking it is good enough. C'mon now... you've gone this far, so you might as well finish the job. Break out your can of Tuff Stuff and let's get that carpet REALLY clean.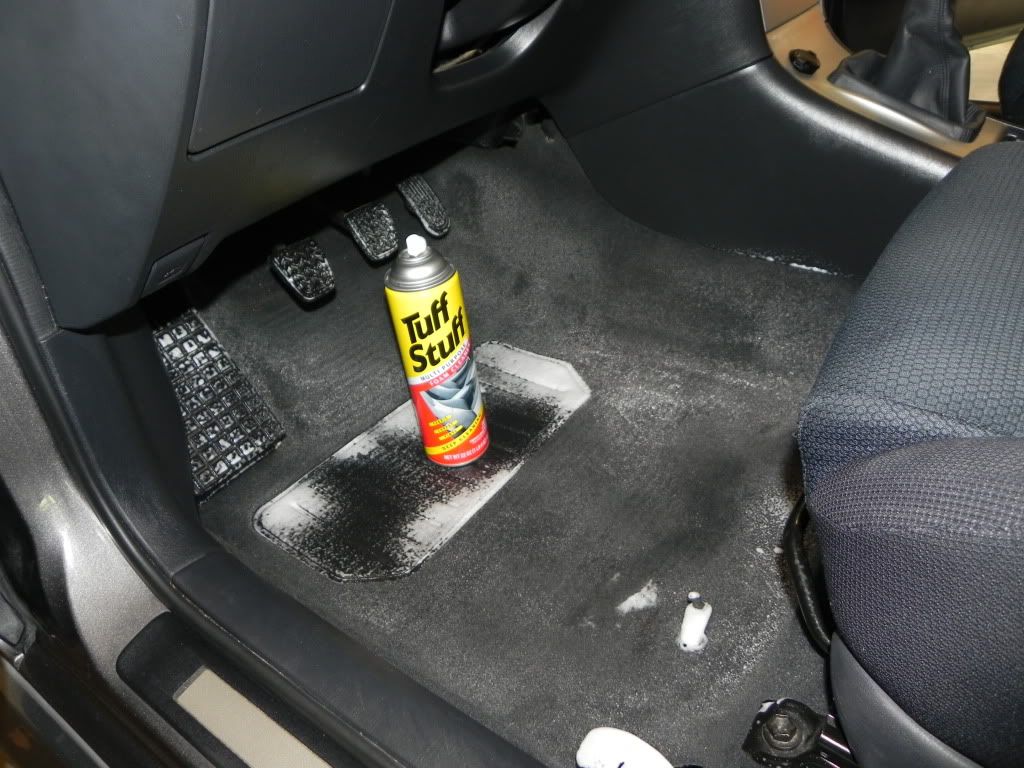
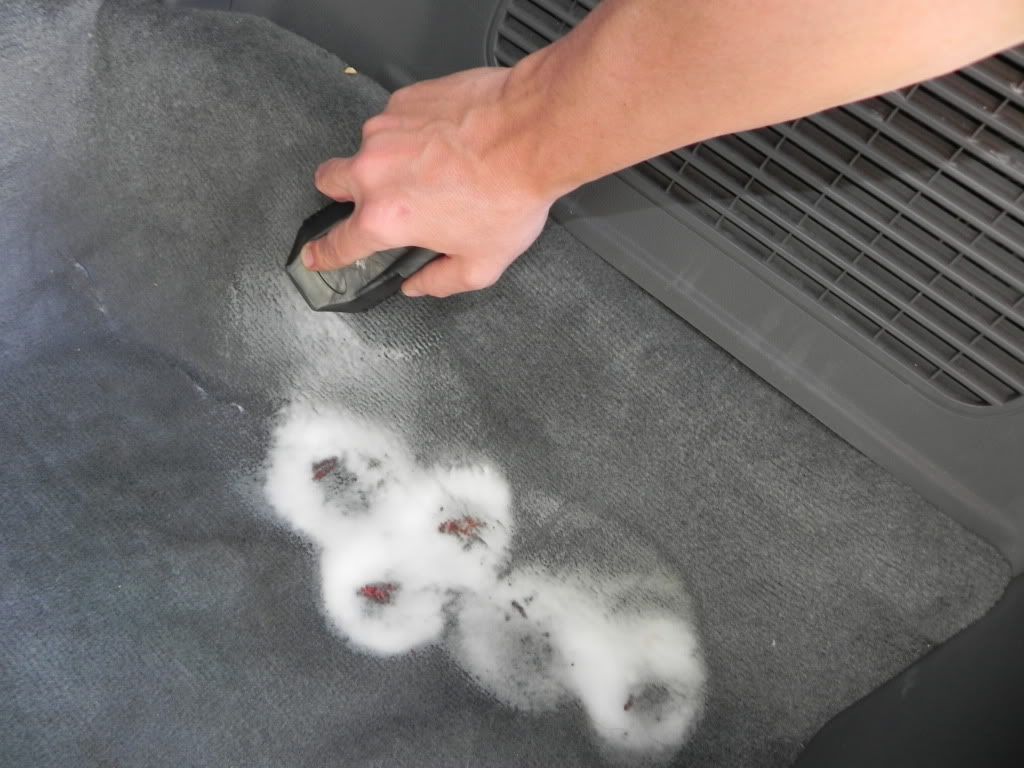
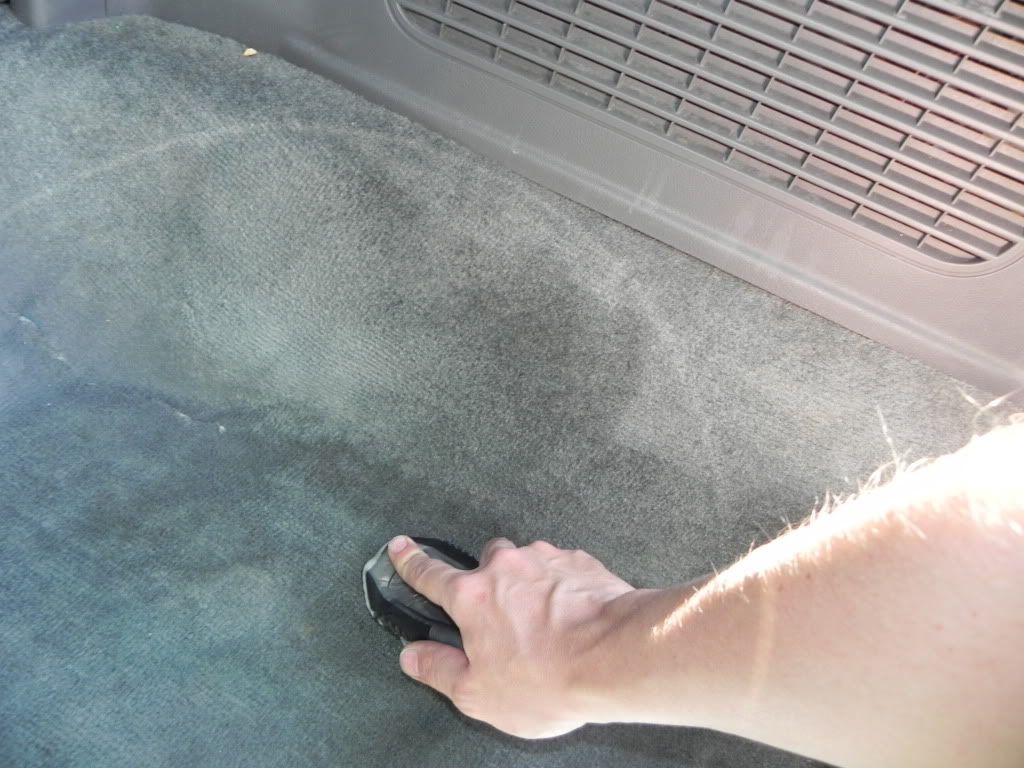
Tuff Stuff is a good foaming carpet/uphostery cleaner. I use it on the carpet even if it isn't necessarily stained. It will help clump the dust that settles in the carpet and make it easier to vacuum out. Oh, did I forget to tell you that you aren't done vacuuming yet? Well, you have a little left to go on that, so don't wrap up the cords just yet.
A good carpet brush may be found just about anywhere they sell car care products. Walmart, Target, AutoZone, PepBoys, anywhere. Meguiar's makes a really nice one that I wish I could have been using, but I left it at a client's house a couple years ago. I mourn the loss of that brush... One of these days I'll get around to buying a new one. In the meantime, I'm using a $5.00 brush I bought at Checker. It works fine.
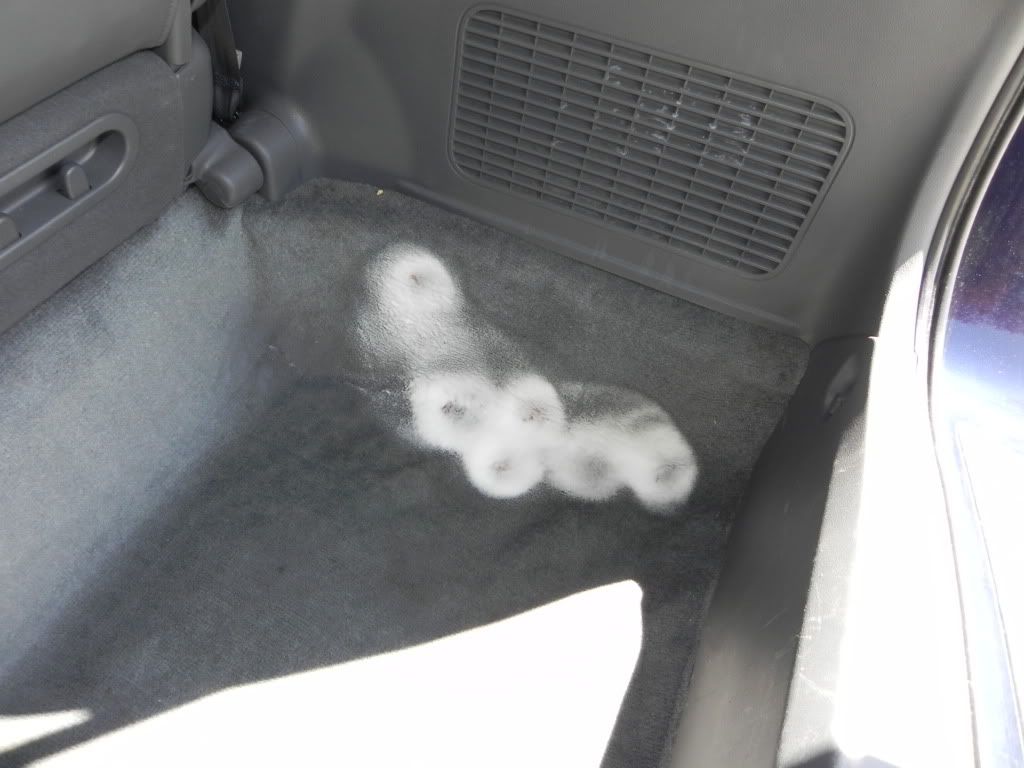
If you have spots, then this is your process. 1. Spray the spot. 2. Let it sit for a second. 3. Brush the spots in circular motions (just like how the dentist tells you to brush your teeth). 4. Vacuum the spot dry. It really is that easy.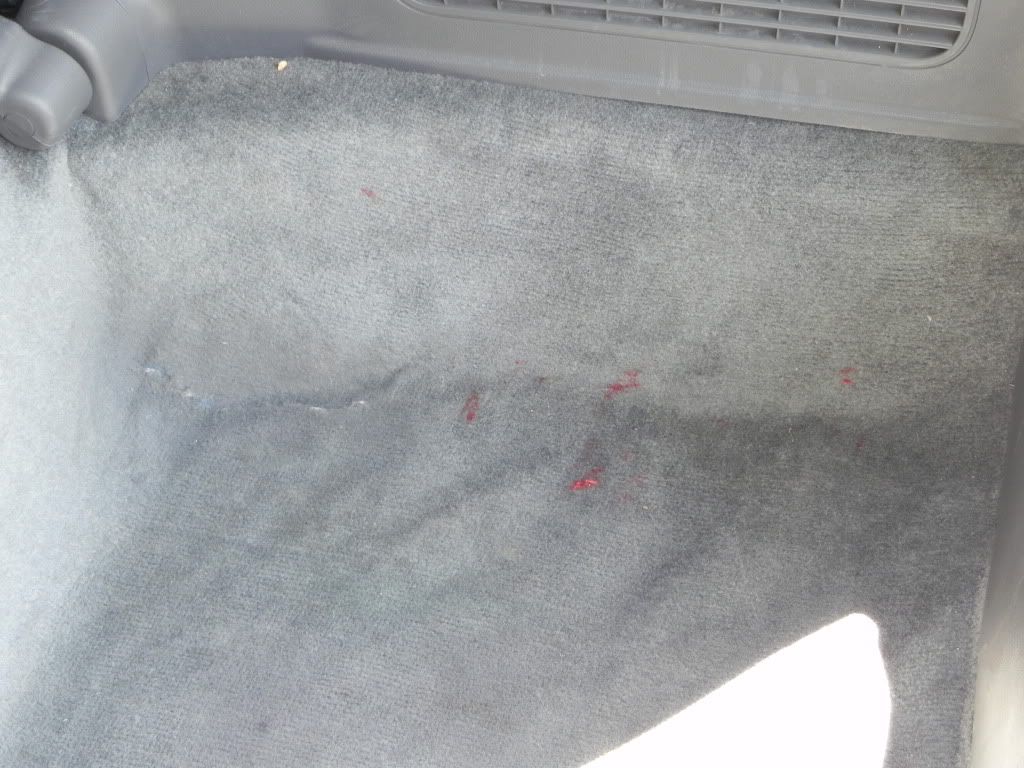
This will work like a champ on most of your stains, but you have to consider what caused it. If you are dealing with some spilled ink, then the carpet is probably ruined. The same goes for paint, kool aid, some drinks, and a number of other products that can dye the fibers. This is why it is important to blot some stains while you brush others. If you are dealing with spilled sports juice then the last thing you want to do is spray it down and then brush it around. All you'll do is spread the stain. Blot stains like grease and juices and anything with food coloring like frosting. Those are the most likely to just spread. Anything on your headliner should be blotted regardless of what it is, but follow that advice on carpet for sure.
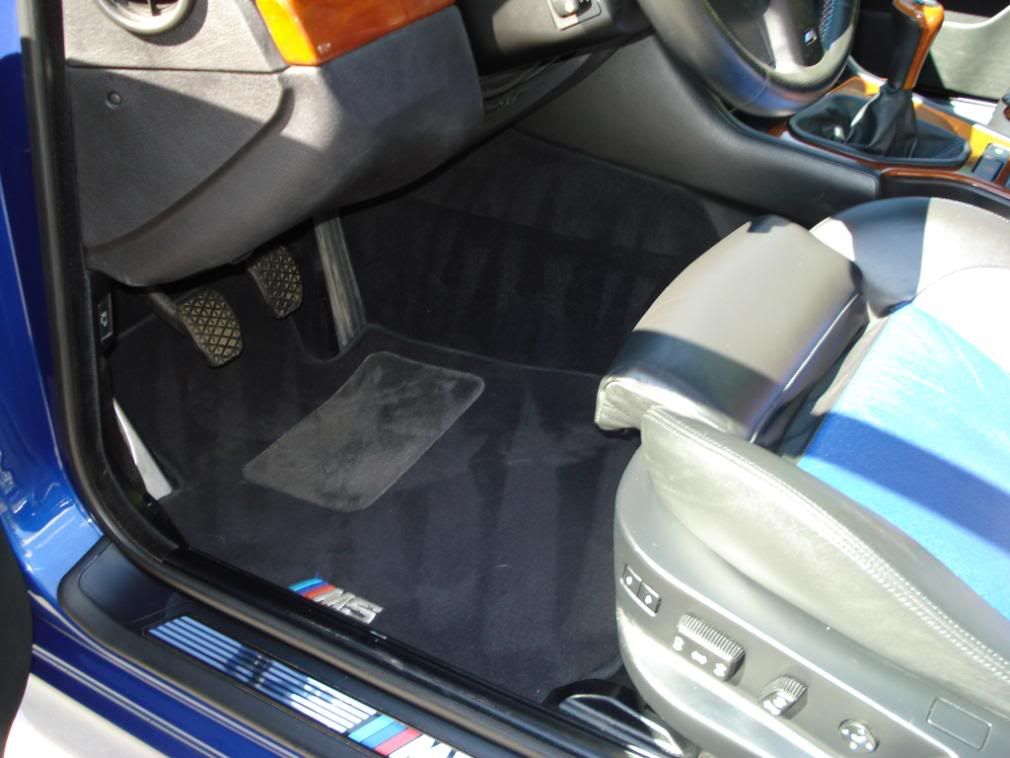
I like to spray Tuff Stuff on my pedals and scrub them with the brush too. It gets the dirt out without making them slippery. Products like Armor All should NEVER be used on the pedals as they can cause your feet to slip at inopportune times. Cleaning them doesn't hurt anything through. Look how out of place dirty pedals look when you have a nice clean floor.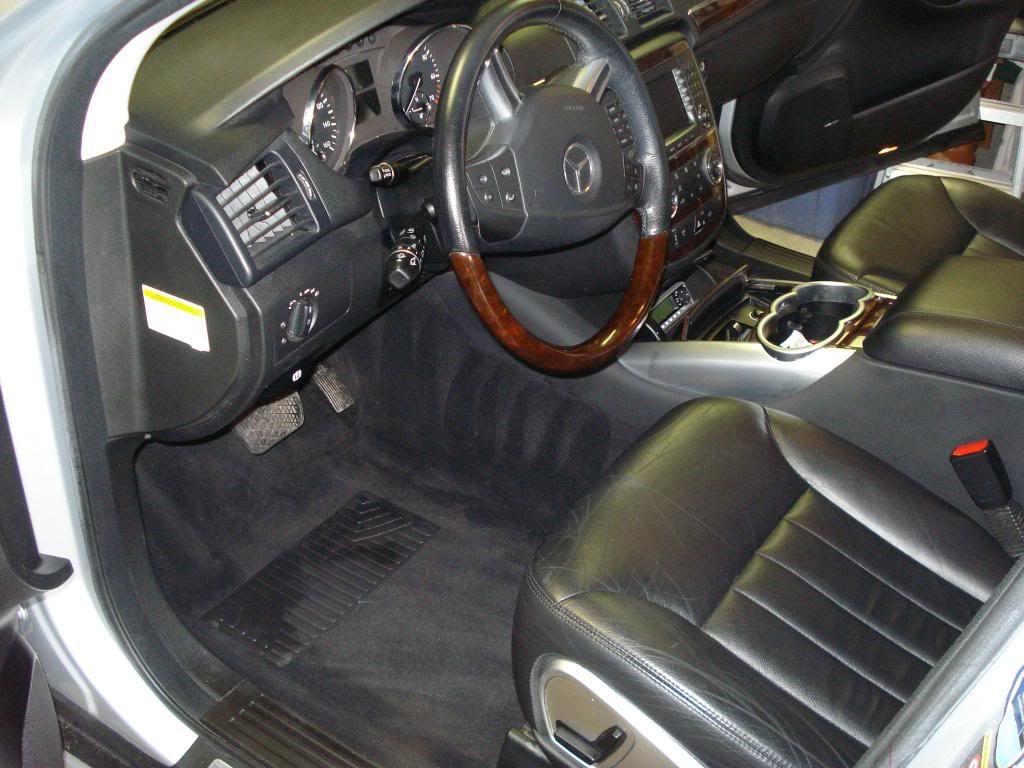
| This image has been resized. Click this bar to view the full image. The original image is sized 1010x758. |
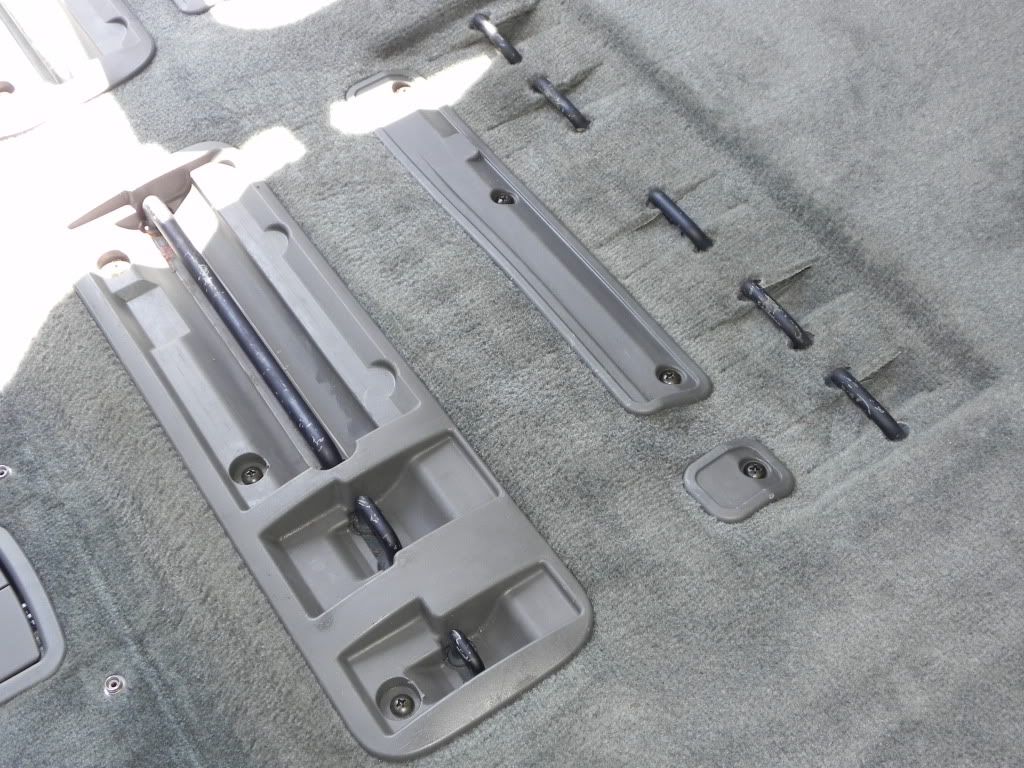
It is also good to use on other plastic pieces such as these that are found in most vans.
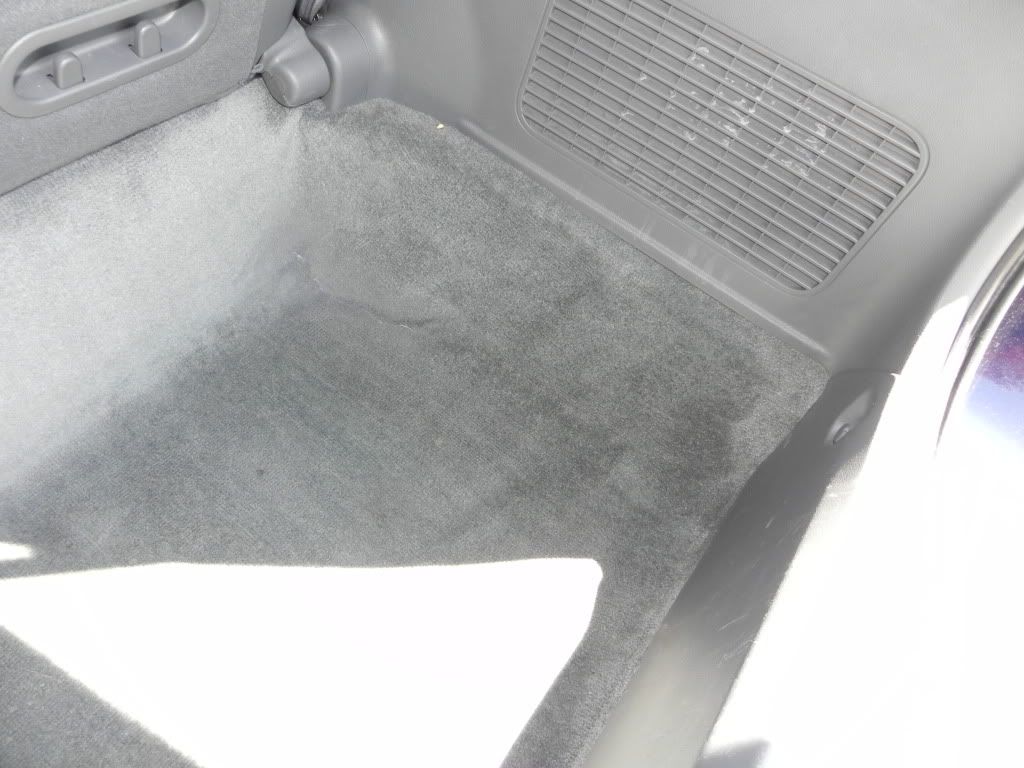
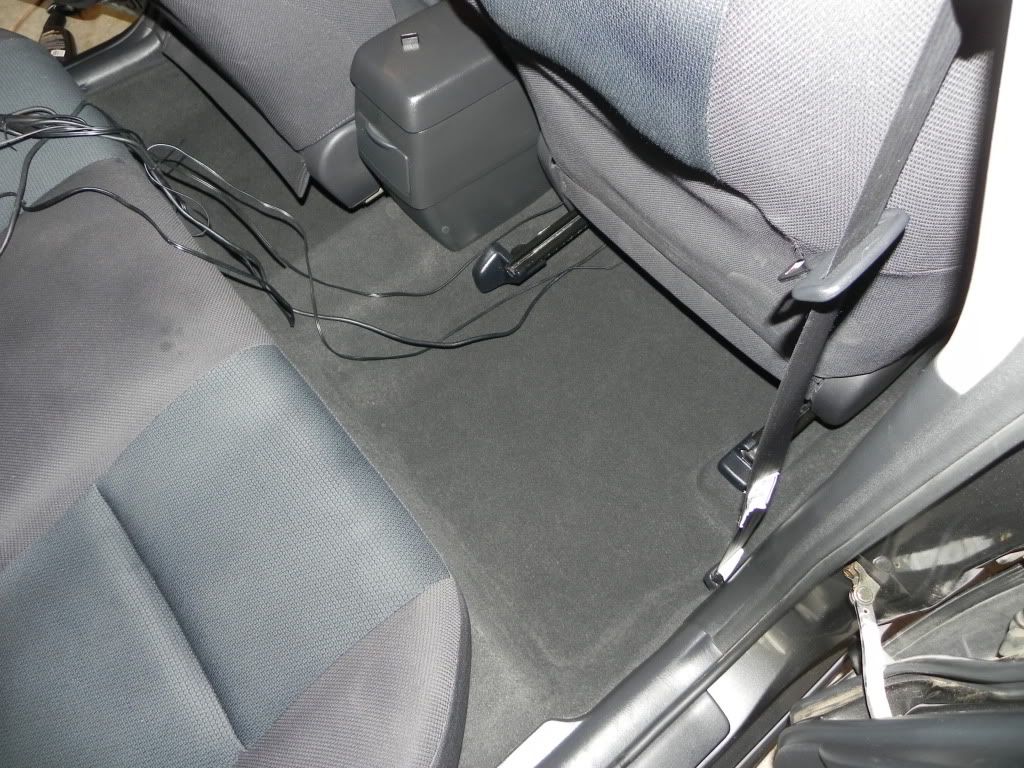
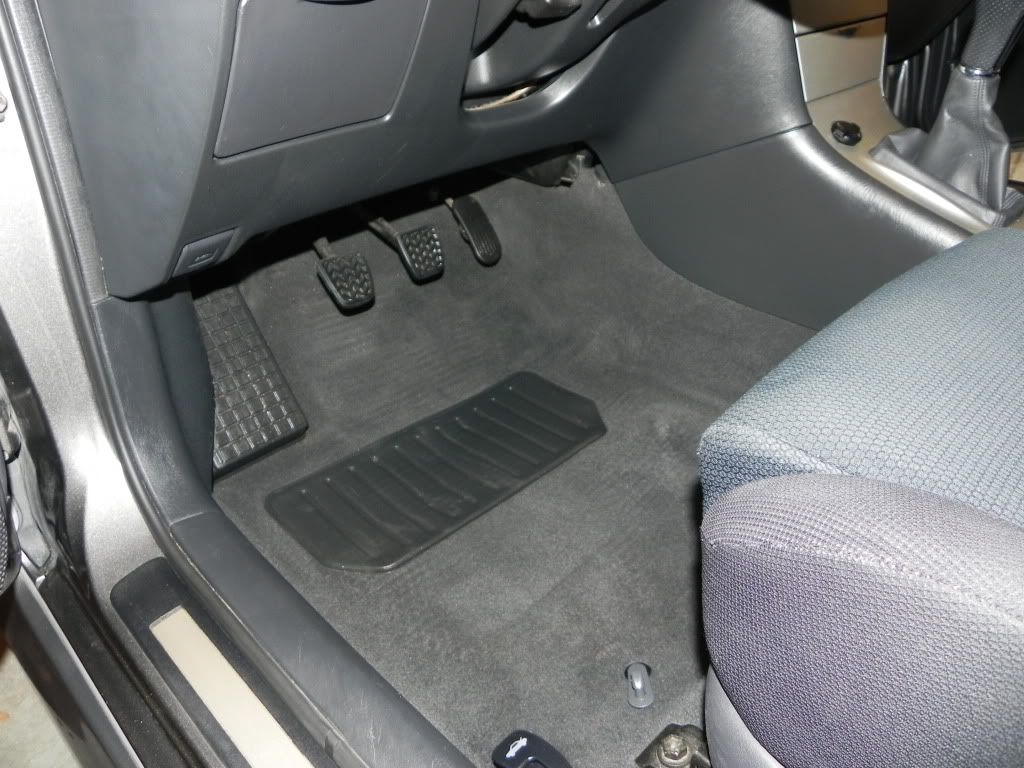
A little Tuff Stuff, a little brushing, some vacuuming, and the van floor looks brand new! The car isn't looking bad either.
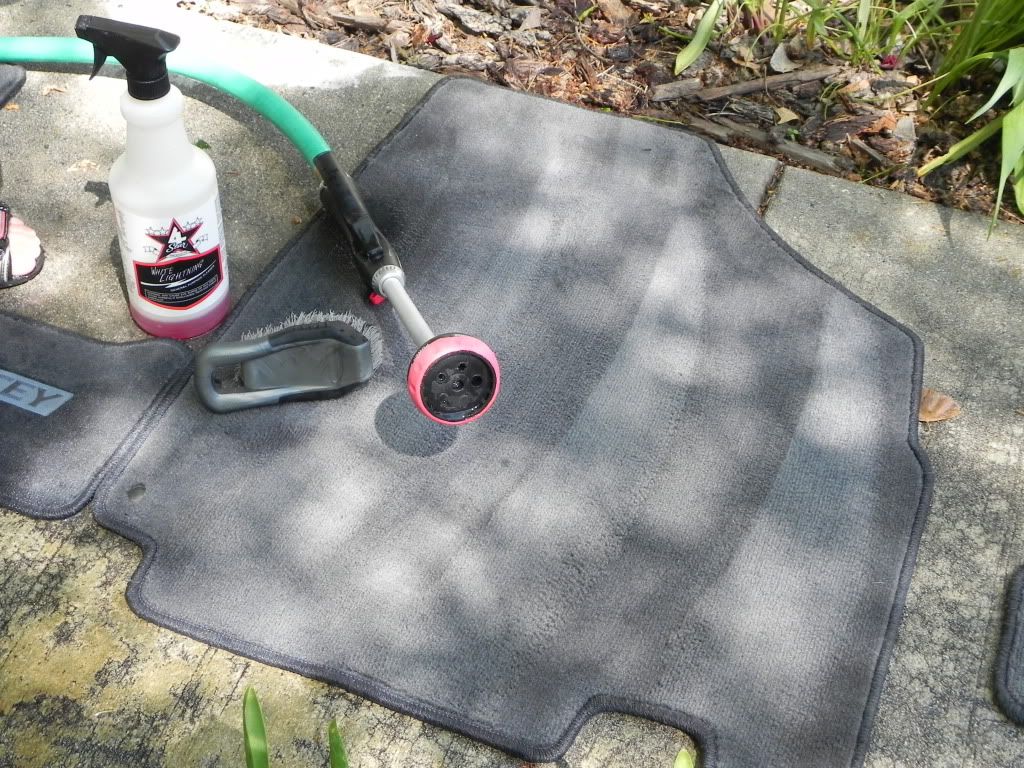
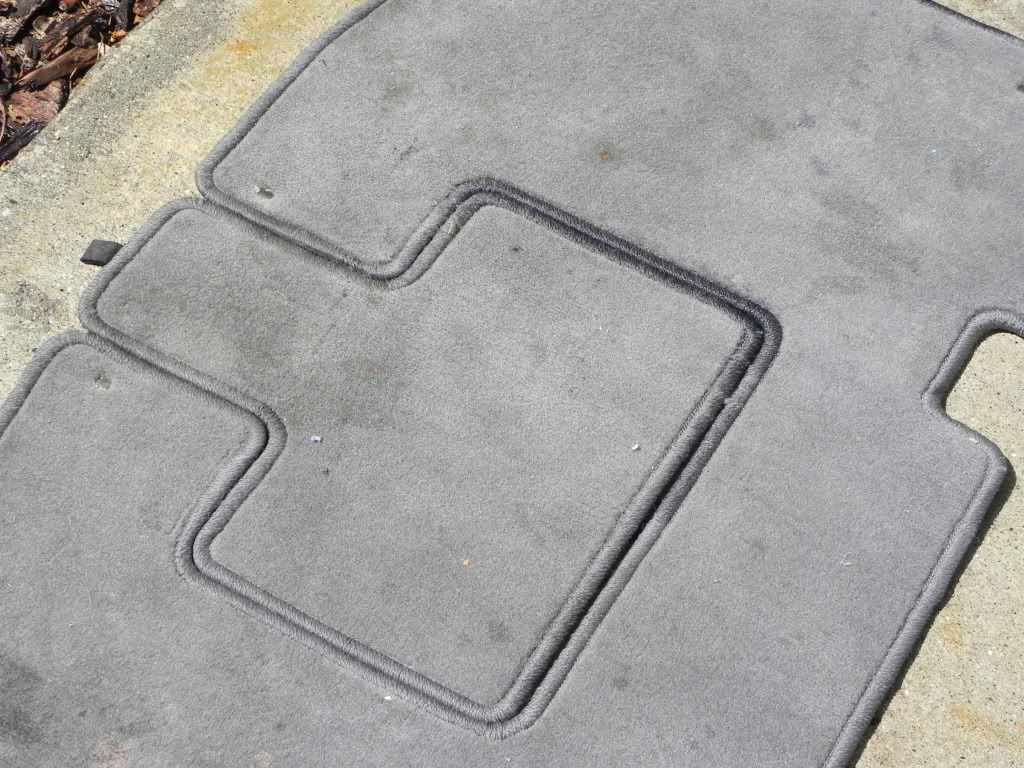
Now comes the floor mats. If you have all weather mats then the process is just to spray them with Tuff Stuff and brush like crazy. Using one of the tools I mentioned from my Slick Stixxx kit I will normally floss between each groove with a towel to get them really clean. Then hose them off and shake them dry. Other mats are pretty much the same process. I take them out, spray them with all purpose cleaner, hose them down, and then scrub with the brush. Then I use my wet/dry vac to suck out as much of the water as possible before hanging them over the side of a garbage can or a fence to allow the remaining water to drip out. Remember, this is the beginning of the detail, so you should have a couple hours to let these things drip out before replacing them in the car.
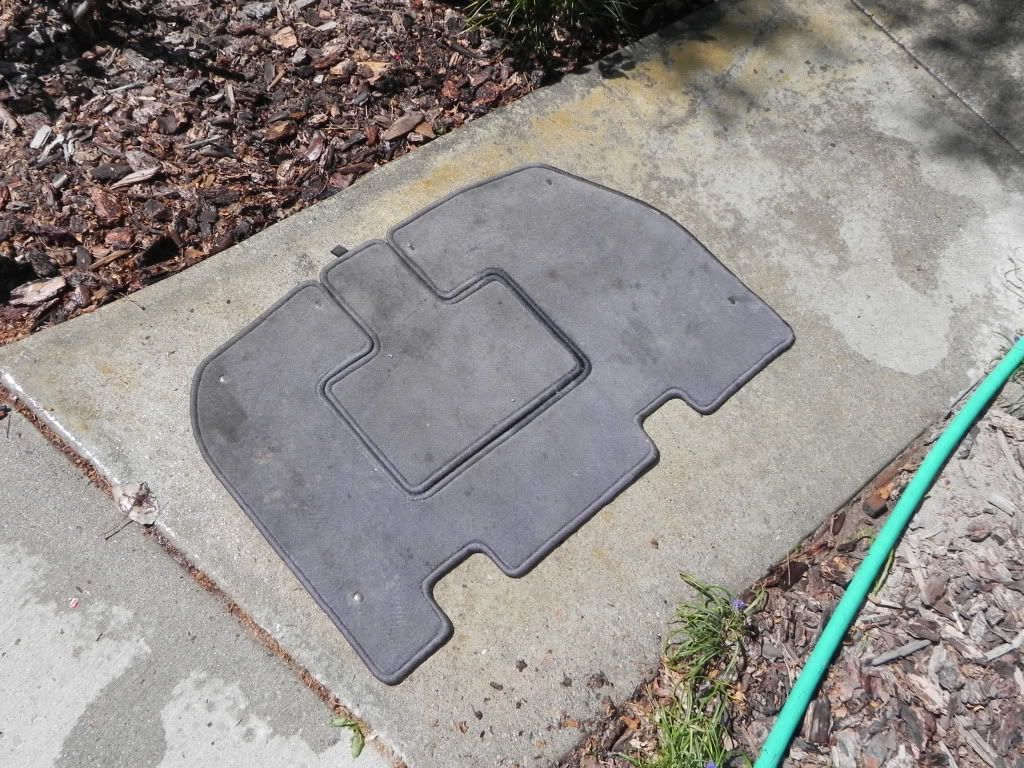
Before:
All purpose cleaner, water, and scrubbing completed:

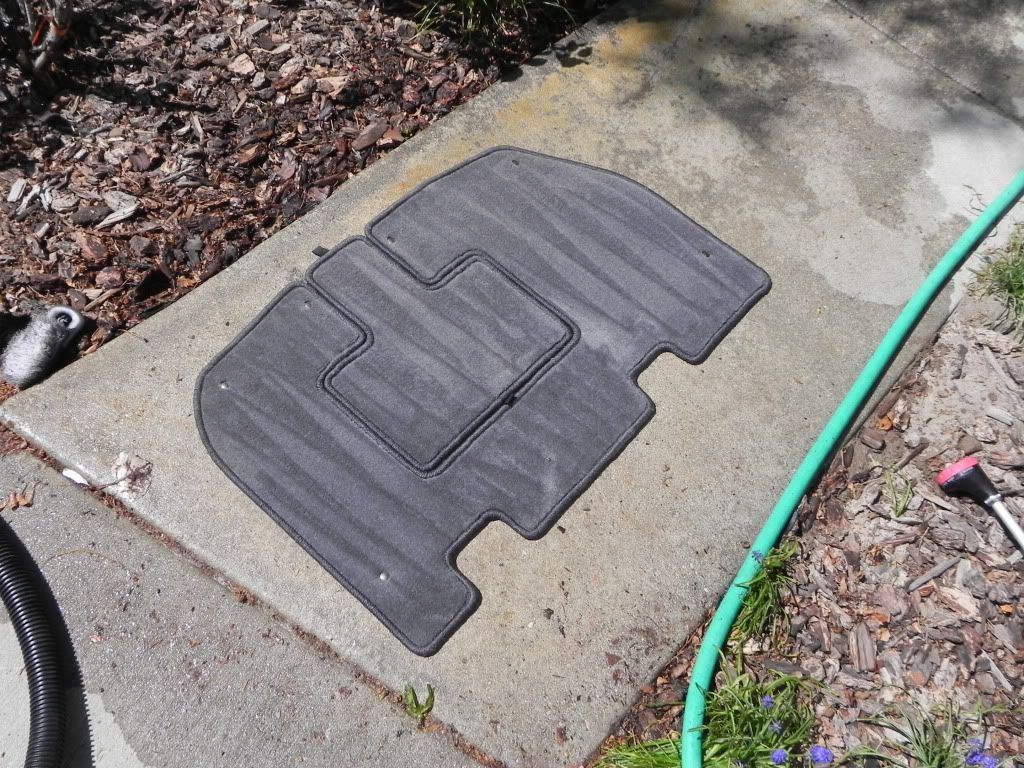
Wet/dry vacuuming completed:
Dried and replaced in the vehicle:
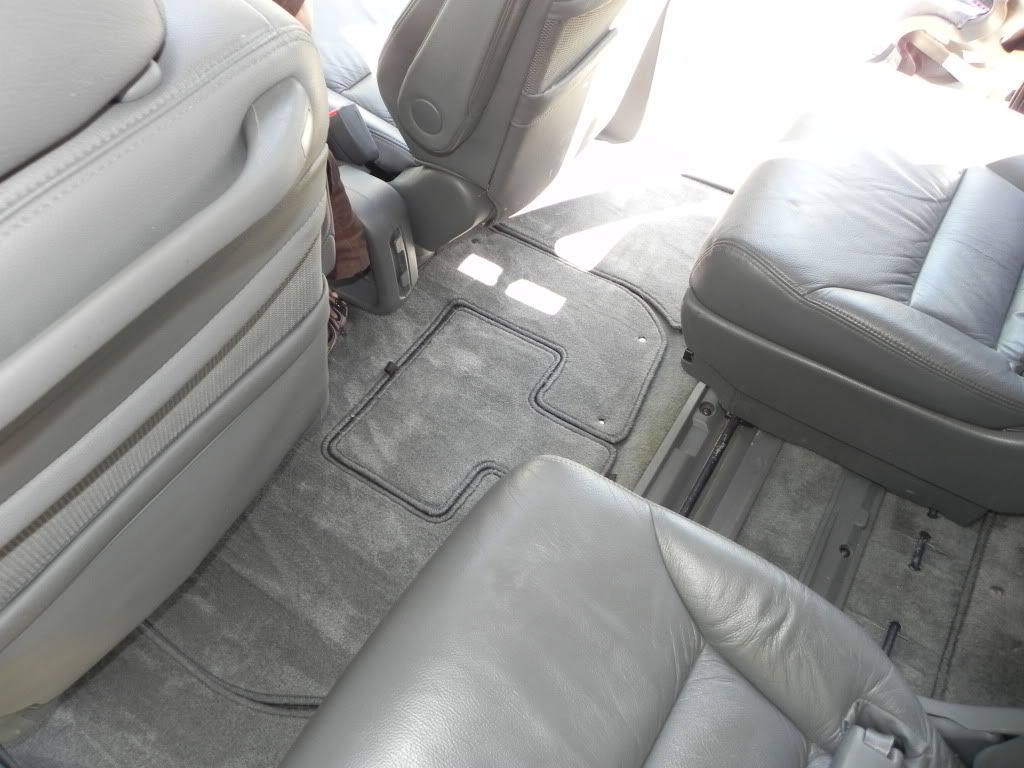
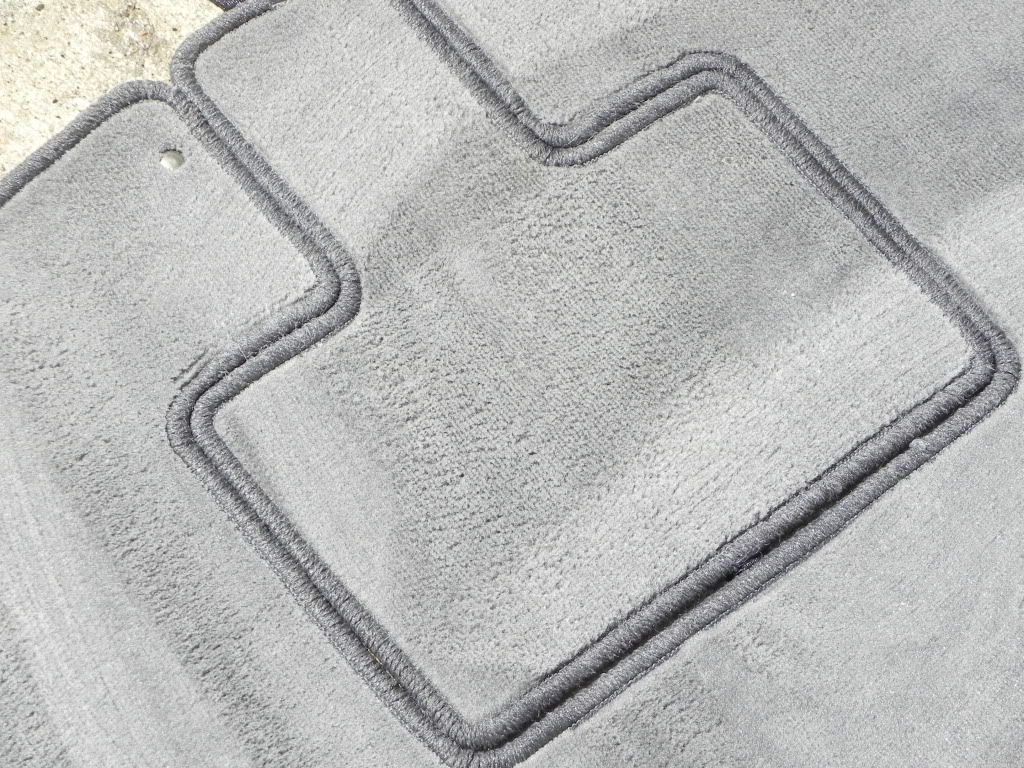
The results of this kind of carpet cleaning will make you wish you could do it all the time. Sometimes I use boiling water on the mats to get them good and clean. Just be careful you don't burn yourself. The difference between doing it this way and just using something like Tuff Stuff is pretty remarkable. It is the only way I know of to really get your floor mats looking like new again.
Before:
After:
Now you can dress the dash and center console with your protectant. We do this after you do all the vacuuming just in case you kick up the dust and get your dash all dirty again. For the most part you can spray your protectant of choice (303 Aerospace is awesome off the shelf, but Pinnacle and Wolfgang also make fantastic products for this) directly to the areas you want to protect, but once you get around the dash, gauge cluster, or windows, you'll want to spray the towel first and then wipe the area down. Vinyl protectant will streak like hell on the glass, so avoid getting any on it.
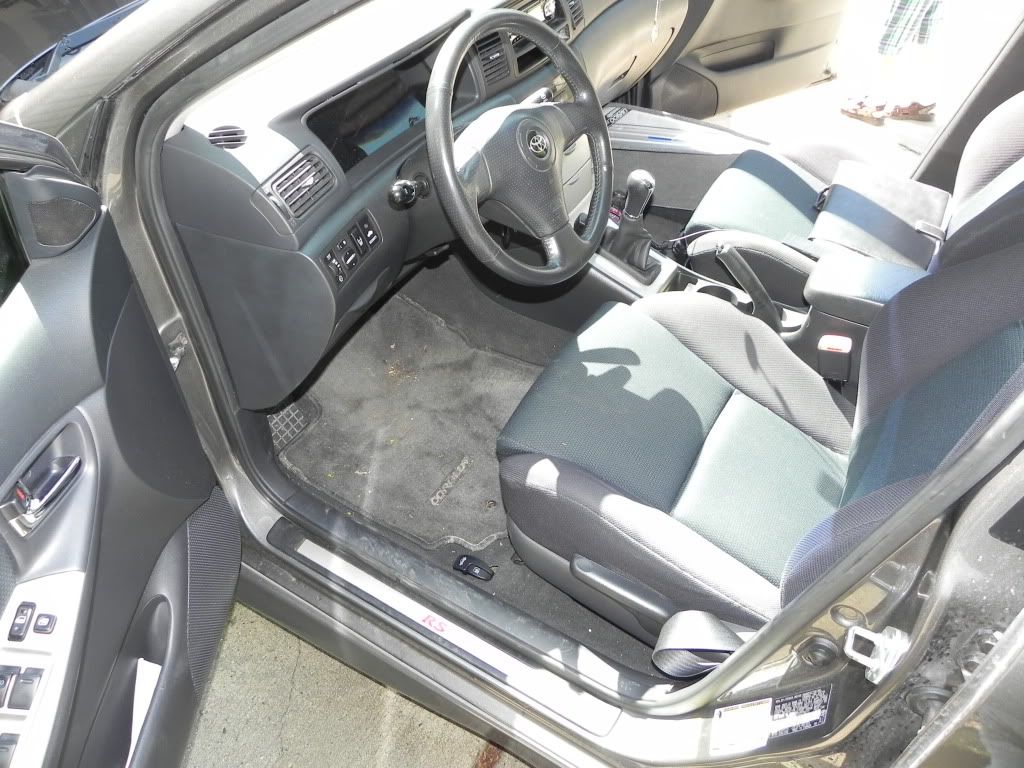
Just look how great a well detailed cockpit looks!

Now that you are totally wiped out, you can clean the glass. I use Invisible Glass because it is probably one of the best glass cleaners I've ever used. Just remember, when using glass cleaners you need to follow the rule of 'less is more'. If you go crazy and cover every square inch of your glass with this stuff then you are going to have a lot of streaks to contend with later. Just use a little at a time and you'll have streak free glass. Use a clean microfiber towel and forget about the paper towels, rags, or newspaper that you've heard about using. I'm not saying they don't work, but let's get with the 21st century and use what works best. Invisible Glass + microfiber towel = PERFECTION
That is pretty much it. Replace the floor mats and put the seats back in their positions and enjoy your work. You have done a great job and you deserve a break! Take five and then get back out there to do the rest of the exterior.

Stay tuned for the fourth and final installation of this guide where I will put all the steps in order and include the steps for the Final Detail which includes door jambs, emblems, wheel wells, and things like that.


 Lemme 'splain.


