I'm trying to get this car detailed, but the weather isn't cooperating with me. So I'll be doing it in stages it looks like. I'm still doing it in the order that I would recommend doing it. I'll combine all of these into one coherent post after it is all done and put it on my blog for now until I finish the new OCDetails.com site. The old one is really irritating me and the new one looks sooooo much better even without the pictures in it yet. Anyway, here we go. Part 1.
First thing I do is the Wheels and Tires. The reason for this is because the second area is the engine and that typically gets the tires wet. I've found that the products I use work best if the tires are dry, so I do them before I get anything else wet.
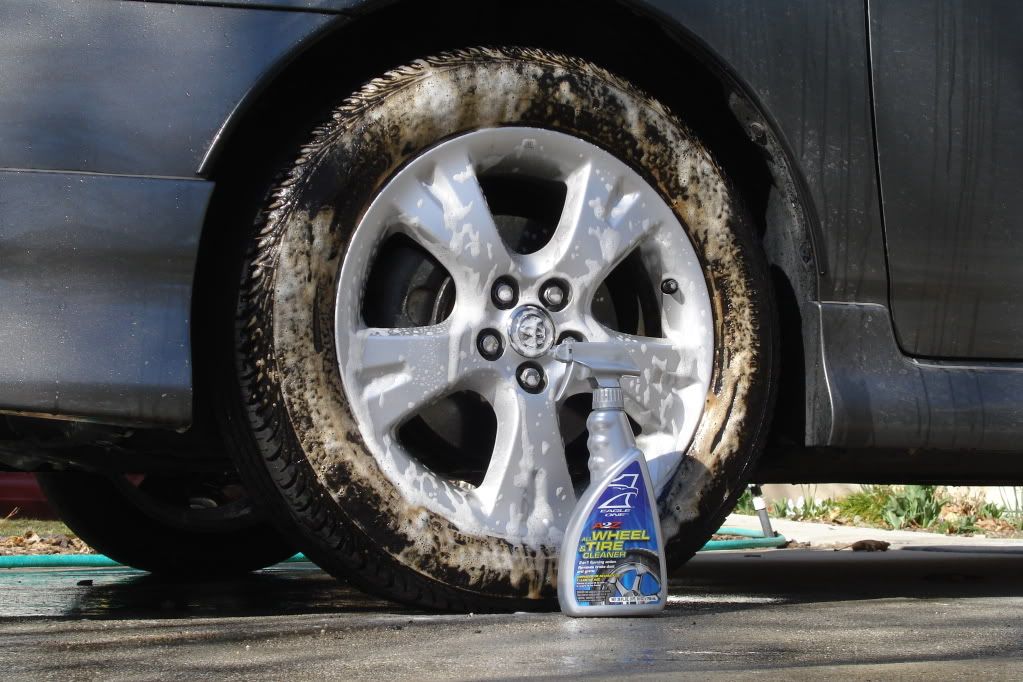
Eagle1 Wheel & Tire cleaner is one of my favorite products EVAR. I've heard that Mother's has a new one that I'm looking forward to trying, but for now Eagle 1 is it. This is a safe product for any type of wheel as long as it is factory coated or painted. If you rattle can sprayed your wheels, then you are using any cleaner at your own risk. I've used this product on $3000 wheels before and it is perfectly safe. Primarily on wheels like that I'll stick to the tires and clean the wheels by hand, but I'm not paranoid that I'll ruin them if some gets on them.
Spray the product around the tire first and then around the wheel. It is best to spray all four wheels/tires first and then go back around to the first one to spray it off. Do this fairly quickly. Especially if you have the sun on one side of your car and it is getting hot. You don't really want to deal with drip spots from this on your tires later. Spray it on and then grab a hose and spray it off. When you see the nasty orange foam dripping down the tires you'll know it is working.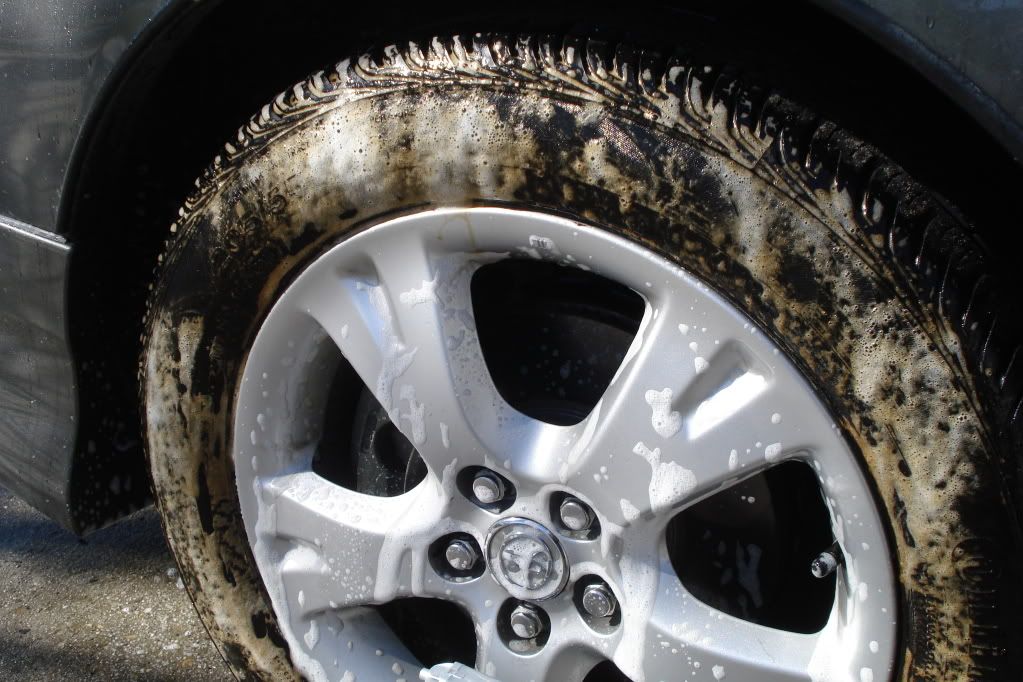
Use a good high pressure stream. I'm not talking 900 PSI or anything like that, but whatever you can produce with your thumb or sprayer attachment will work fine.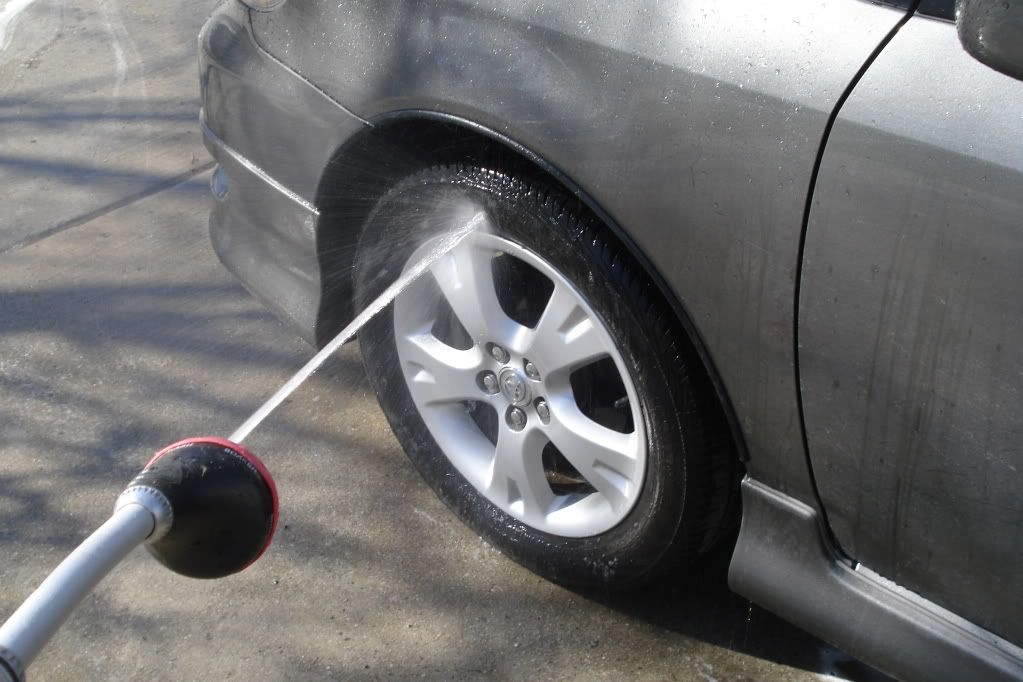
Don't expect the Eagle 1 product to do all the cleaning for you. You will still want to brush your wheels to get all of the brake dust off. The Eagle 1 product just got the surface stuff and made it easier to brush. Do this after you have washed the car and then you can use the same wash water without having to fill another bucket up. We'll just pretend I've washed the car and now I'm brushing the wheels.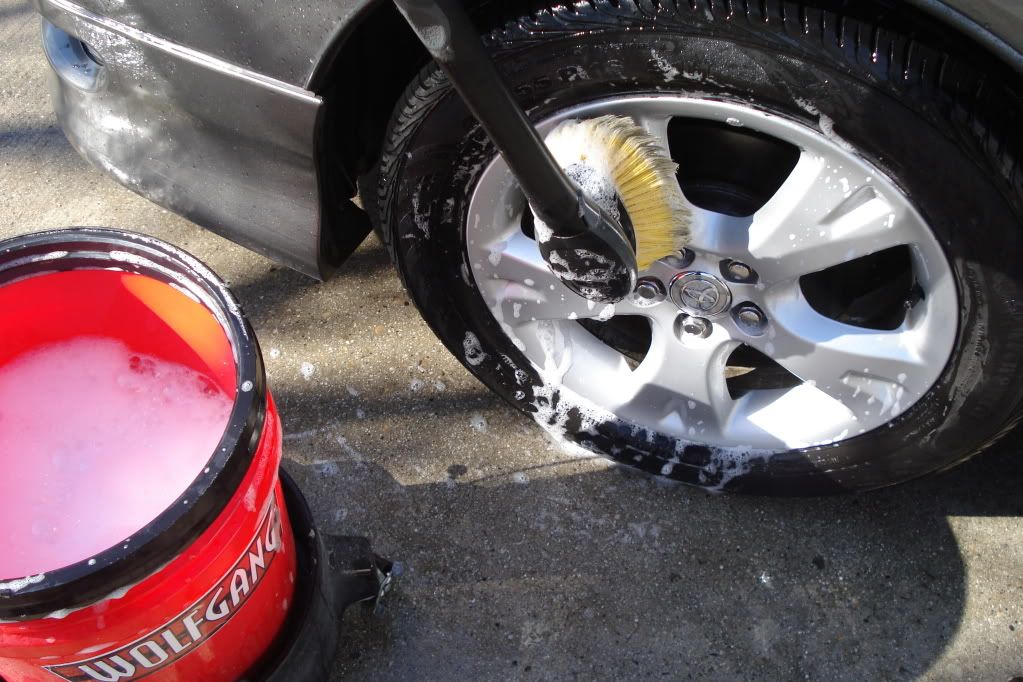
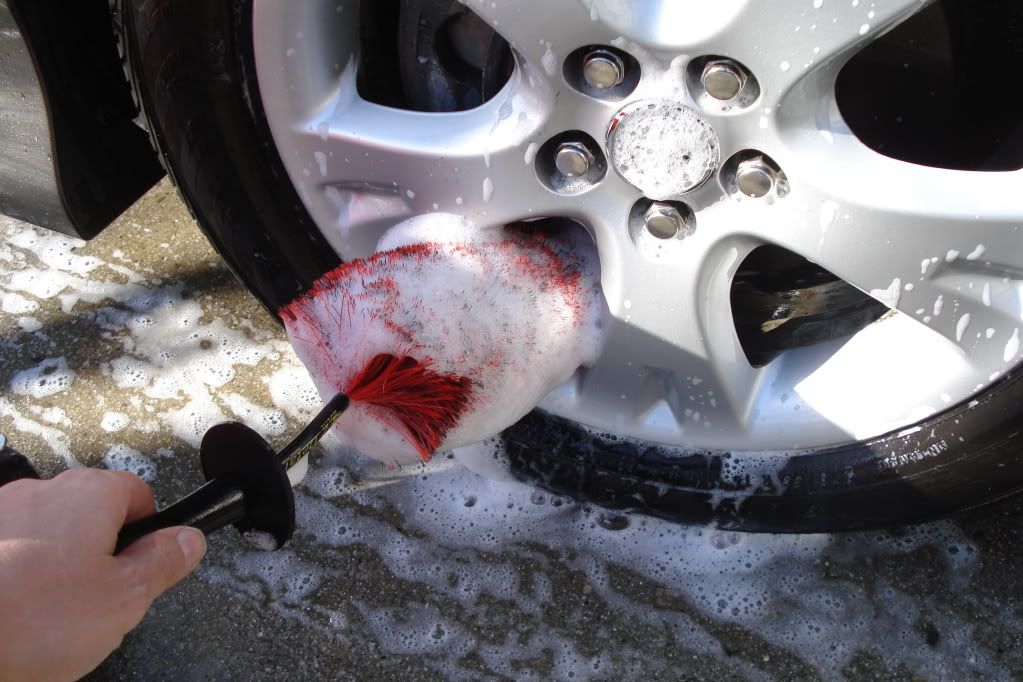
Next you may want to use a wheel brush to get in behind the spokes. I don't typically do this for my car every time, but if someone is paying me to clean their car, then I have to assume they want everything cleaned, so I do.
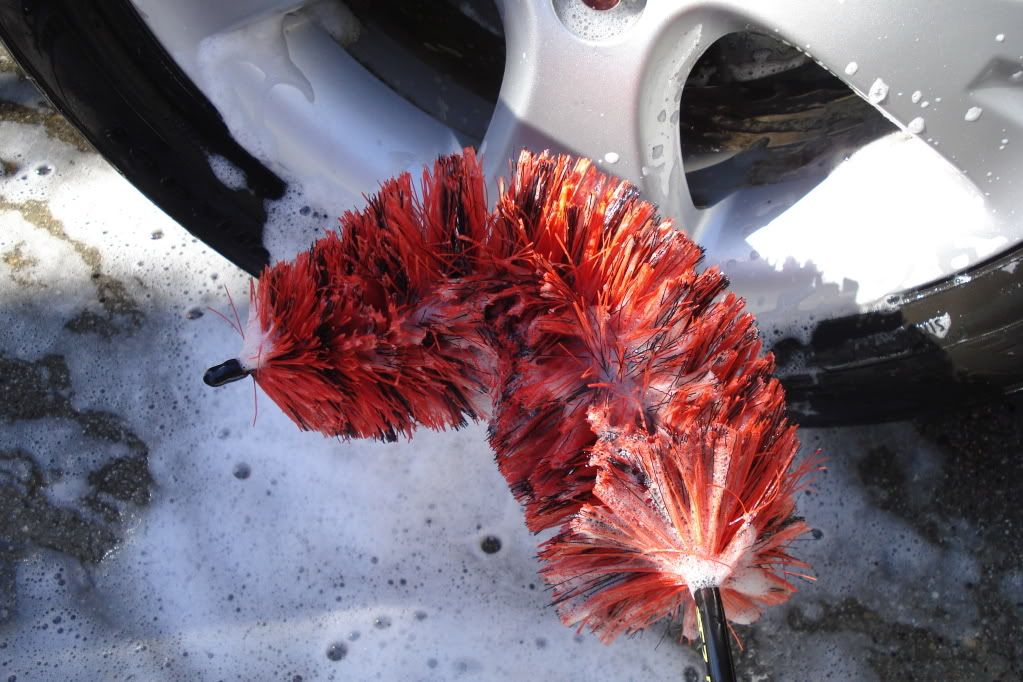
This is a tool I got from Autogeek. It is a brush they had made especially for them. I've used brushes like this in the past, but let me tell you why I use this one. Every bit of this is covered in rubber. Well, at least the bits that matter. The ones I've used in the past are just twisted wire and not covered at all. The bristles are similar to the ones found on automatic car washes. They are very safe on painted wheels, but they will scrub the dirt out. Being able to bend this in a number of ways makes getting wheels clean in a hurry without hurting your fingers or damaging the wheel. That is the most important part. Again, this is a good step to do after you wash the car so you can use the wash water. This could be done in place of using the other brush too if you wanted. It is an either/or/both type thing.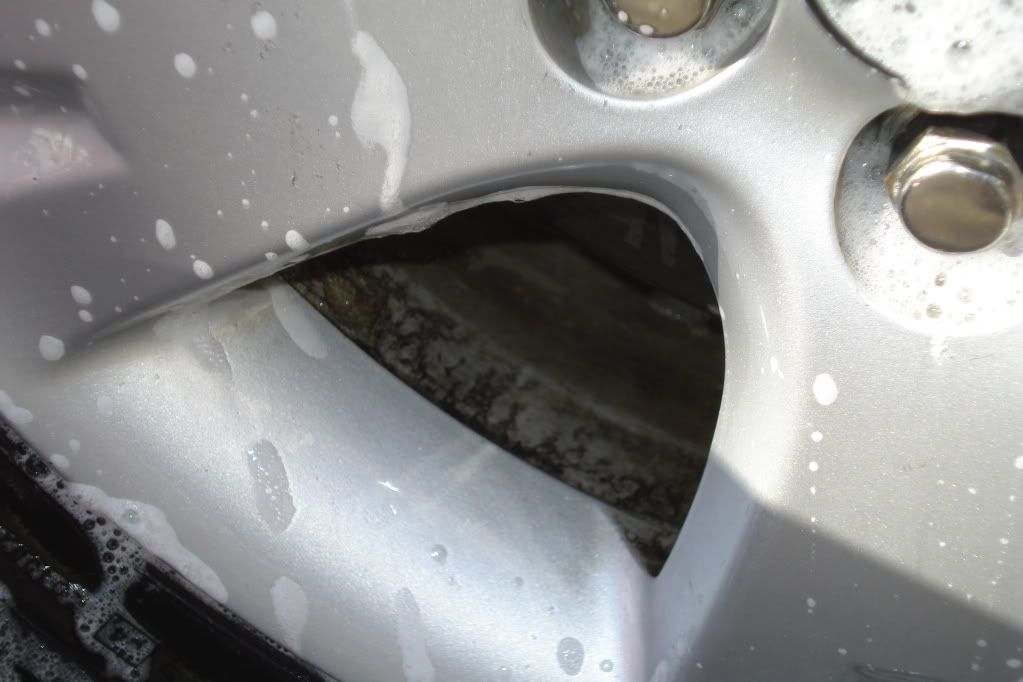
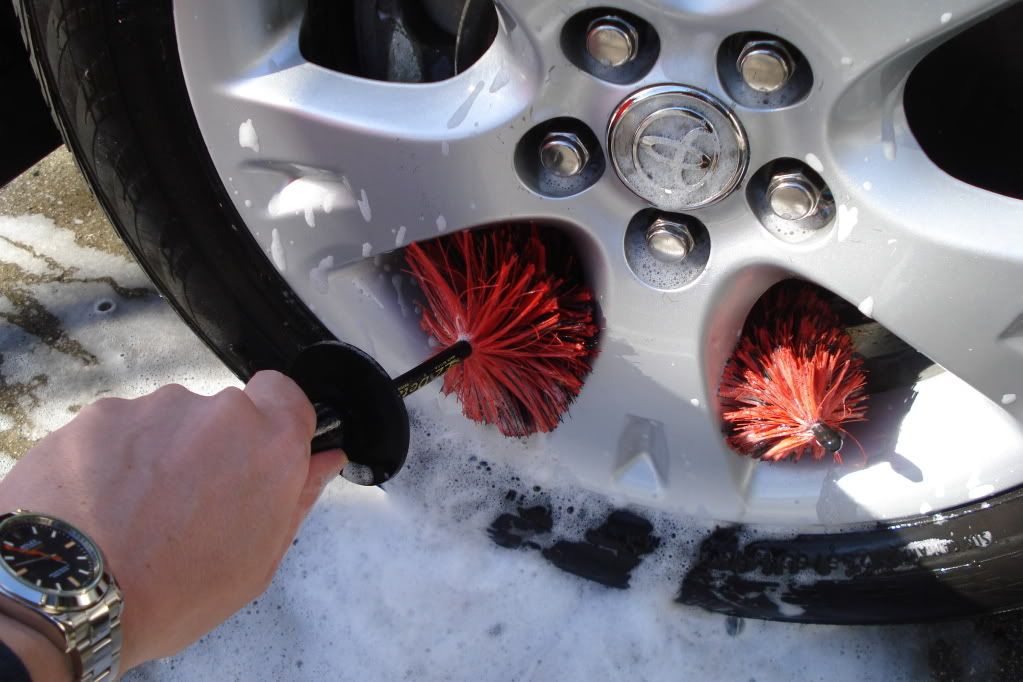
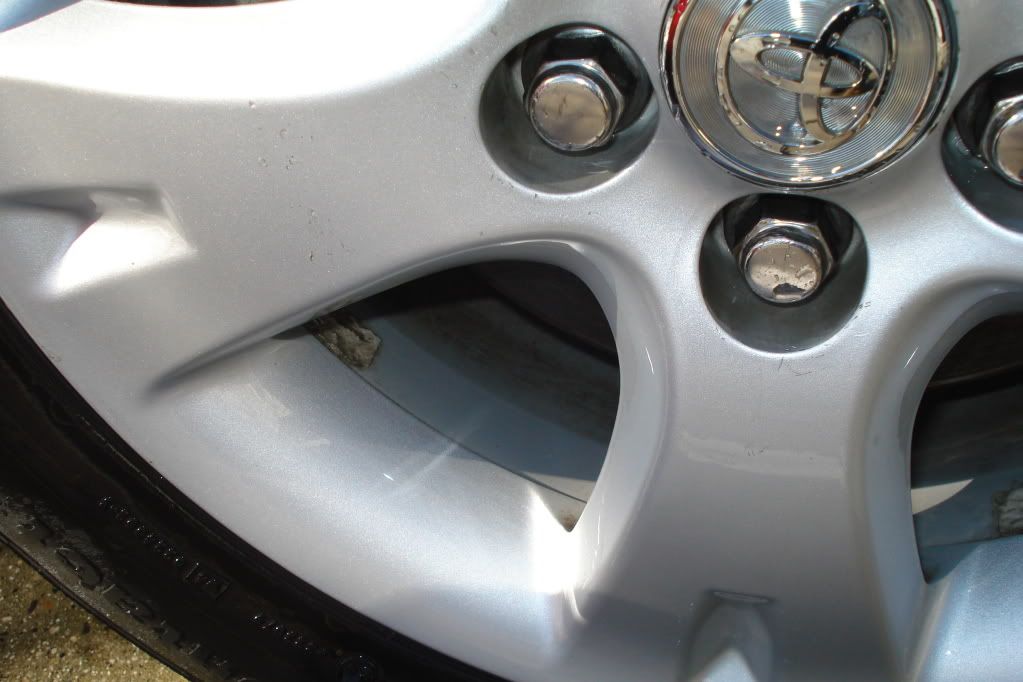
So that pretty much does it for the wheels for now. You will want to wait till the end of the detail to dress them. I like to use Eagle 1 Wet for my tire shine. I've found it is best if you apply this when the tires are dry. This causes the shine to stay there and not sling all over the fenders. However, for illustration purposes (and because I knew I wouldn't be driving my car again for three days) I dried off the tire and dressed them early.  I also used Meguiar's Quick Wheel Detailer to clean up any of the tire shine overspray that got on the wheel. I found this on the discount table at Checker a couple years ago and bought every bottle I could get my hands on. It is a well worth it product. If you don't have any of this, then really any quick detailer will work just fine. I just like using products that are designed for a particular task.
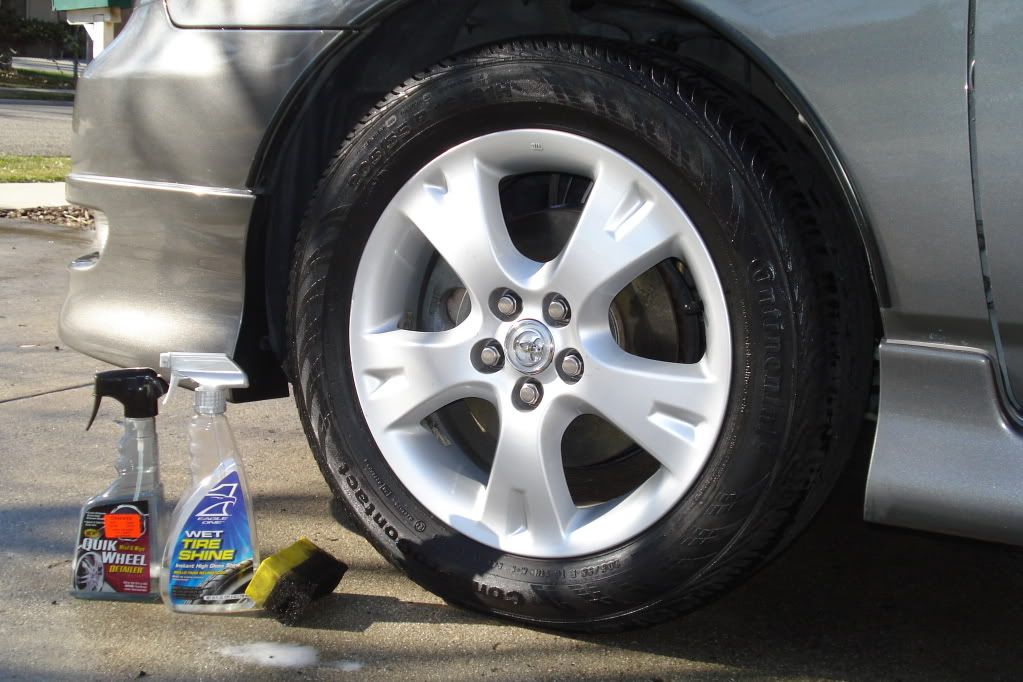
I didn't wax them or anything like that, but you can do that if you want. I've found it doesn't really make much of a difference, so I don't waste time on it. On a BMW or high dusting vehicle I would probably use a wheel sealant or just a normal paint sealant, but Corollas (at least mine) don't seem to have that bad of a problem.
Alrighty then... Step 2 is the engine. This was an easy project for me this time because it was mostly just dusty from a long winter of driving. I detailed the engine in the fall, so it wasn't like I was going to have two years of crud built up under it. Your experience may definitely vary from this one, but here is how I did it on this particular engine.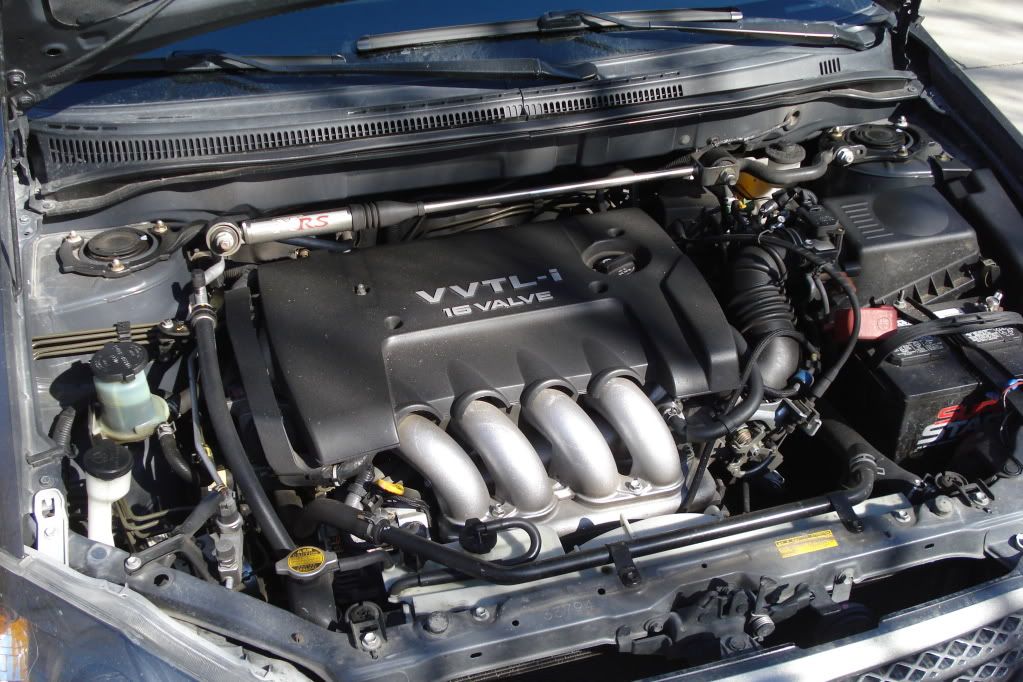
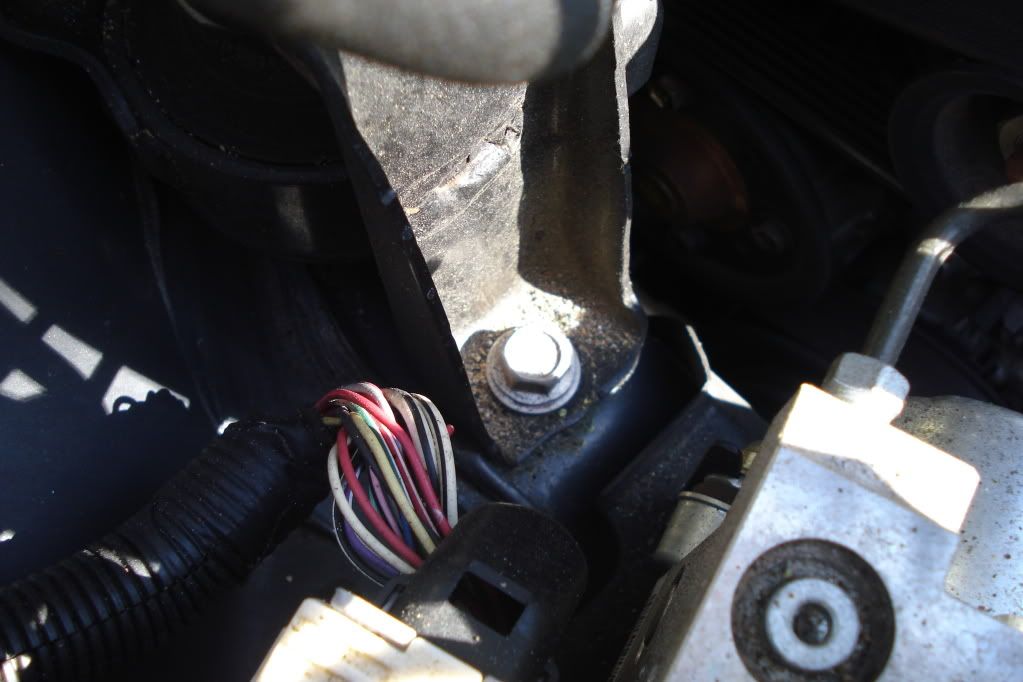
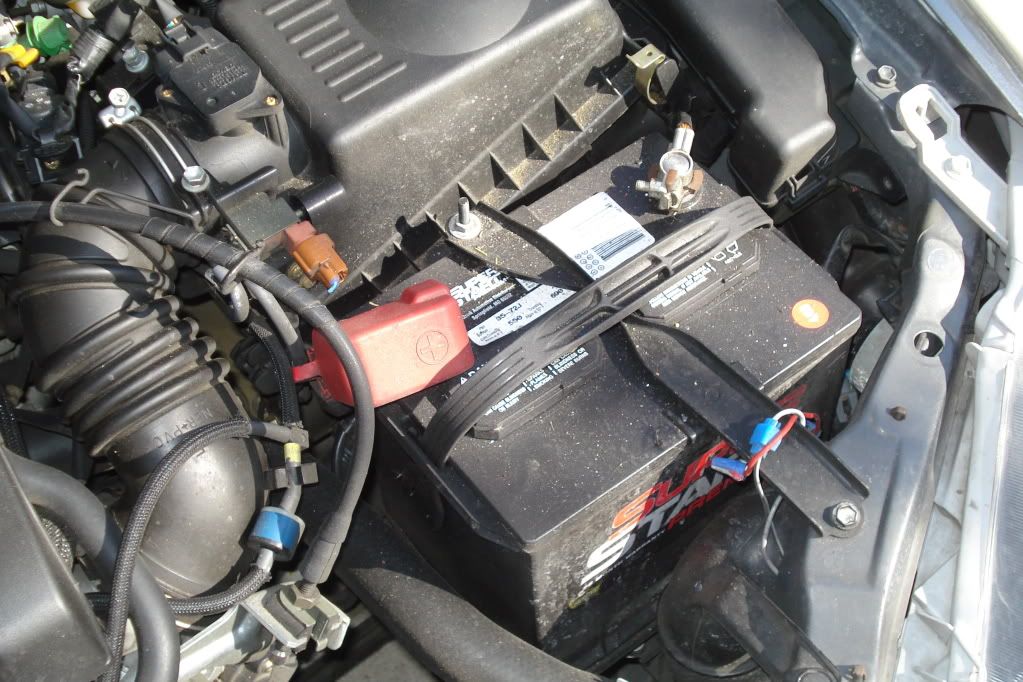
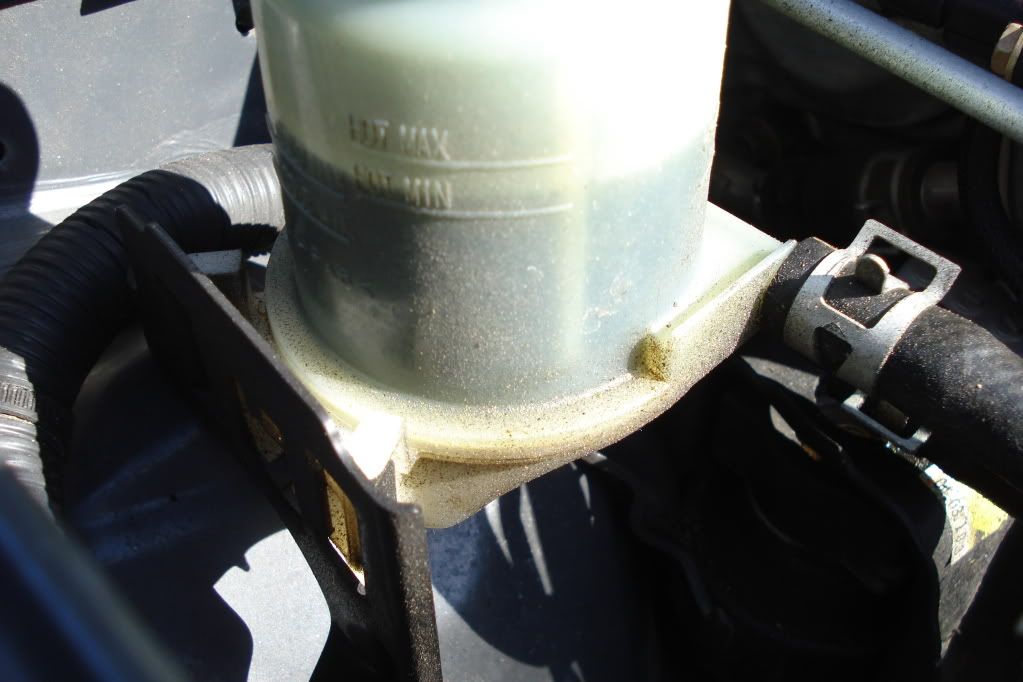
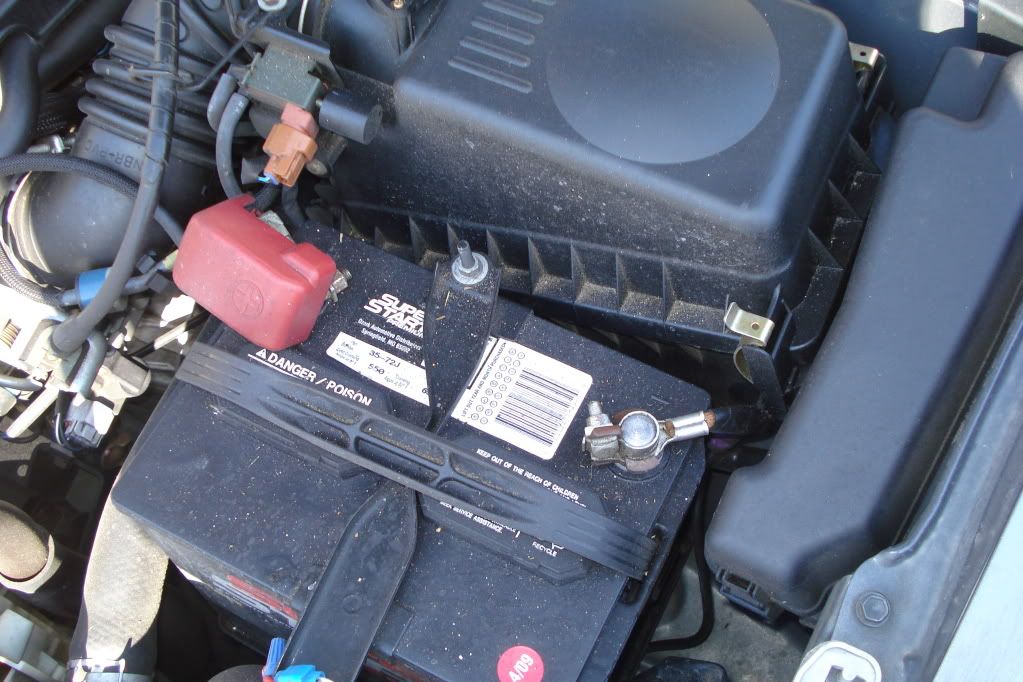
So, yeah. Not overly dirty, but there is a lot of dirt in there. This is an easy job that degreaser and a hose will take care of. I'm still going to have to get in there and wipe some things down, but it isn't going to be an hour long project or anything like that.
I start by grabbing a bottle of engine degreaser. I typically like to use Gunk Foaming Degreaser, but this particular bottle was on sale at Checker, so I decided to give it a shot. I sprayed down everything except for the alternator (I can't stress enough how important it is to stay away from that area with degreaser) and directly on electrical connections. I just don't like spraying degreaser there. I made sure to get it good and heavy on areas that had a lot of dirt. Around the bolts, the reservoirs, and the strut towers especially. Even the firewall is a good spot to spray down since it can get pretty greasy back there.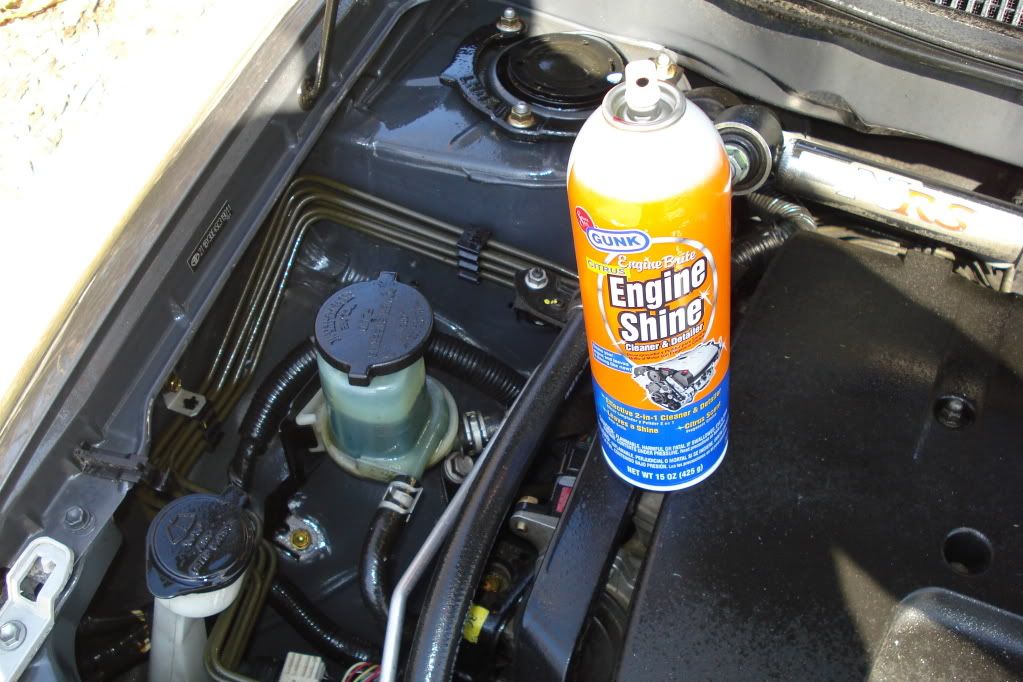
Now this next part is the easy part. I'm not advocating that you spray down your engine like a wild firefigher trying to put out a 5 alarm fire or anything, but it is ok to use a hose and a little pressure to get the grit out. Just be careful where you are spraying. Don't use high pressure around electrical connections. I used the bucket filler setting on my sprayer and turned down the hose a little so the pressure wasn't too crazy.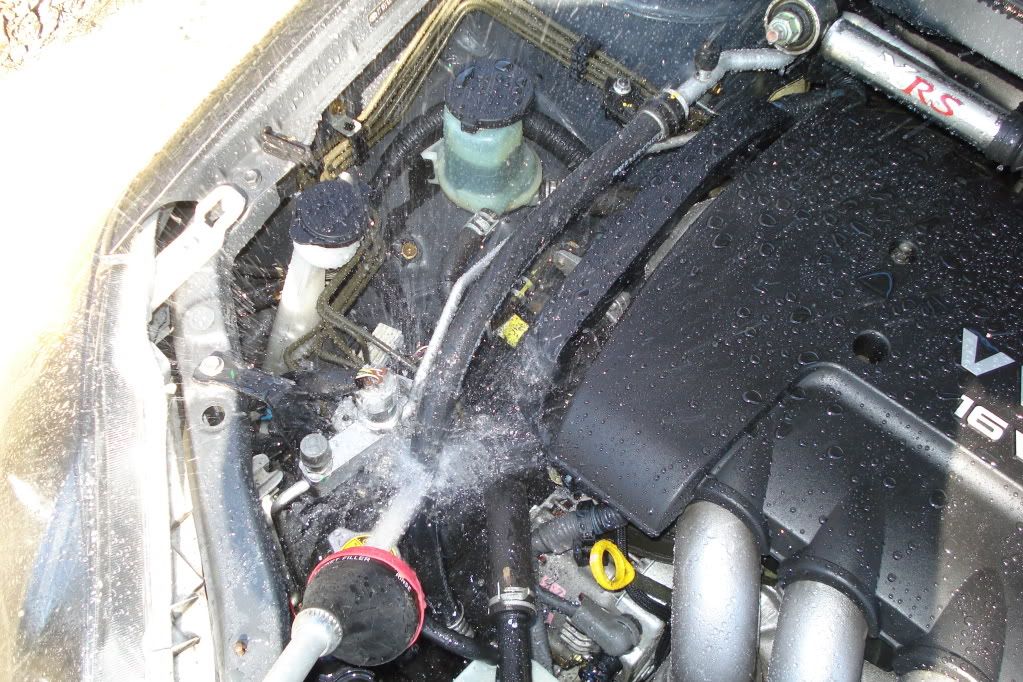
Your engine isn't made of sugar and it isn't going to melt, but you don't really need to get it too wet.
Now you can dry the engine off and go for the final step. In drying the engine you should wipe down any of the painted surfaces to ensure that they are clean. Blot out any standing water on the valve cover or strut towers. Just basically dry it off and remember that you are probably getting it a little cleaner by doing so. Sort of like what you did with the wheels. In fact, that wheel brush is a great tool under the hood too. It gets under hoses and tight spots like a champ. Definitely one of my favorites.
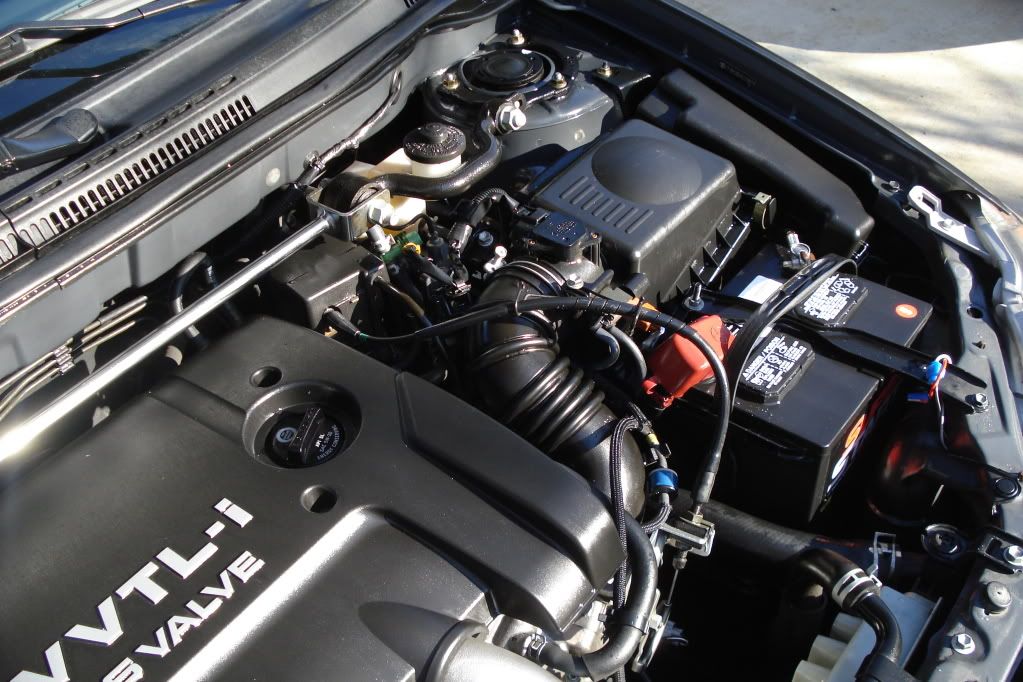
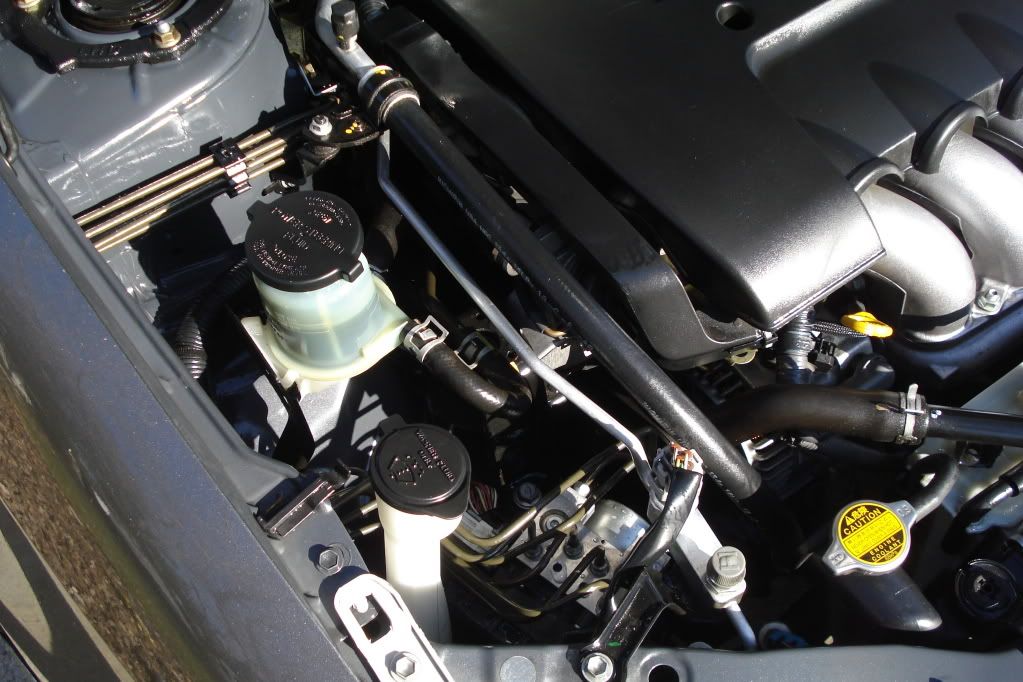
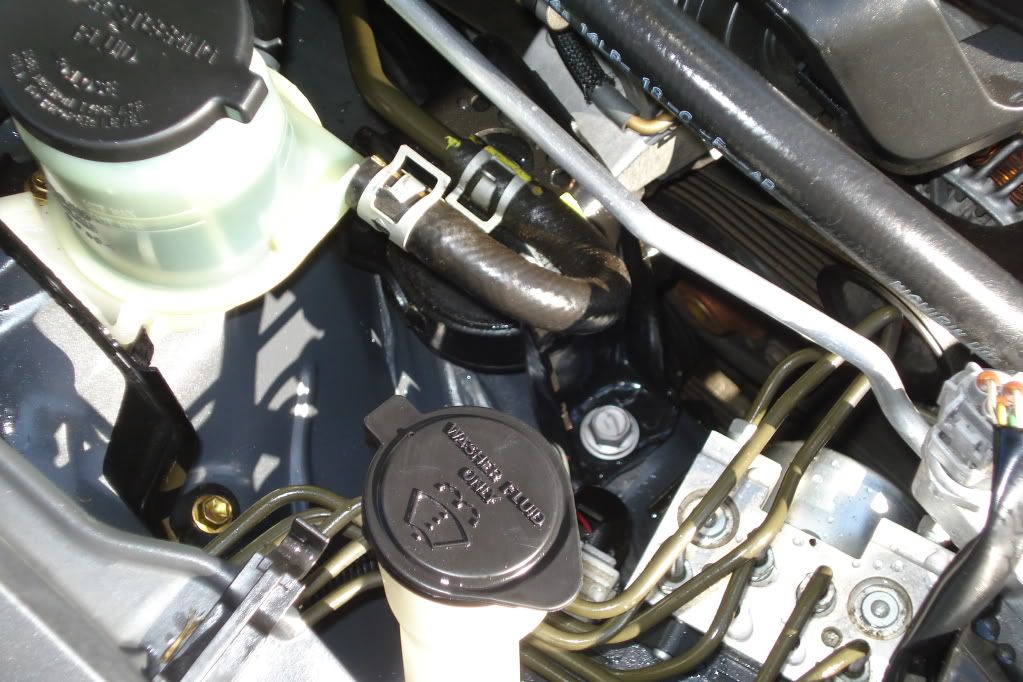
After the engine is dry you can use the CD2 Engine Detailer that I love so much. Spray down anything black, basically. It doesn't need to go on painted areas or metal, but it isn't going to hurt them if you do get it on them. This is designed to make the plastic and rubber parts really shine as well as protect them. This is far above and beyond better than just using tire shine. This won't cause your hoses to turn brown or weaken them. It also won't attract dust like mad. I last detailed my engine in October and you can see how much dirt I've attracted in the last 5 months. Trust this product.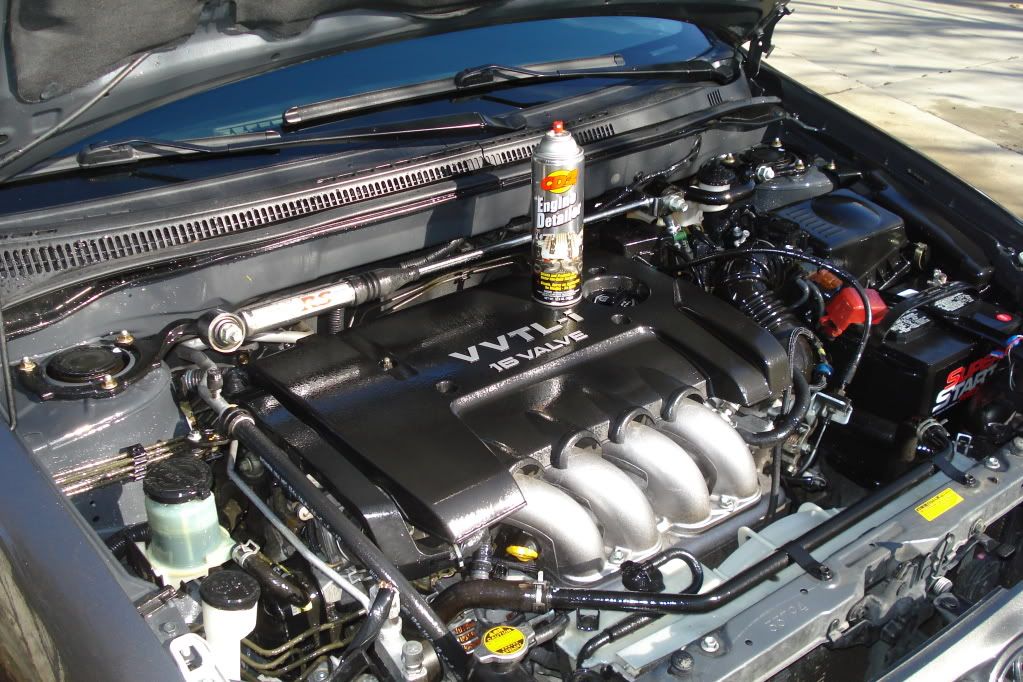
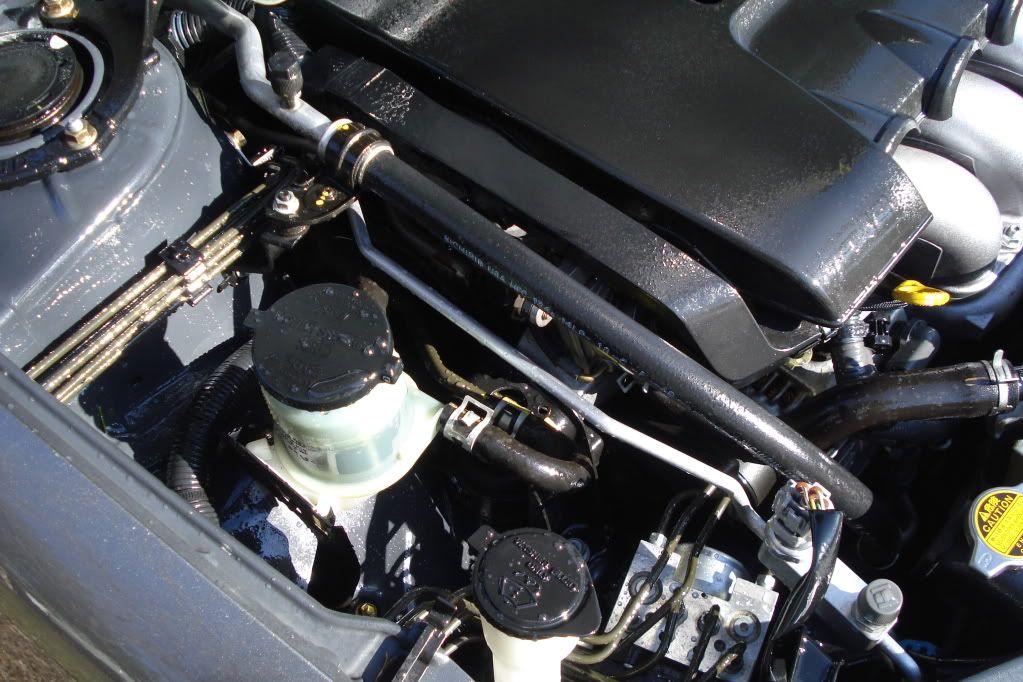
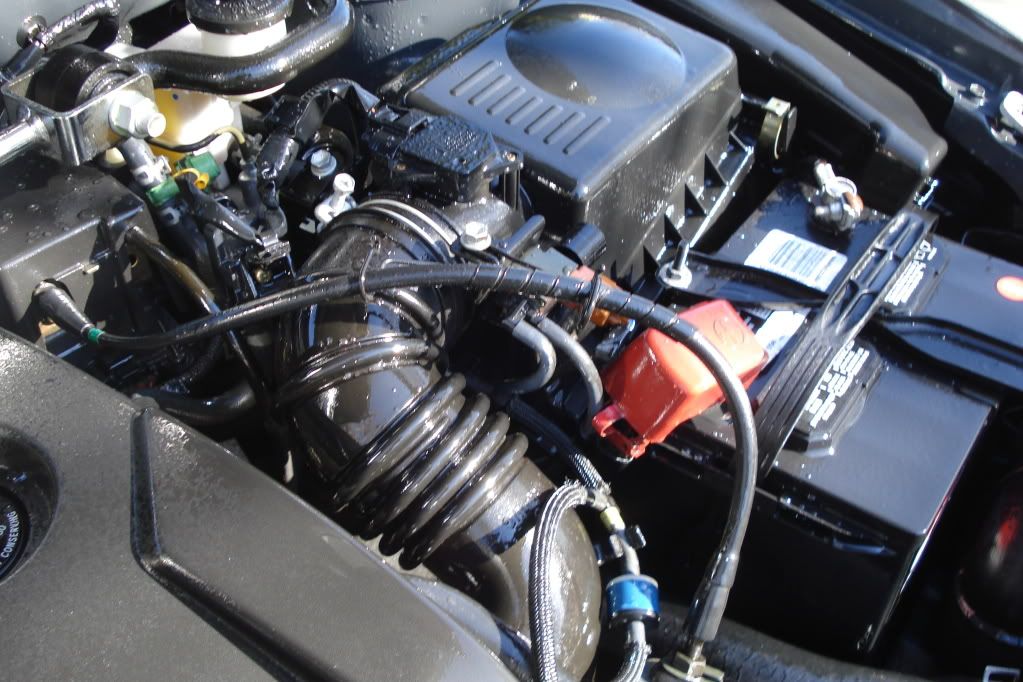
Don't use the whole can or anything, but get everything nice and soaked. Especially the hoses. Those look really sharp when it is all said and done.
Then just close the hood and start your engine. Let it heat up in there for twenty minutes or so and let the product set. Use this time to either wash the rest of the car or start vacuuming or something.
After 20 minutes you can pop the hood and buff everything off. This is when you will start to figure out how much of the product you need to use. If you have a lot of excess that hasn't dried, then you know not to use that much anymore.
Wipe down everything with a dry towel. I've got a stack of microfibers that are only for engine detailing. This is a good place to use those t-shirts and shop towels that you don't have any other use for.
After everything is wiped down then you should be able to stand back and appreciate your factory clean engine.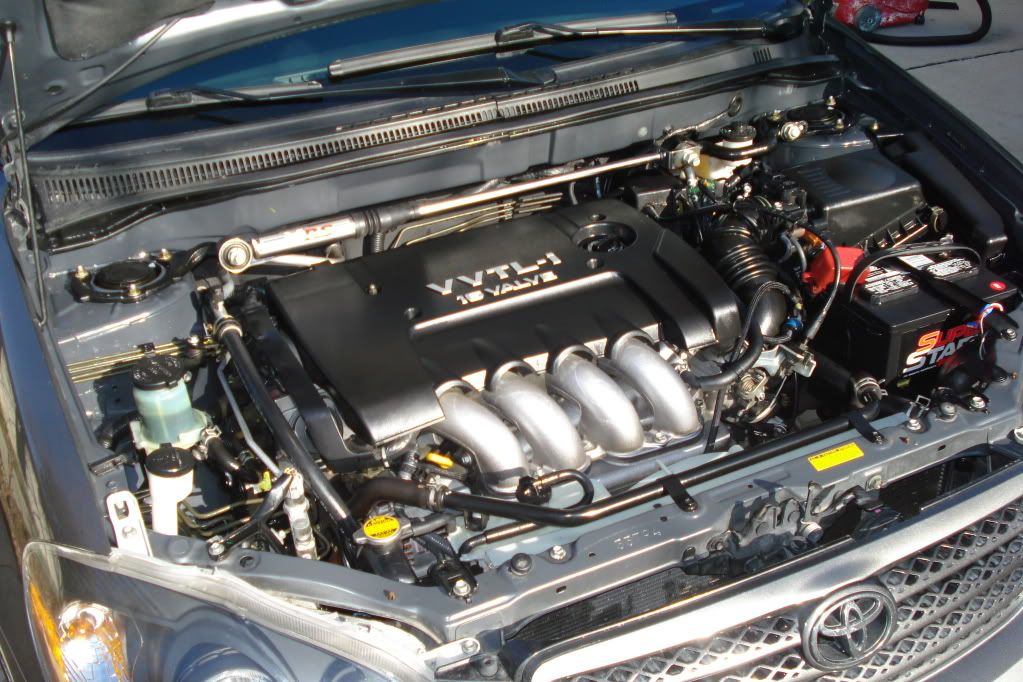
Stay tuned for Part 2 where we talk about washing and clay and hopefully polishing and sealant. I should be able to get all those done in one shot. Part 3 will be about the Interior.
I've used the comparison of detailing your car and brushing your teeth many many times. In fact, i remember going to the dentist one time after really getting into this hobby and realizing that we aren't so very different. The tools he uses are smaller, but we operate them in a very similar way. I've got little hooks that I use to get into tight places in emblems and under the hood. I've got a polisher that I use to shine things up. I even have brushes and polishes that I use similar to the dentist. We both use "sealants" and "fillers" and "polishes". There are also a lot of similarities about how to know when you should avoid a dentist or a detailer. That's what I'd like to talk about here.
Imagine you need your annual cleaning on your teeth. You start to head on over to your regular dentist, but half way there you are distracted by a troop of girls jumping up and down wearing very little by way of dress. They are waving signs that say "Teeth Cleaning Only $5!" Well, that is certainly a lot better than what your guy wants to charge you, so you decide to give them a chance. You pull in and they proceed to work on your teeth. They eye candy sure is good as they go to work, but you start to notice that their tools are definitely not up to par with what you are used to. They are using what looks to be dish towels instead of the standard bibs your dentist uses. Their drills have little emblems on them that say "Fisher Price". Even the products they are using are basic products that they got from the local WalMart. You can see the bag sitting there on the table with tubes of discount Crest and generic tooth floss. You start to feel pretty uncomfortable about the whole situation when you hear one of the girls squeak out a little "oops!" as she is flossing your teeth. It would appear that she got a little to excited while flossing and has actually sawed into your gum quite a bit. She backs the floss out and looks around to see if anybody noticed. Well, the pain exploding in your mouth makes it hard for you not to notice, but she just picks up her gear and heads over to a new customer who just arrived.
The rest of the experience goes the same way. It feels like they are spending a little too much time brushing one particular tooth. It could be due to the fact the girl is on a cell phone chatting the whole time and really hasn't paid much attention. The tooth starts to get really sore and you notice that the brush she is using is not only incredibly old looking, but also has some of the stiffest bristles you've ever seen! She has brushed right through your enamel and the nerves are screaming! You've had just about enough of this. You push them away from you and run to the nearest mirror you can find. The damage is not pretty. You have three teeth that have been over brushed and are clearly damaged, two of your porcelain crowns are chipped, your gum is severely cut from the flossing, and you have tooth paste still between most of your teeth. Your lips are chapped from their abrasive materials and overall you are absolutely regretting the choice. You pay them the $5 and continue on your way to your dentist.
Your dentist takes one look at your mouth and shakes his head. You are going to owe him $1000 for two new crowns that will need to be replaced, close to $3000 for veneers on the teeth that have lost their enamel, $120 for the cleaning including removing the paste build up from in between your teeth, and $200 for stitches in your gum. Saving the money your dentist normally charges for your annual cleaning has certainly not been worth it. Still, at least you got to see a few hot teenagers leaning over you while they completely jacked up your smile, but was it worth it?
I'll just let you do your own translation of this little story. Sure detailers charge a lot, but there is a reason for that. Our materials are far above and beyond the quality of most teenagers who decide they will go door to door washing cars. Our products are definitely a higher quality and more effective at getting the results people are looking for than most of the 'off the shelf' products out there. Detailers typically either have the training or the experience to avoid most of the mistakes that you are going to see made at dealership details shops and automated car washes. And in the case of a licensed and registered detailer, at least if they screw something up then you have some recourse. There is little you can do to the broke college kid who burns up your paint with his $30 buffer he just got at Walmart. I'm not saying that you probably couldn't sue the school district for the cheerleader car wash that decided to put some deep cuts into your paint because they left their wash mitt lying on the hot asphalt between washes, but who is going to do that? If it is your school district, then you are really only suing yourself. ;)
The list of reasons to hire a reputable and skilled detailer just goes on and on. Don't ignore the similarities to your teeth and your car. Just like you can't ignore your teeth, you also can't ignore your paint. The regular cleanings, polishings, and treatments are necessary to keep your smile strong. I know I smile more when my car is looking good. :)
Keep your eyes peeled for the first OCDetails WebCast of a full detail. This will be broadcast from my garage live on this blog. The date is not yet determined due to the weather not playing nicely, but it will happen! Full detail from top to bottom including a full writeup after the detail with pictures. If you are able to watch it live, then that is great. If you want to wait and read the article afterwards, then that works too. For anybody who has ever wanted to know how long it actually takes, this is a good way to find out. I'm looking forward to it and if there is any way for me to save the webcast for future reference, then I will. I'm just not sure how much space it would take and how I would replay it, but I'm looking into it.
Sacramento Bee
Arriving at Harv's Metro Car Wash in midtown Sacramento Wednesday afternoon were two dark-suited IRS agents demanding payment of delinquent taxes. "They were deadly serious, very aggressive, very condescending," says Harv's owner, Aaron Zeff.
The really odd part of this: The letter that was hand-delivered to Zeff's on-site manager showed the amount of money owed to the feds was . . . 4 cents.
Inexplicably, penalties and taxes accruing on the debt – stemming from the 2006 tax year – were listed as $202.31, leaving Harv's with an obligation of $202.35.
Zeff, who also owns local parking lots and is the president of the Midtown Business Association, finds the situation a bit comical.
"It's hilarious," he says, "that two people hopped in a car and came down here for just 4 cents. I think (the IRS) may have a problem with priorities."
Now he's trying to figure out how penalties and interest could climb so high on such a small debt. He says he's never been told he owes any taxes or that he's ever incurred any late-payment penalties in the four years he's owned Harv's.
In fact, he provided us with an Oct. 22, 2009, letter from the IRS that states Harv's "has filed all required returns and addressed any balances due."
IRS spokesman Jesse Weller isn't commenting "due to privacy and disclosure laws."
Zeff says he's as offended as much as anything else by what he considers rude behavior by the IRS guys. While at Harv's, he sniffs, "they didn't even get a car wash."
Spring has sprung!! Well, maybe not entirely, but it is above 50 degrees outside and it is perfect for detailing! I've got a Honda Odyssey and a Toyota Corolla that are in desperate need of a good spring cleaning and this is the week it will happen!
I have a Poorboy's Sample Kit with pretty much the most commonly used of their product line. I believe I should be able to get the whole Corolla detailed with this kit and this kit alone. I'm going to do the Odyssey with a variety of products, but both vehicles will be fully documented as they are being detailed. Check back this weekend for the results of my labors.
Spring has sprung!! Well, maybe not entirely, but it is above 50 degrees
Most of us sacrifice so much for our families that we wind up not having much of a social life outside of work and home. I didn't want my hobby to get in the way of family, so I've always made a concentrated effort to include my kids in the process. I've done so since they were itty bitty. As soon as they were old enough to stand and hold a vacuum hose, I put them to work. Here are some of my thoughts on how you can include your kids in your detailing obsession.
The first job I get my kids started on is filling the bucket. That is something easy that any kid can do. It makes them feel good to make the bubbles. Start them out by just filling it, but as they get older then you can start teaching them about which soap to use for different cars.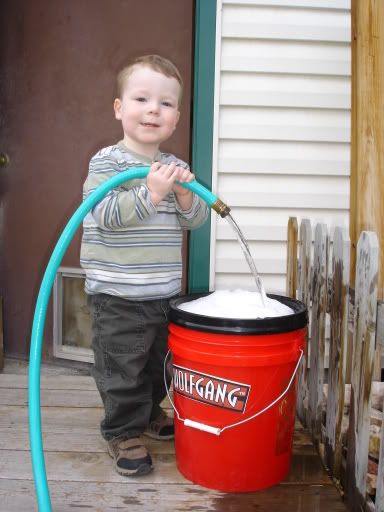
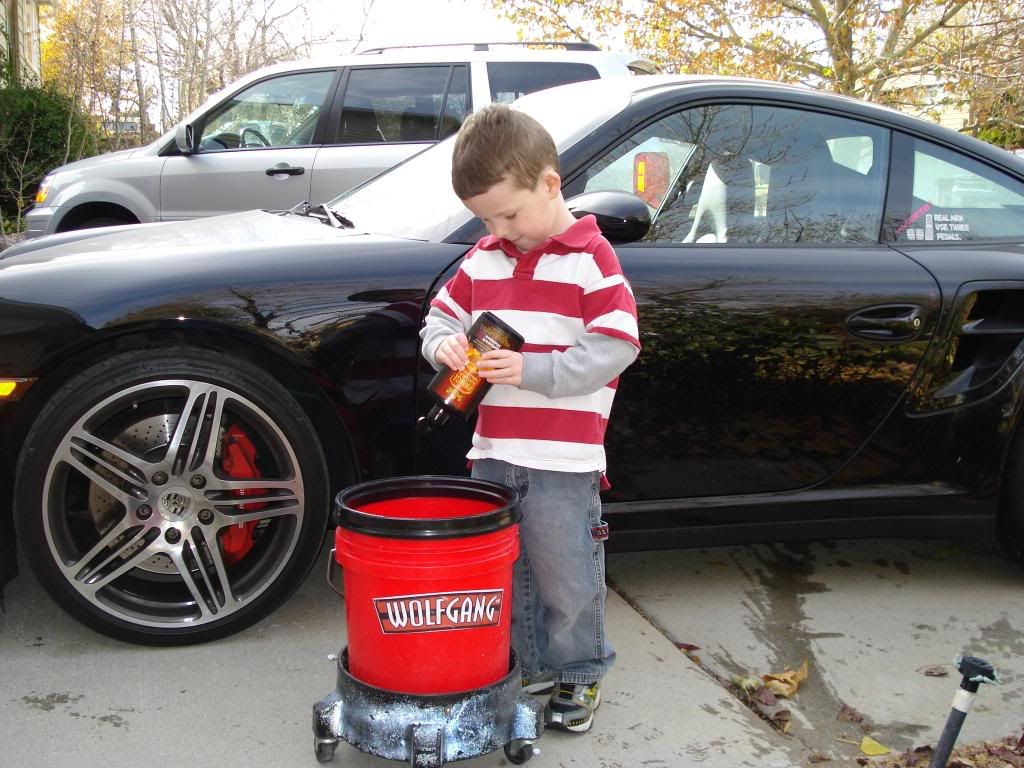
The next easiest thing for little kids to do is wipe down the wheels after you have washed them. Just give them a microfiber and tell them to get the drips off. This will train their little fingers to be very detailed as well as getting the experience of wiping things down. 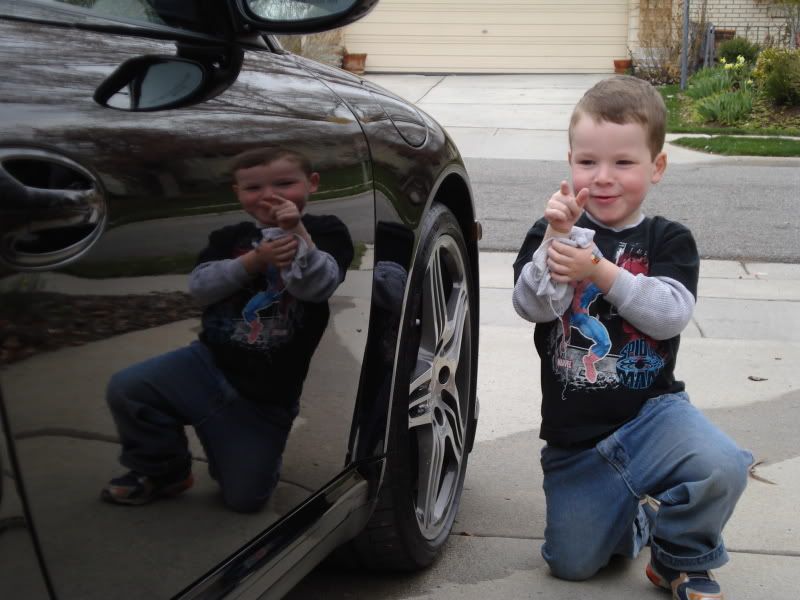
Graduate them from wheels to getting the drips that collect under the rear deck lid and drip out of the gas cap. It saves a lot of time to have them chase those drips around for you.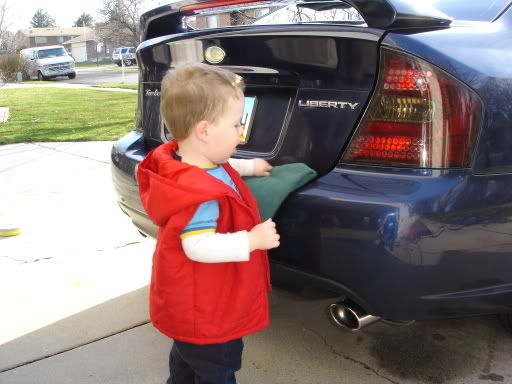
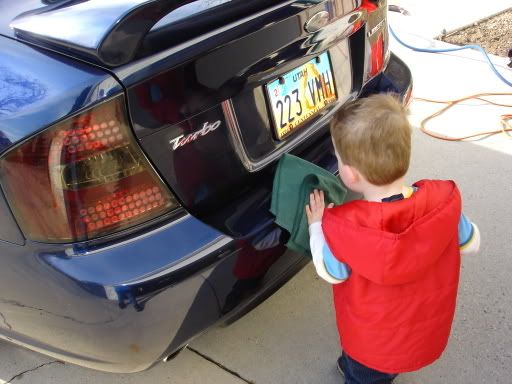
I would normally say to start them on washing the car, but they need to be a little older. Once they get tall enough, or if you start them when they are four or five, then they can start by washing the bumpers at least. I've found that those are more durable as far as paint goes and there is less chance that they are going to damage anything.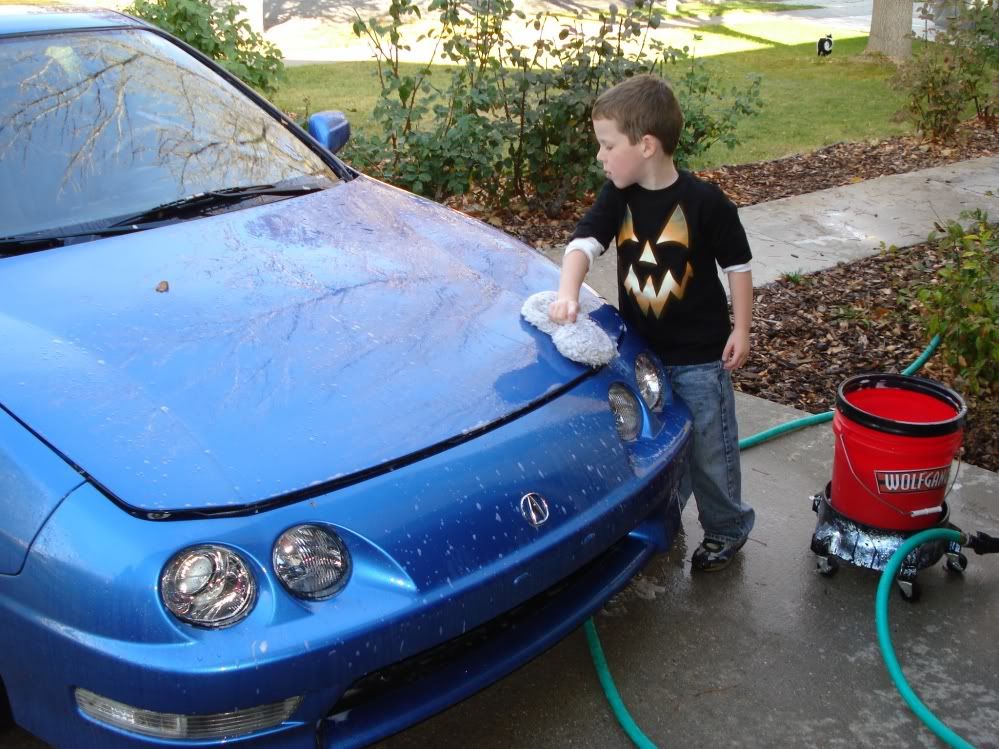
Of course, have them get more experience by washing other things too. 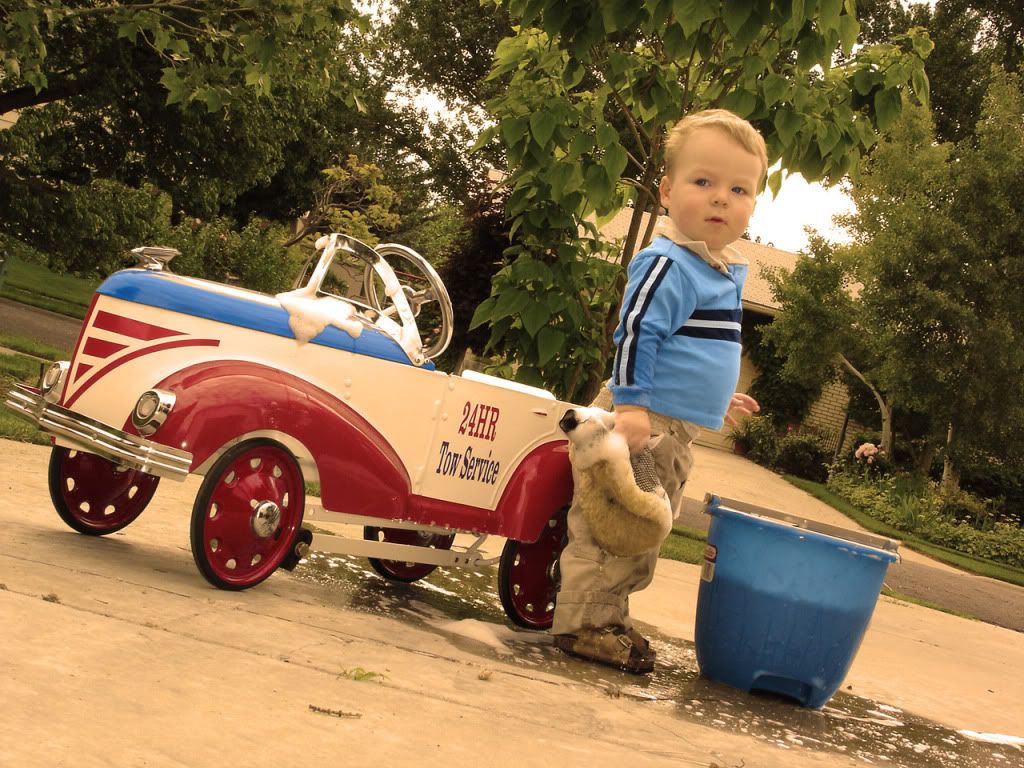
I've had my boy clay a few bumpers in his day too. Again, because the paint is more durable, I don't worry about him damaging anything. It is great when you have a car with bugs on the bumper or around the fog lights and you just want to keep the little guy busy for awhile. If the car is low enough, you can even start teaching him how to do it right after they get some experience.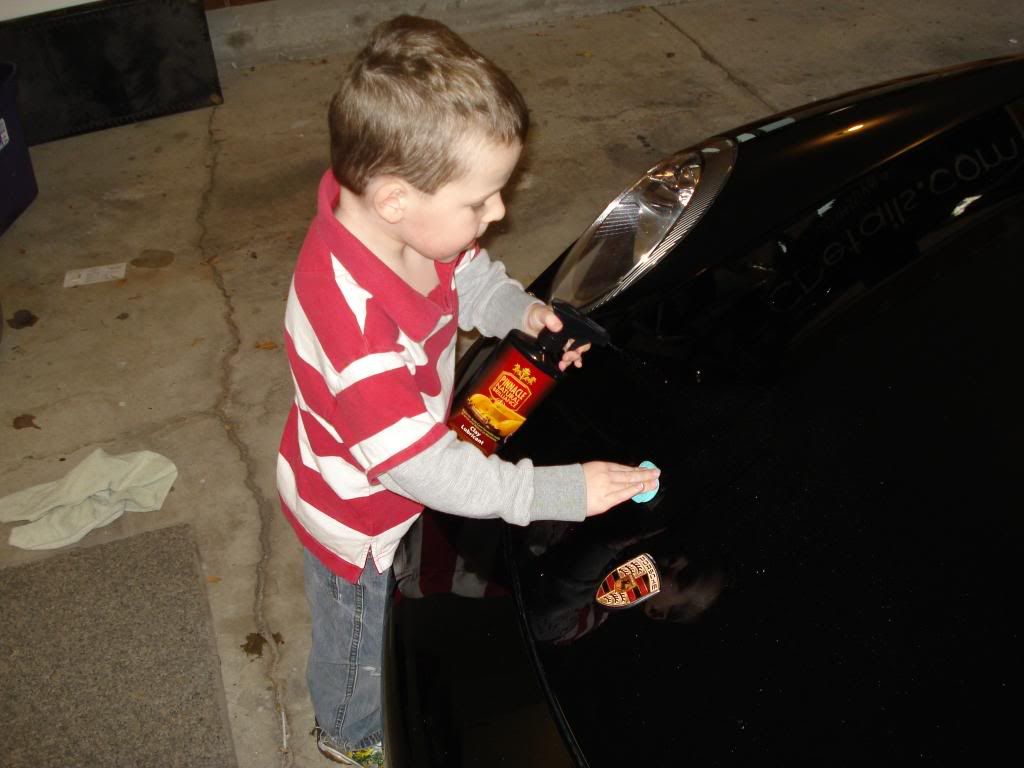
Before you freak out that I have him working on a $150K Porsche, you should know the owner is a good friend of mine and he was standing there the whole time laughing. 
Vacuuming is another great task to start kids out on. I started Erik out young as did I with his 2 year old brother. They are both expert vacuum operators at this point.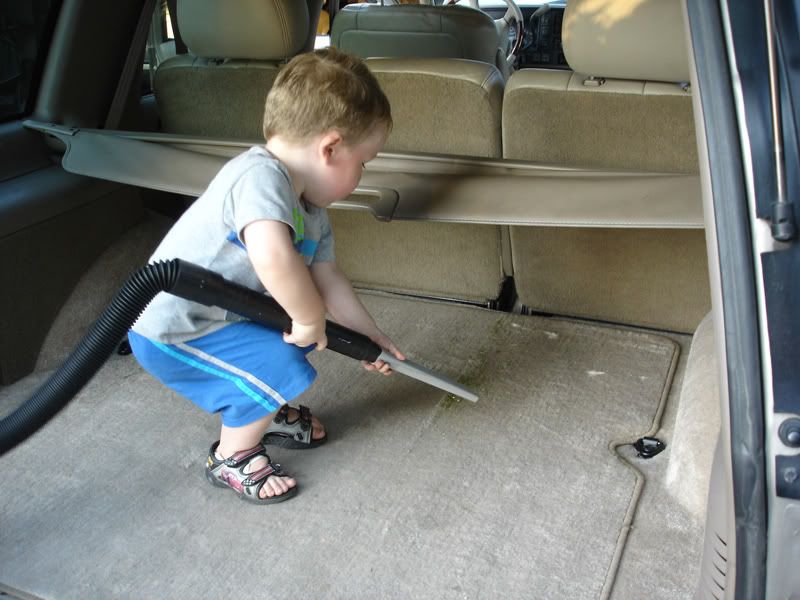
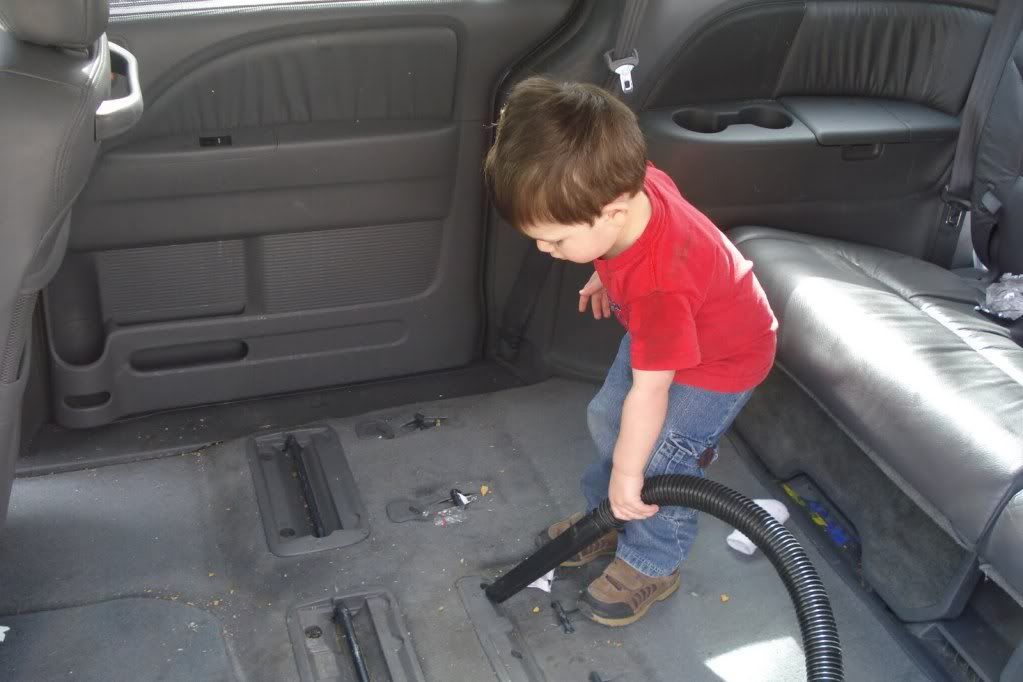
Clearly child labor laws don't apply at OCDetails. lol
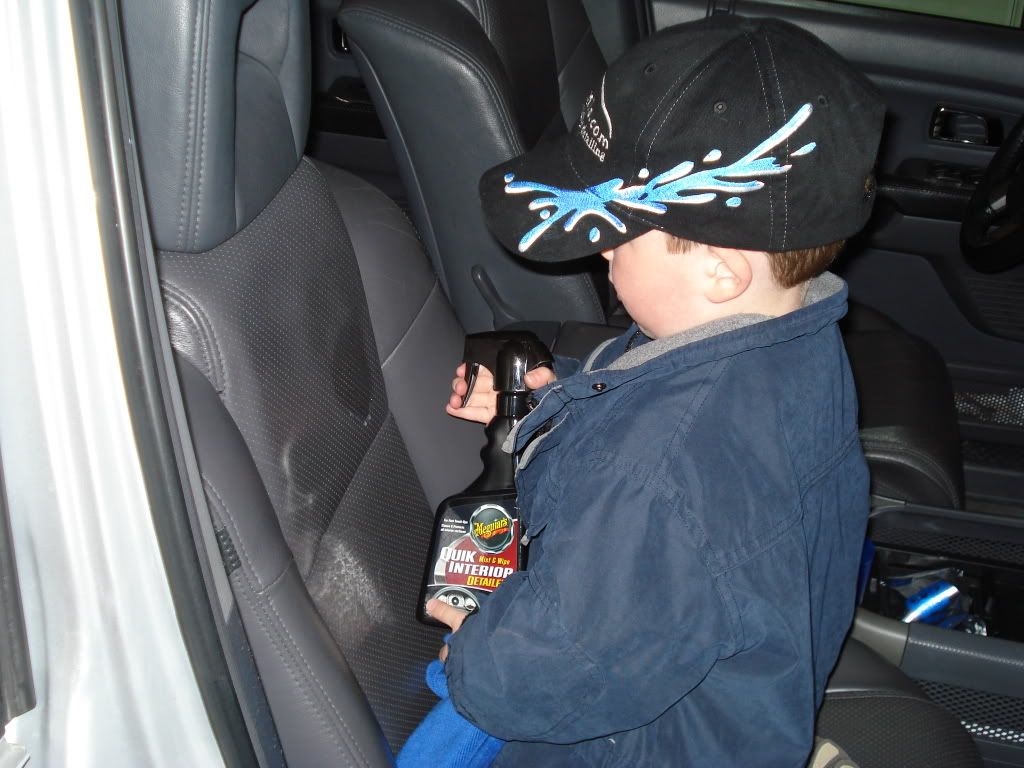
Interior detailing is something your kids can help out with too. I like letting my kids loose with a bottle of Meguiar's Quick Interior Detailer. It is safe on everything and it isn't that expensive, so I don't worry that they hold the bottle 2 inches from the surface when they spray.  (they learn)
Windows are also a good thing, but you'll probably have to go over those again for sure. It is a good thing to have them do since it is their fingerprints all over the place anyway. My boy keeps his area of the van much cleaner knowing he is responsible for detailing it if he makes a mess.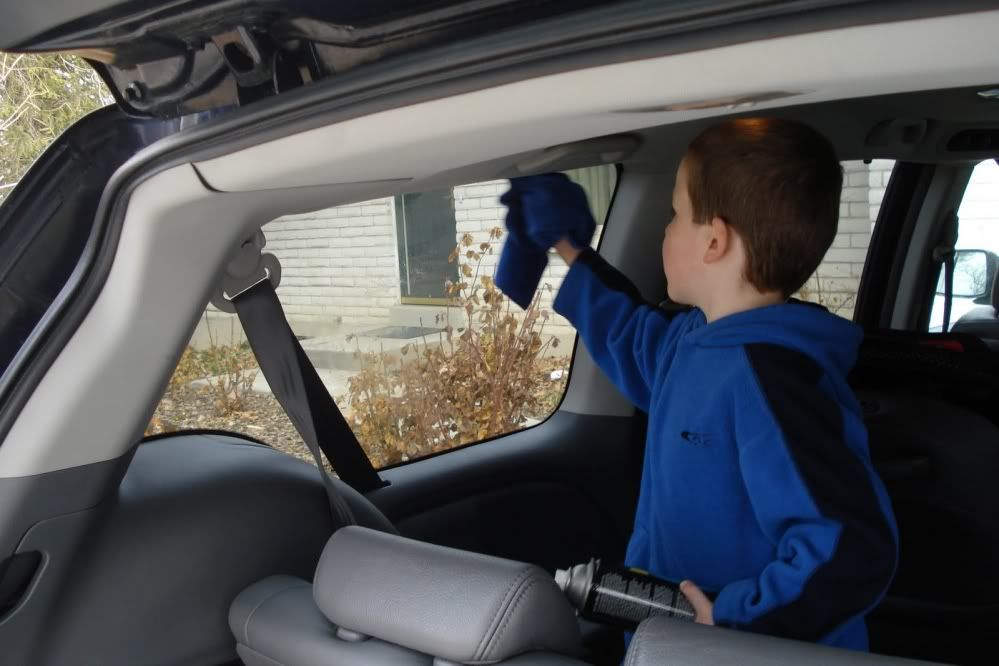
Waxing by hand is something I'll let my boy do to my bike or on the bumpers, but since he can't reach the entire panel on many cars, I tend to do most of the waxing myself. 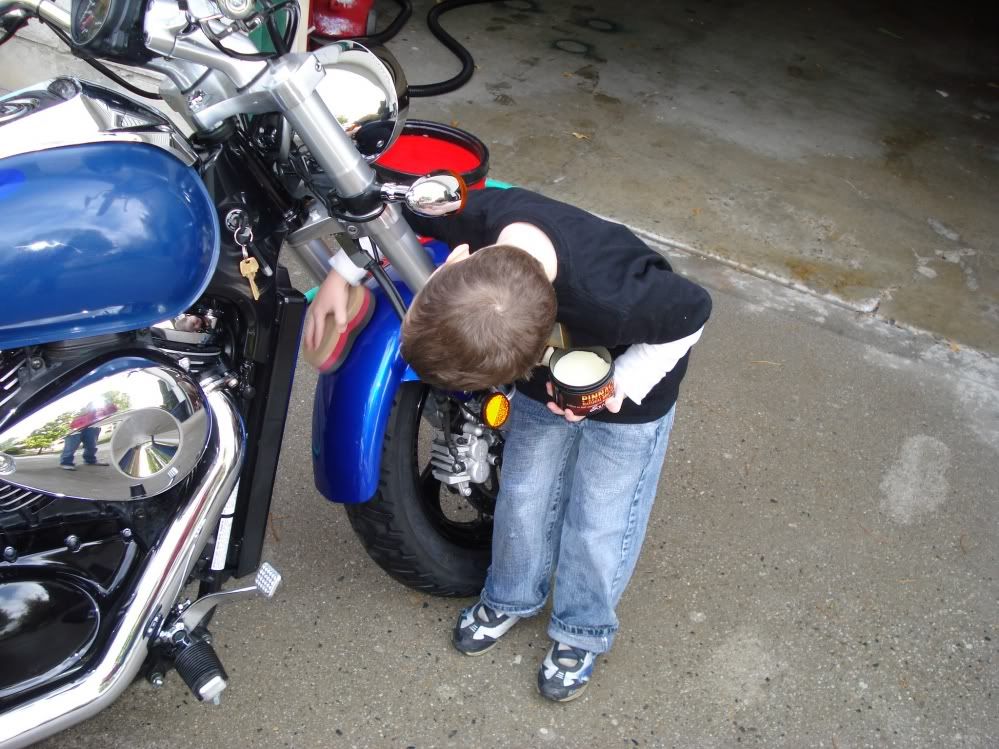
It takes awhile before they can be let loose with a polisher too, but once you have gone this far with them, try talking them out of a turn to hold the machine for a couple minutes. 
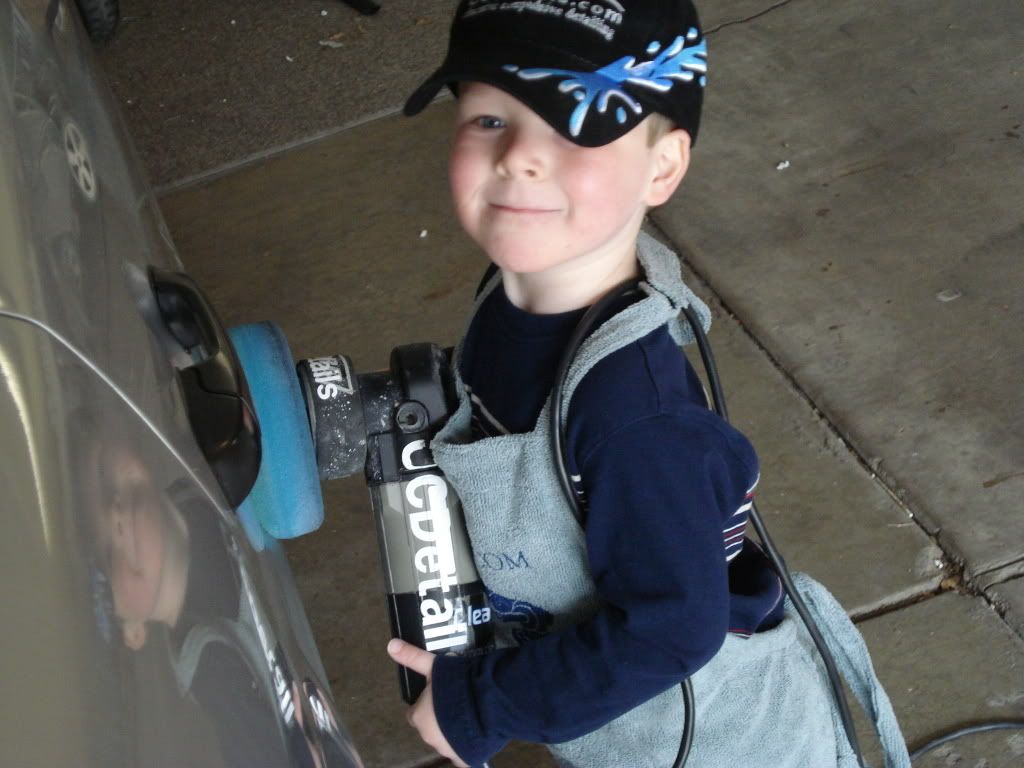
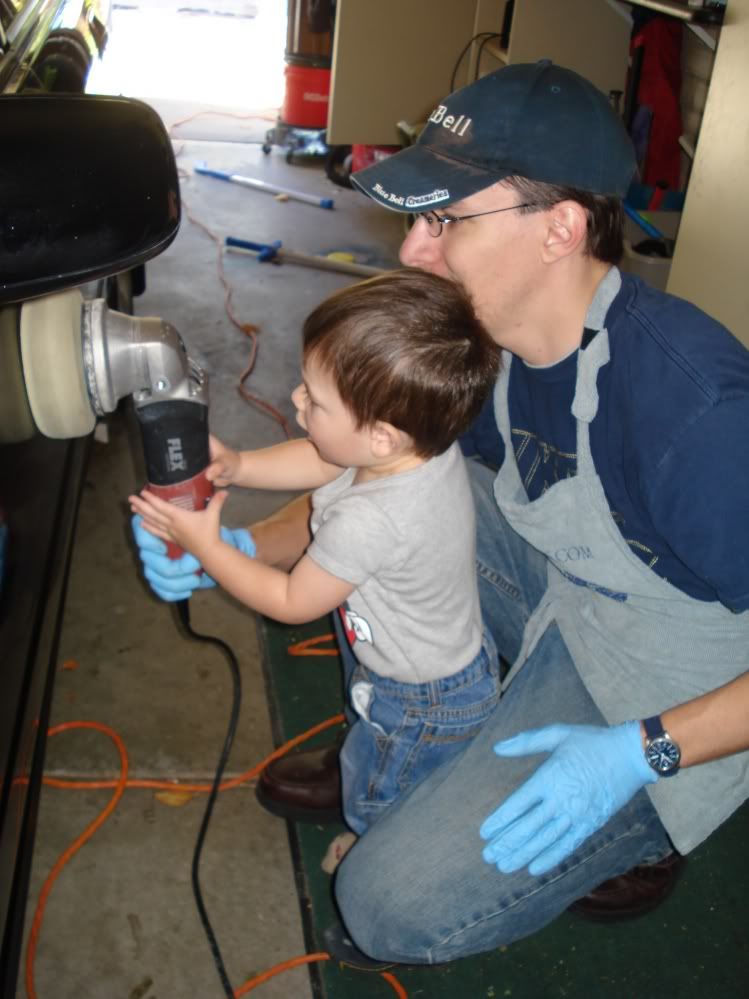
Buffing off the wax is also something they are good at. Erik's job is to go over the car when I am done and make sure I haven't missed any spots. This goes along with their drip spotting tasks.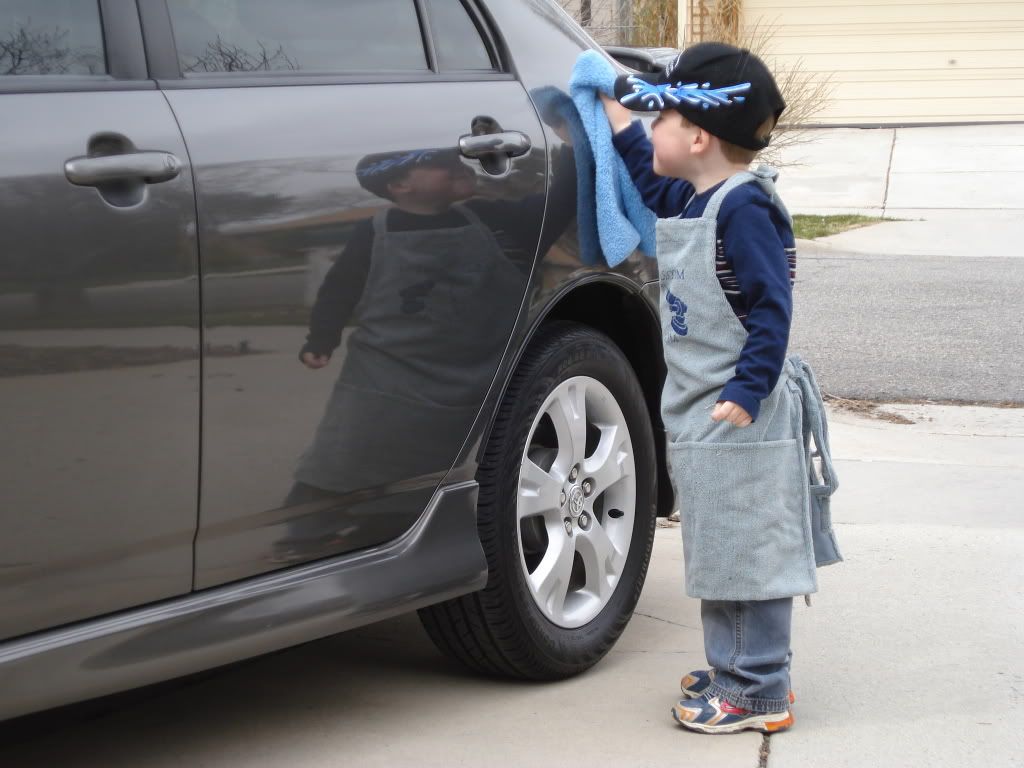
And of course, let's not forget about the cleanup.  They love helping put things away. I'm not ready to let them loose on the cleaning of the pads, but Erik figured out the Pad Washer right after I got it out of the box and assembled.
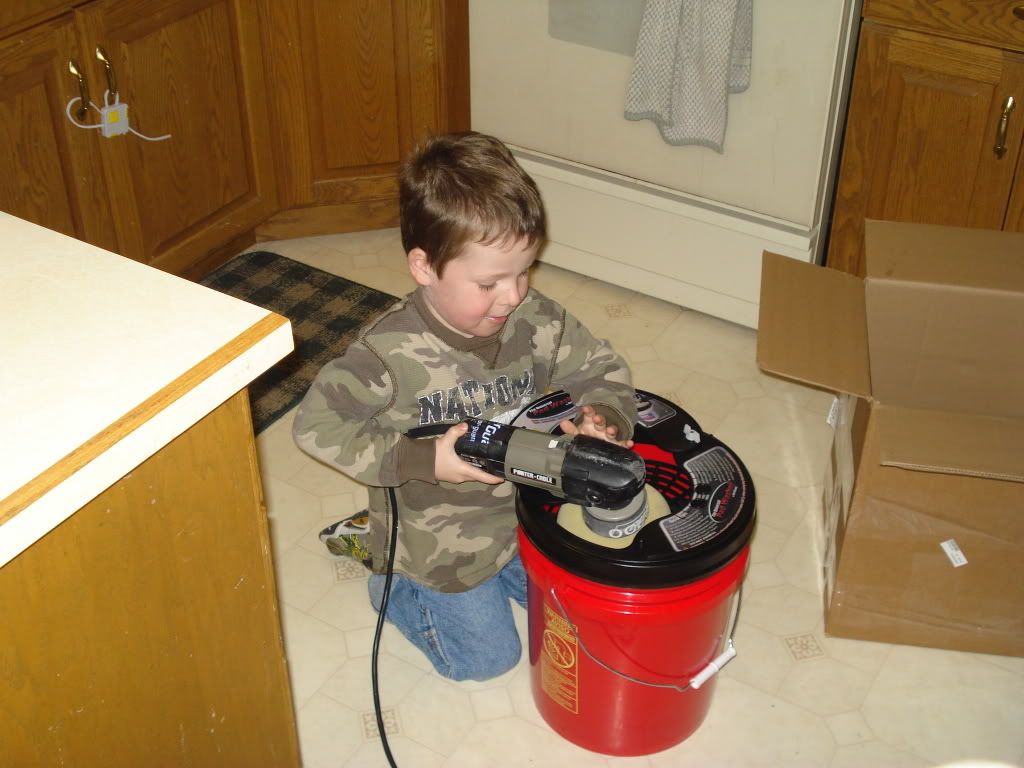
So the point is that you should include your kids in your detailing hobby. Don't necessarily let them run loose in customer cars, but let them help maintain the family fleet. It will teach them more than you realize. Work ethic, cleanliness, team work, and a love for the best darn job in the world!
I've tried to include my daughter. Erik has tried too. She is 5 now and finally has the attention for it. She prefers to supervise though... 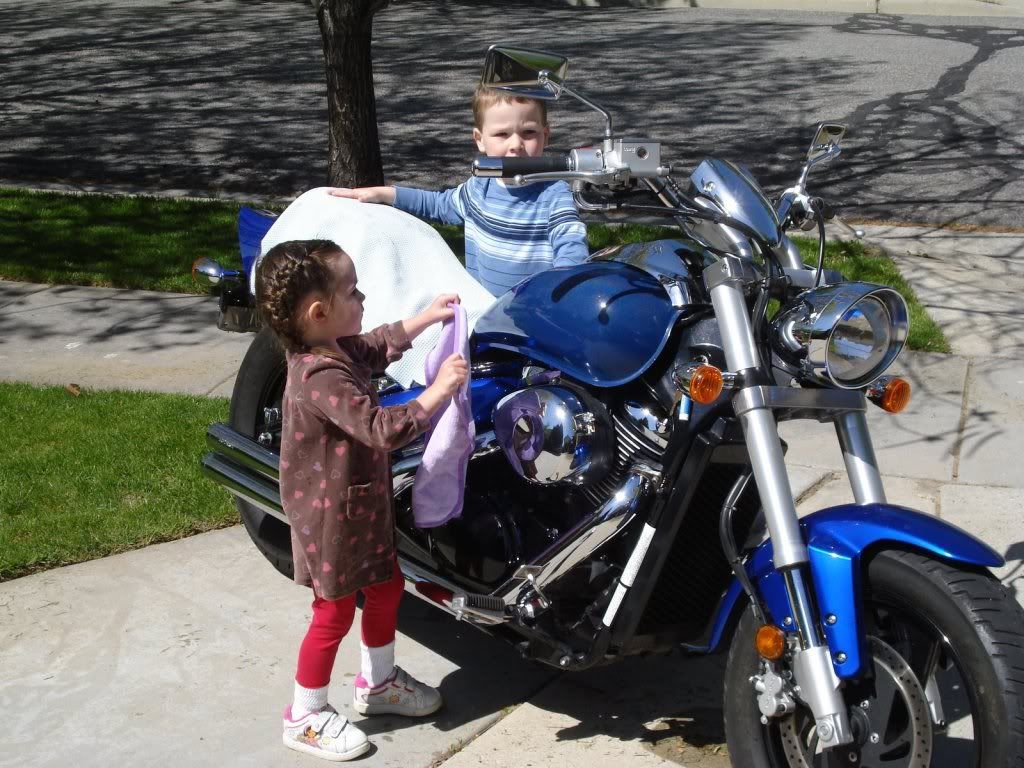
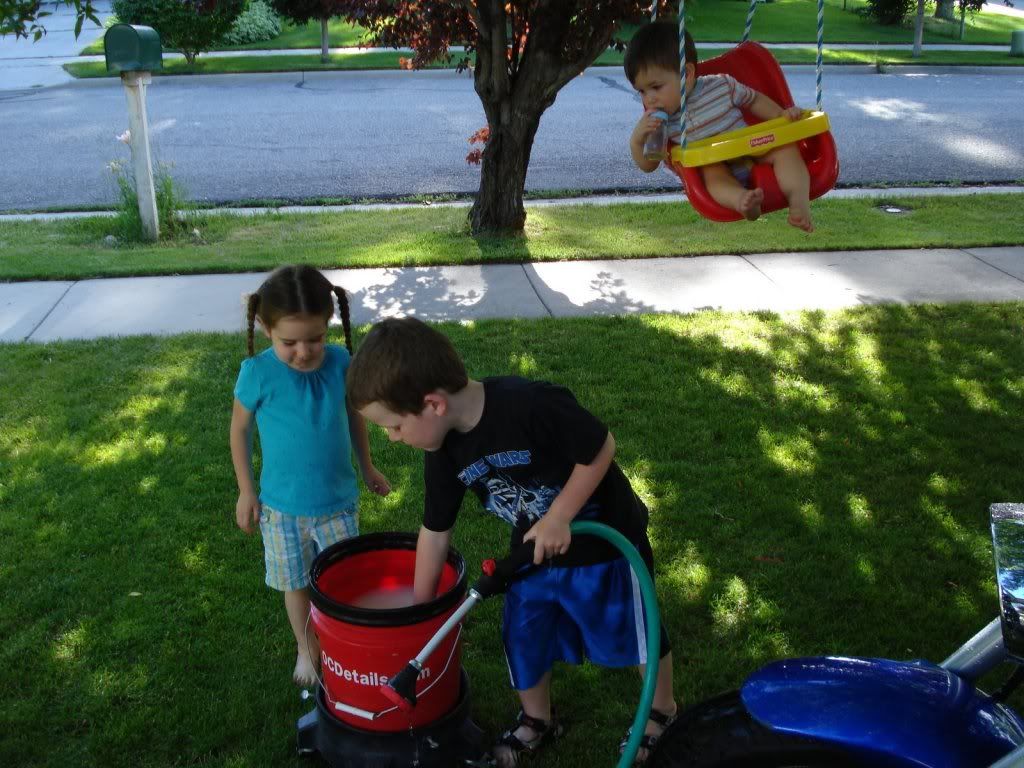

With two playful brothers helping as well, she usually just ends up like this...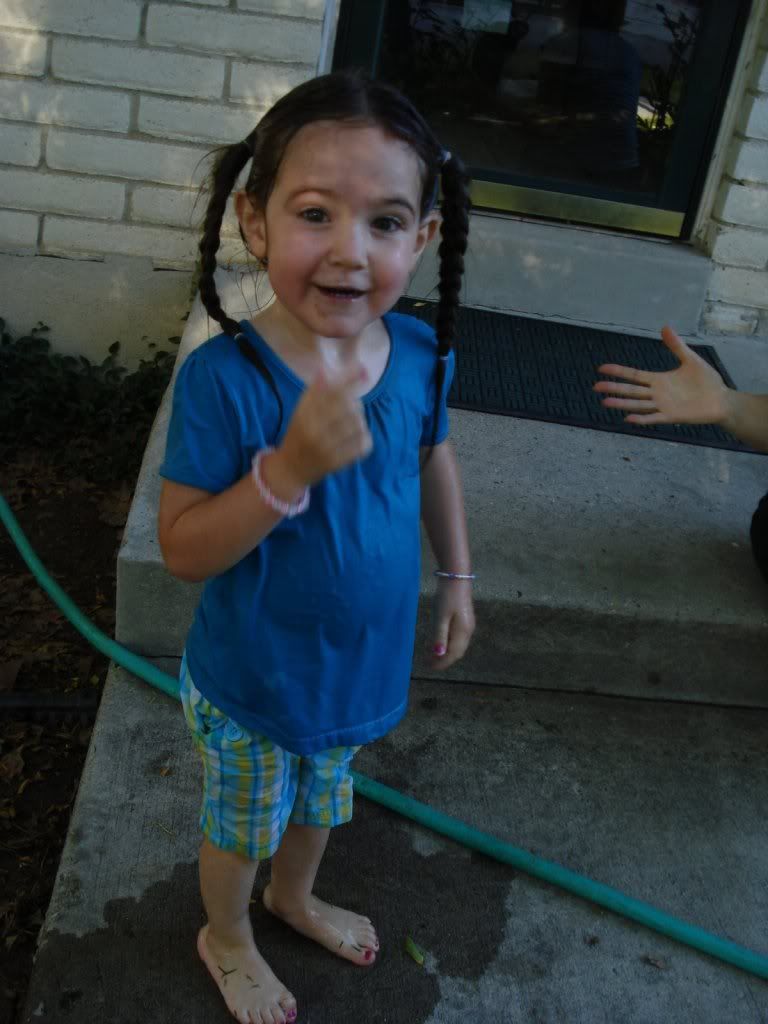
So most of the time she just supervises and lets us know what we should be doing. lol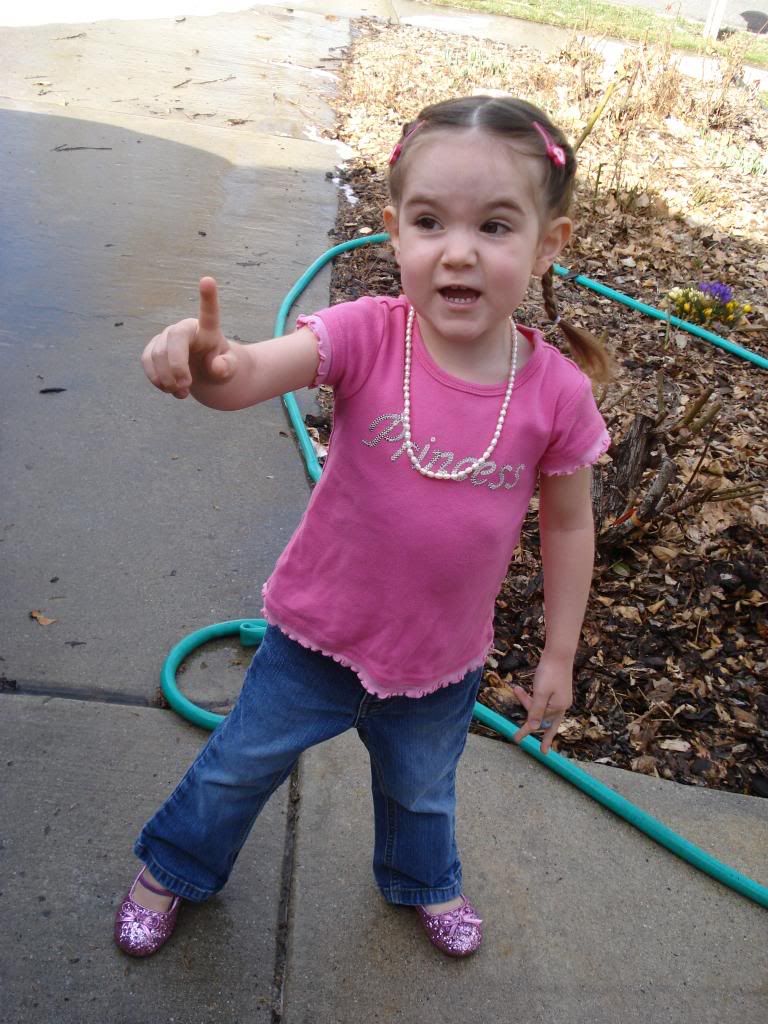
I believe she is reminding us of the virtues of using microfiber instead of t-shirts. lol Gotta love kids, I tell ya.


